Vintage dresses, with their timeless design and classic charm, are always on my radar for potential projects. In recent years, there have been numerous independent sewing pattern companies that have sprouted forth with vintage-inspired designs. One of the earliest pioneers of this specialized category is Sew Over It Patterns, based in the UK. While I have been an admirer of the pattern company for years, I had never bought one of their patterns. However, this changed when I took the plunge and purchased their iconic Betty dress (and additional Add-On Pack) while it was on sale.
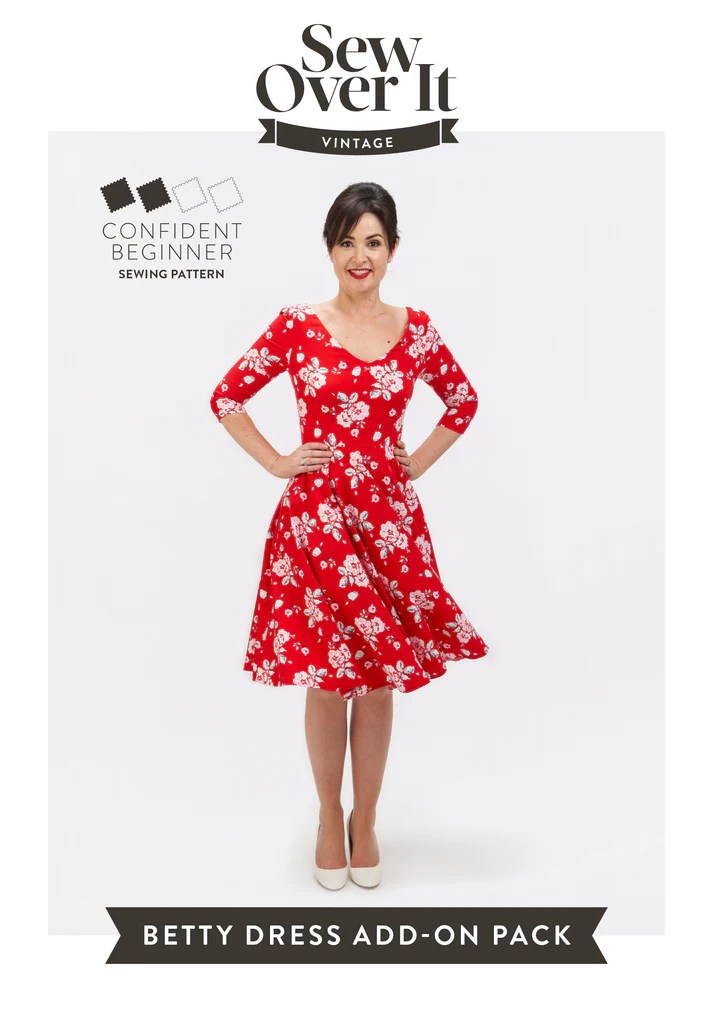
Sew Over It Betty Dress
Inspired by the early 1960’s and the TV series, “Mad Men”, the Betty dress was right up my alley: the stately bateau neckline, fitted bodice, and a full circle skirt made for twirling on the dance floor. I was ready to sew ! Coinciding with my new project was a series of videos produced by the team at Sew Over It, showcasing the fitting steps and how versatile the simple dress could be.
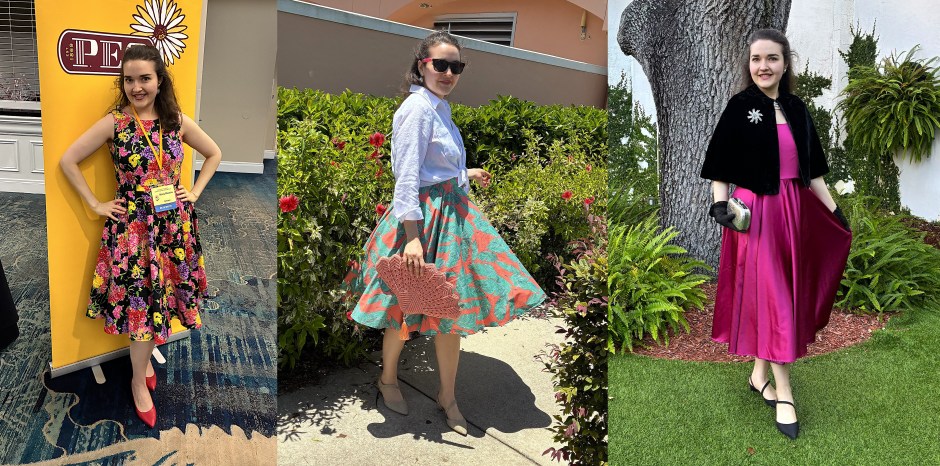
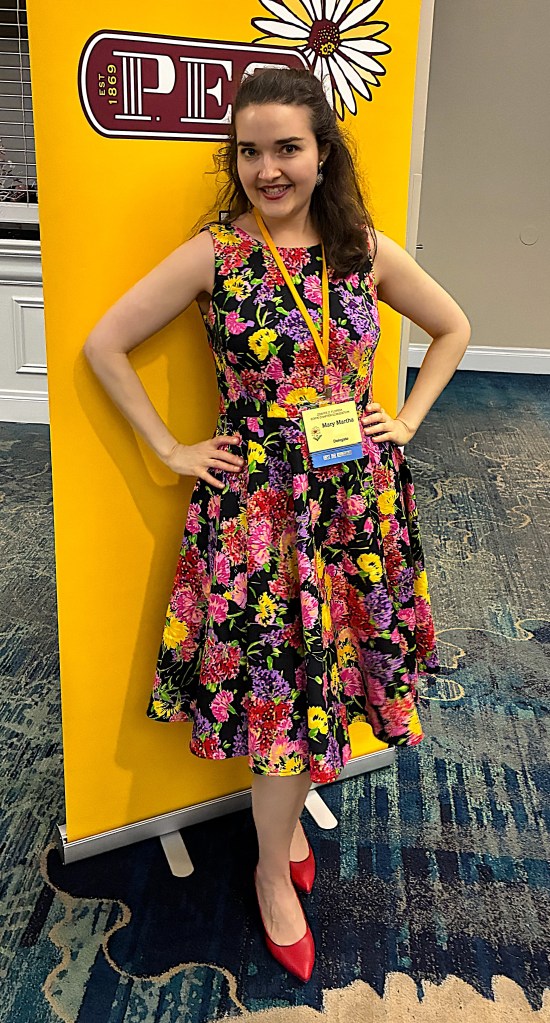
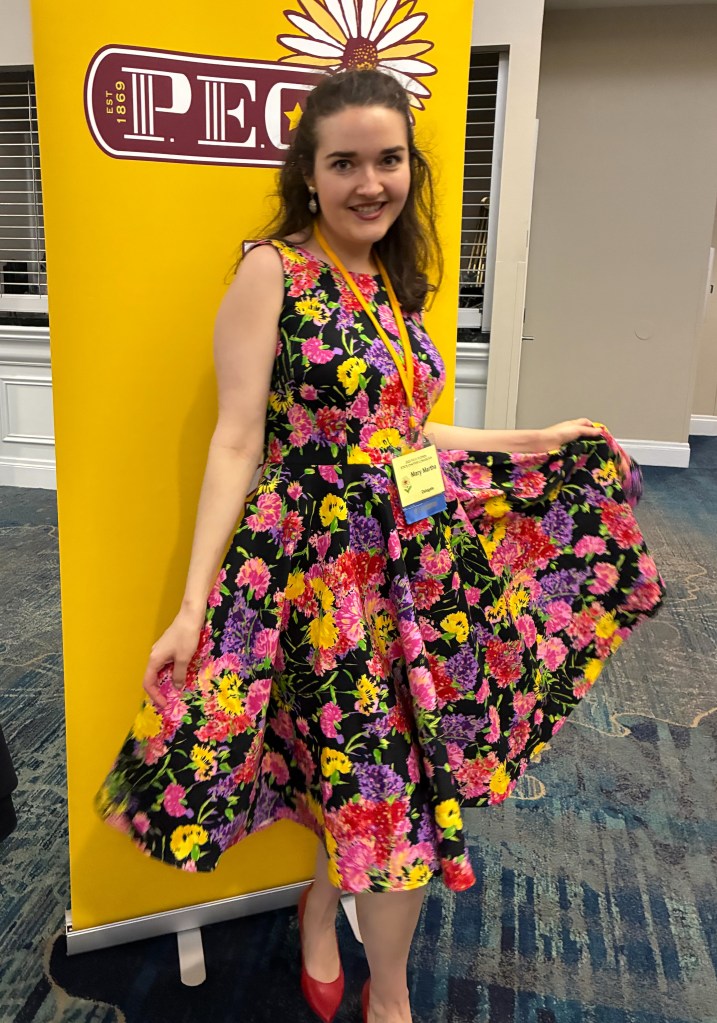
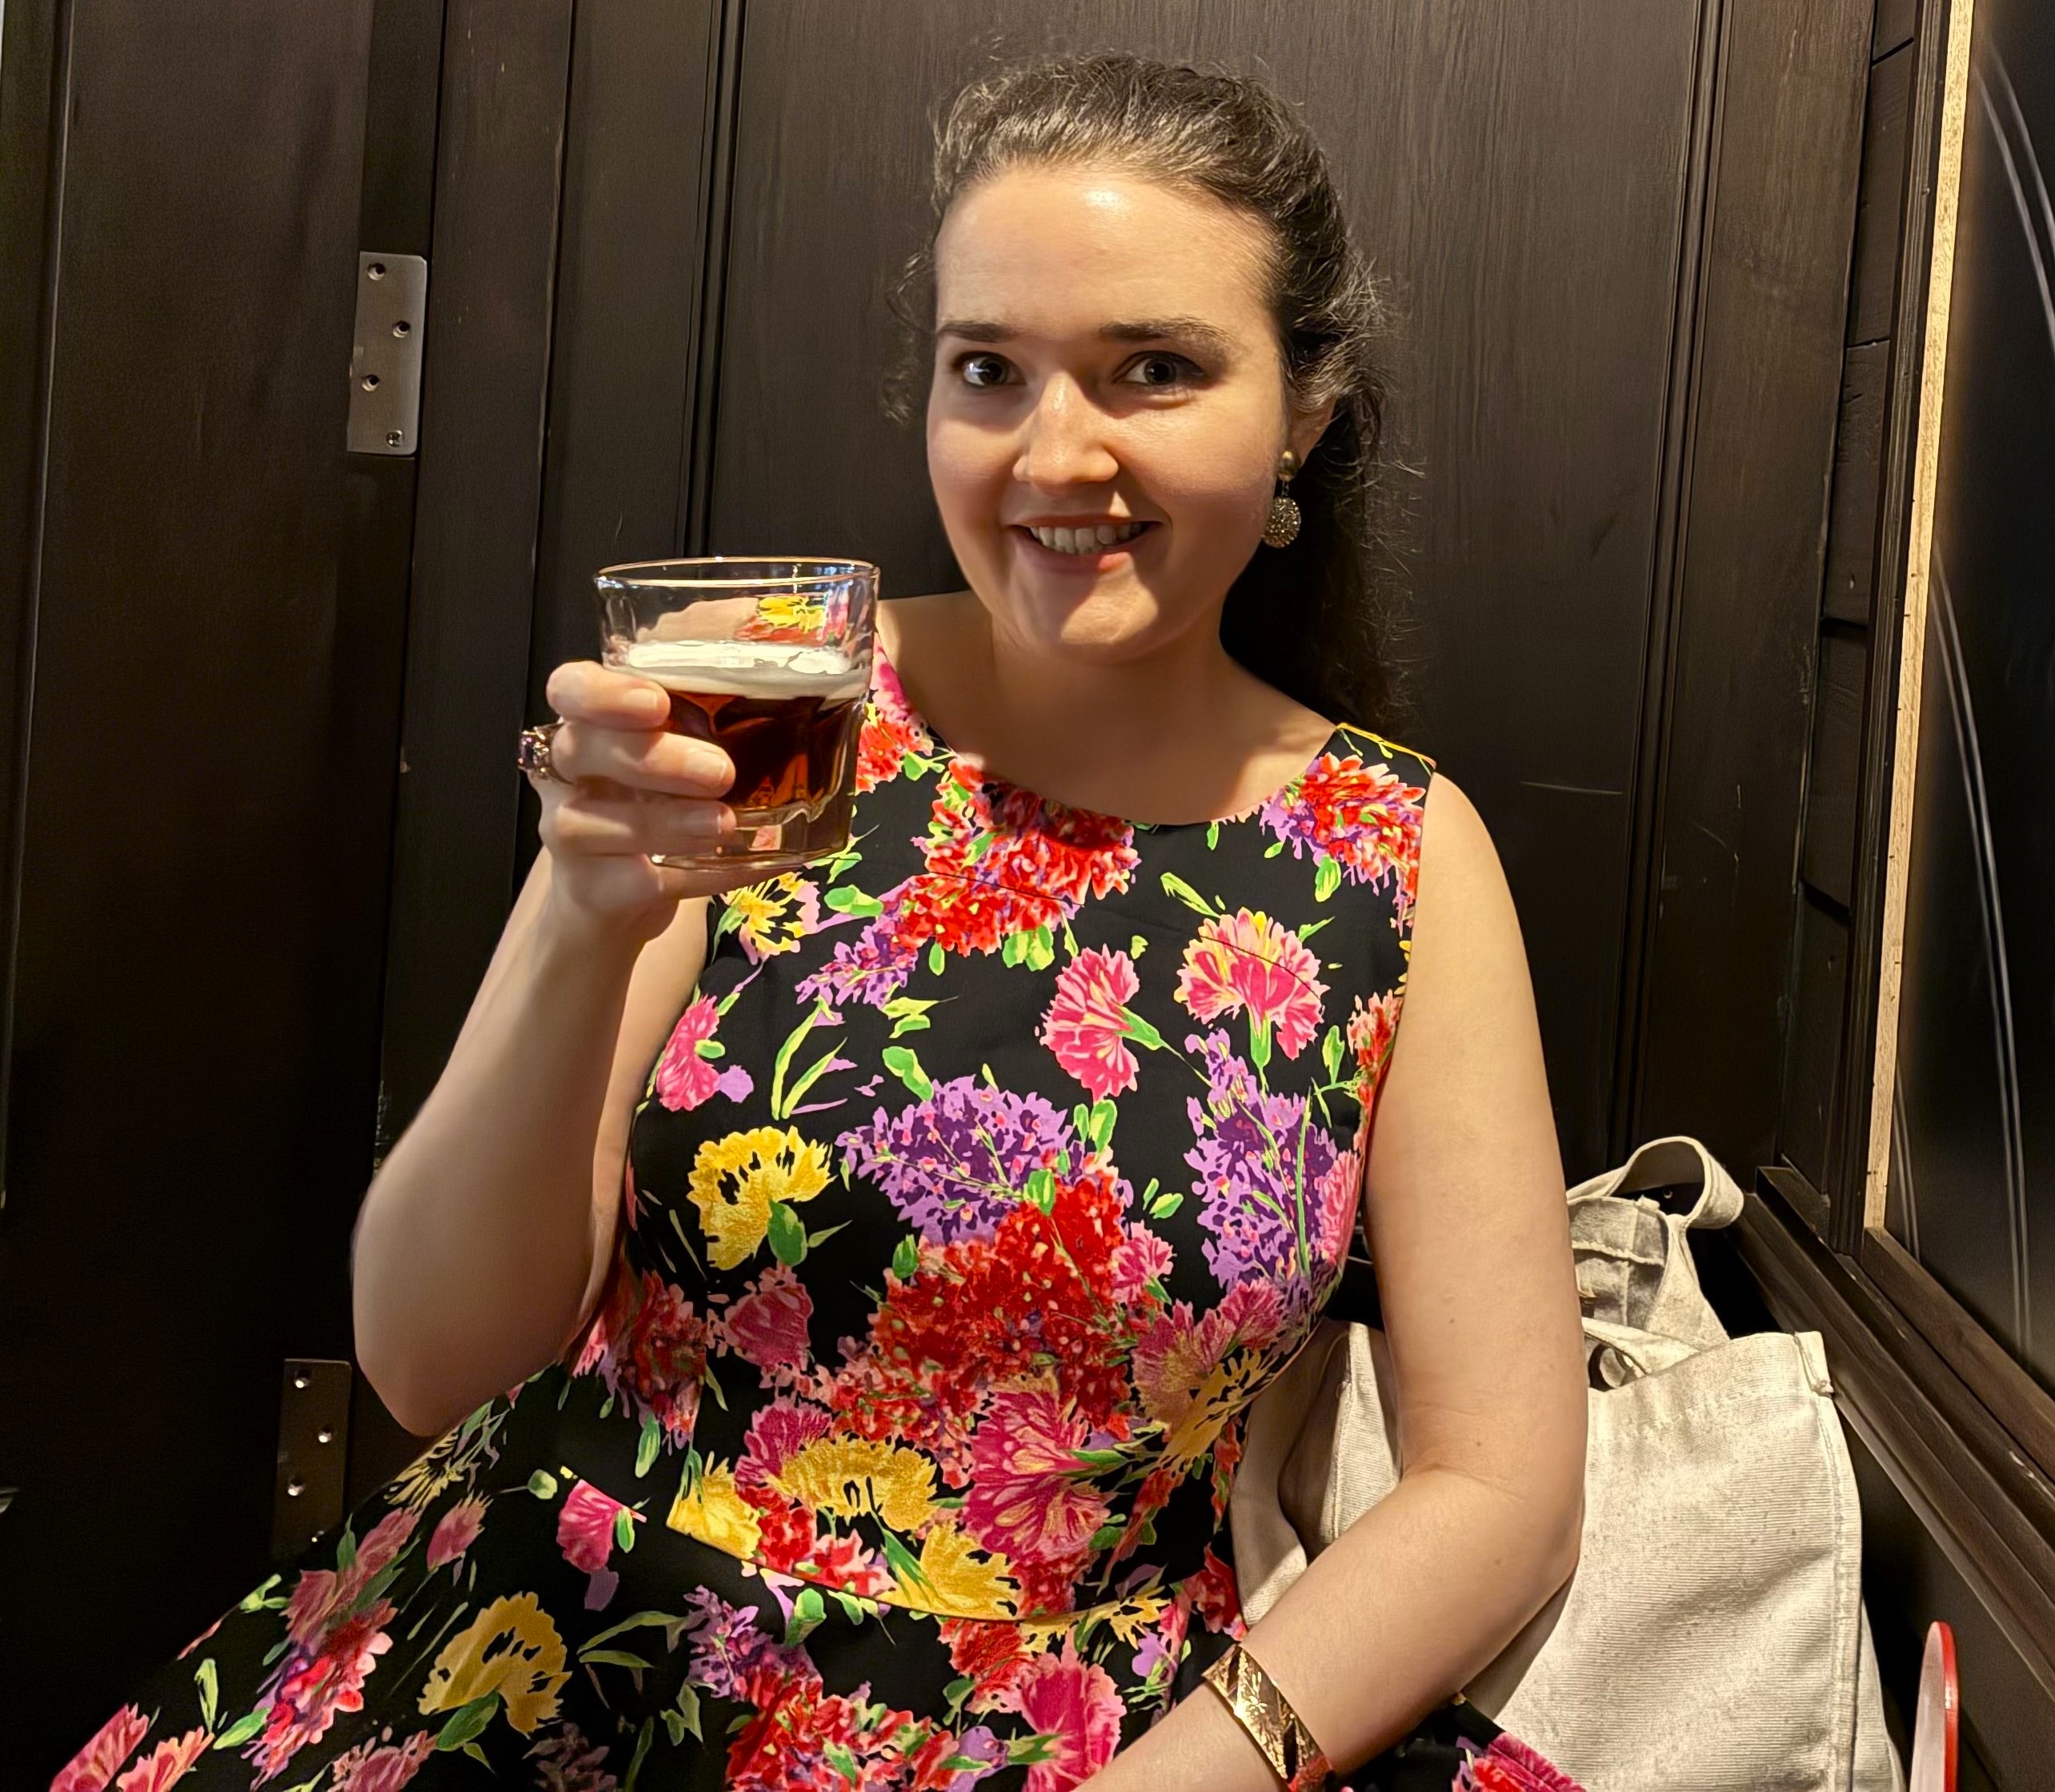
Watching the videos, along with reading several blog posts and sewing a plethora of mock-ups, helped me achieve a near perfect fit on a bodice block that was far from my measurements and bone structure. My first dress was made out of a stretch cotton sateen bottomweight in a vibrant floral print. Its first public appearance was at the Florida State P.E.O. Convention during the Friday night social and helped me to feel like a butterfly, flitting around the dance floor in that voluminous skirt.
Cheers !
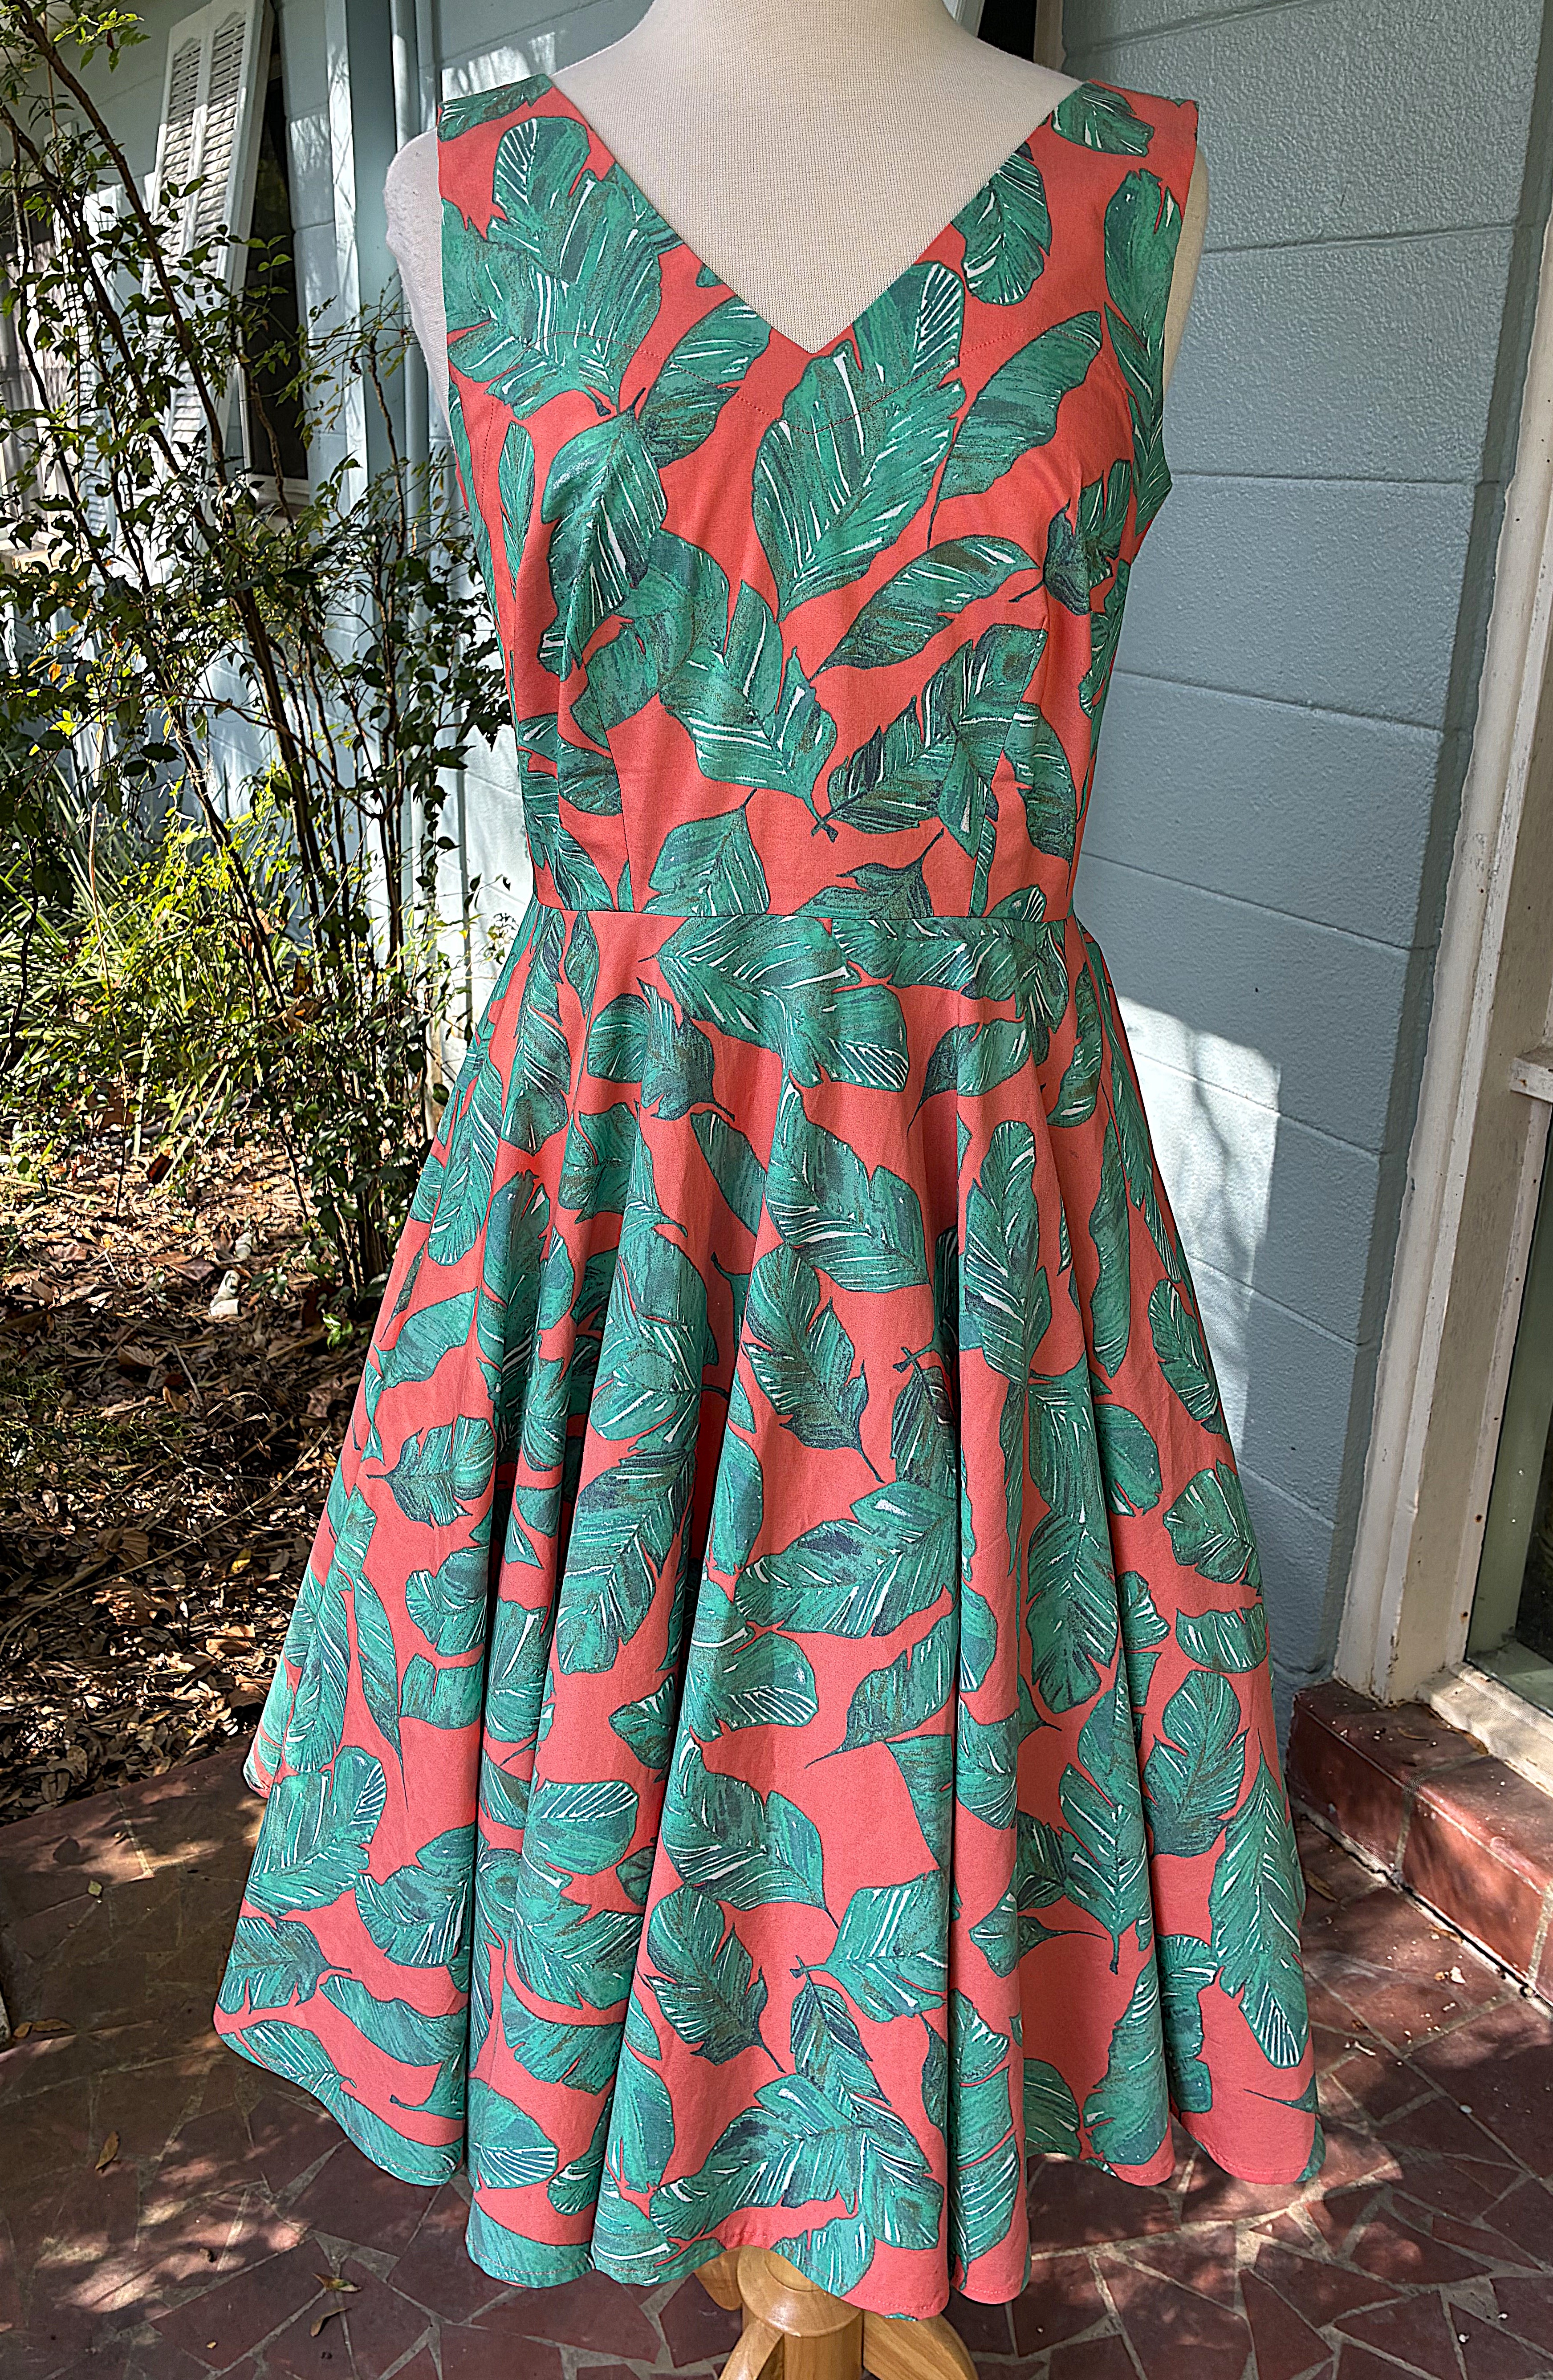
With the success of my first Betty dress, I wanted to make another one, but this time, modify the neckline using the Add-On Pack. I opted for the V-neck version.
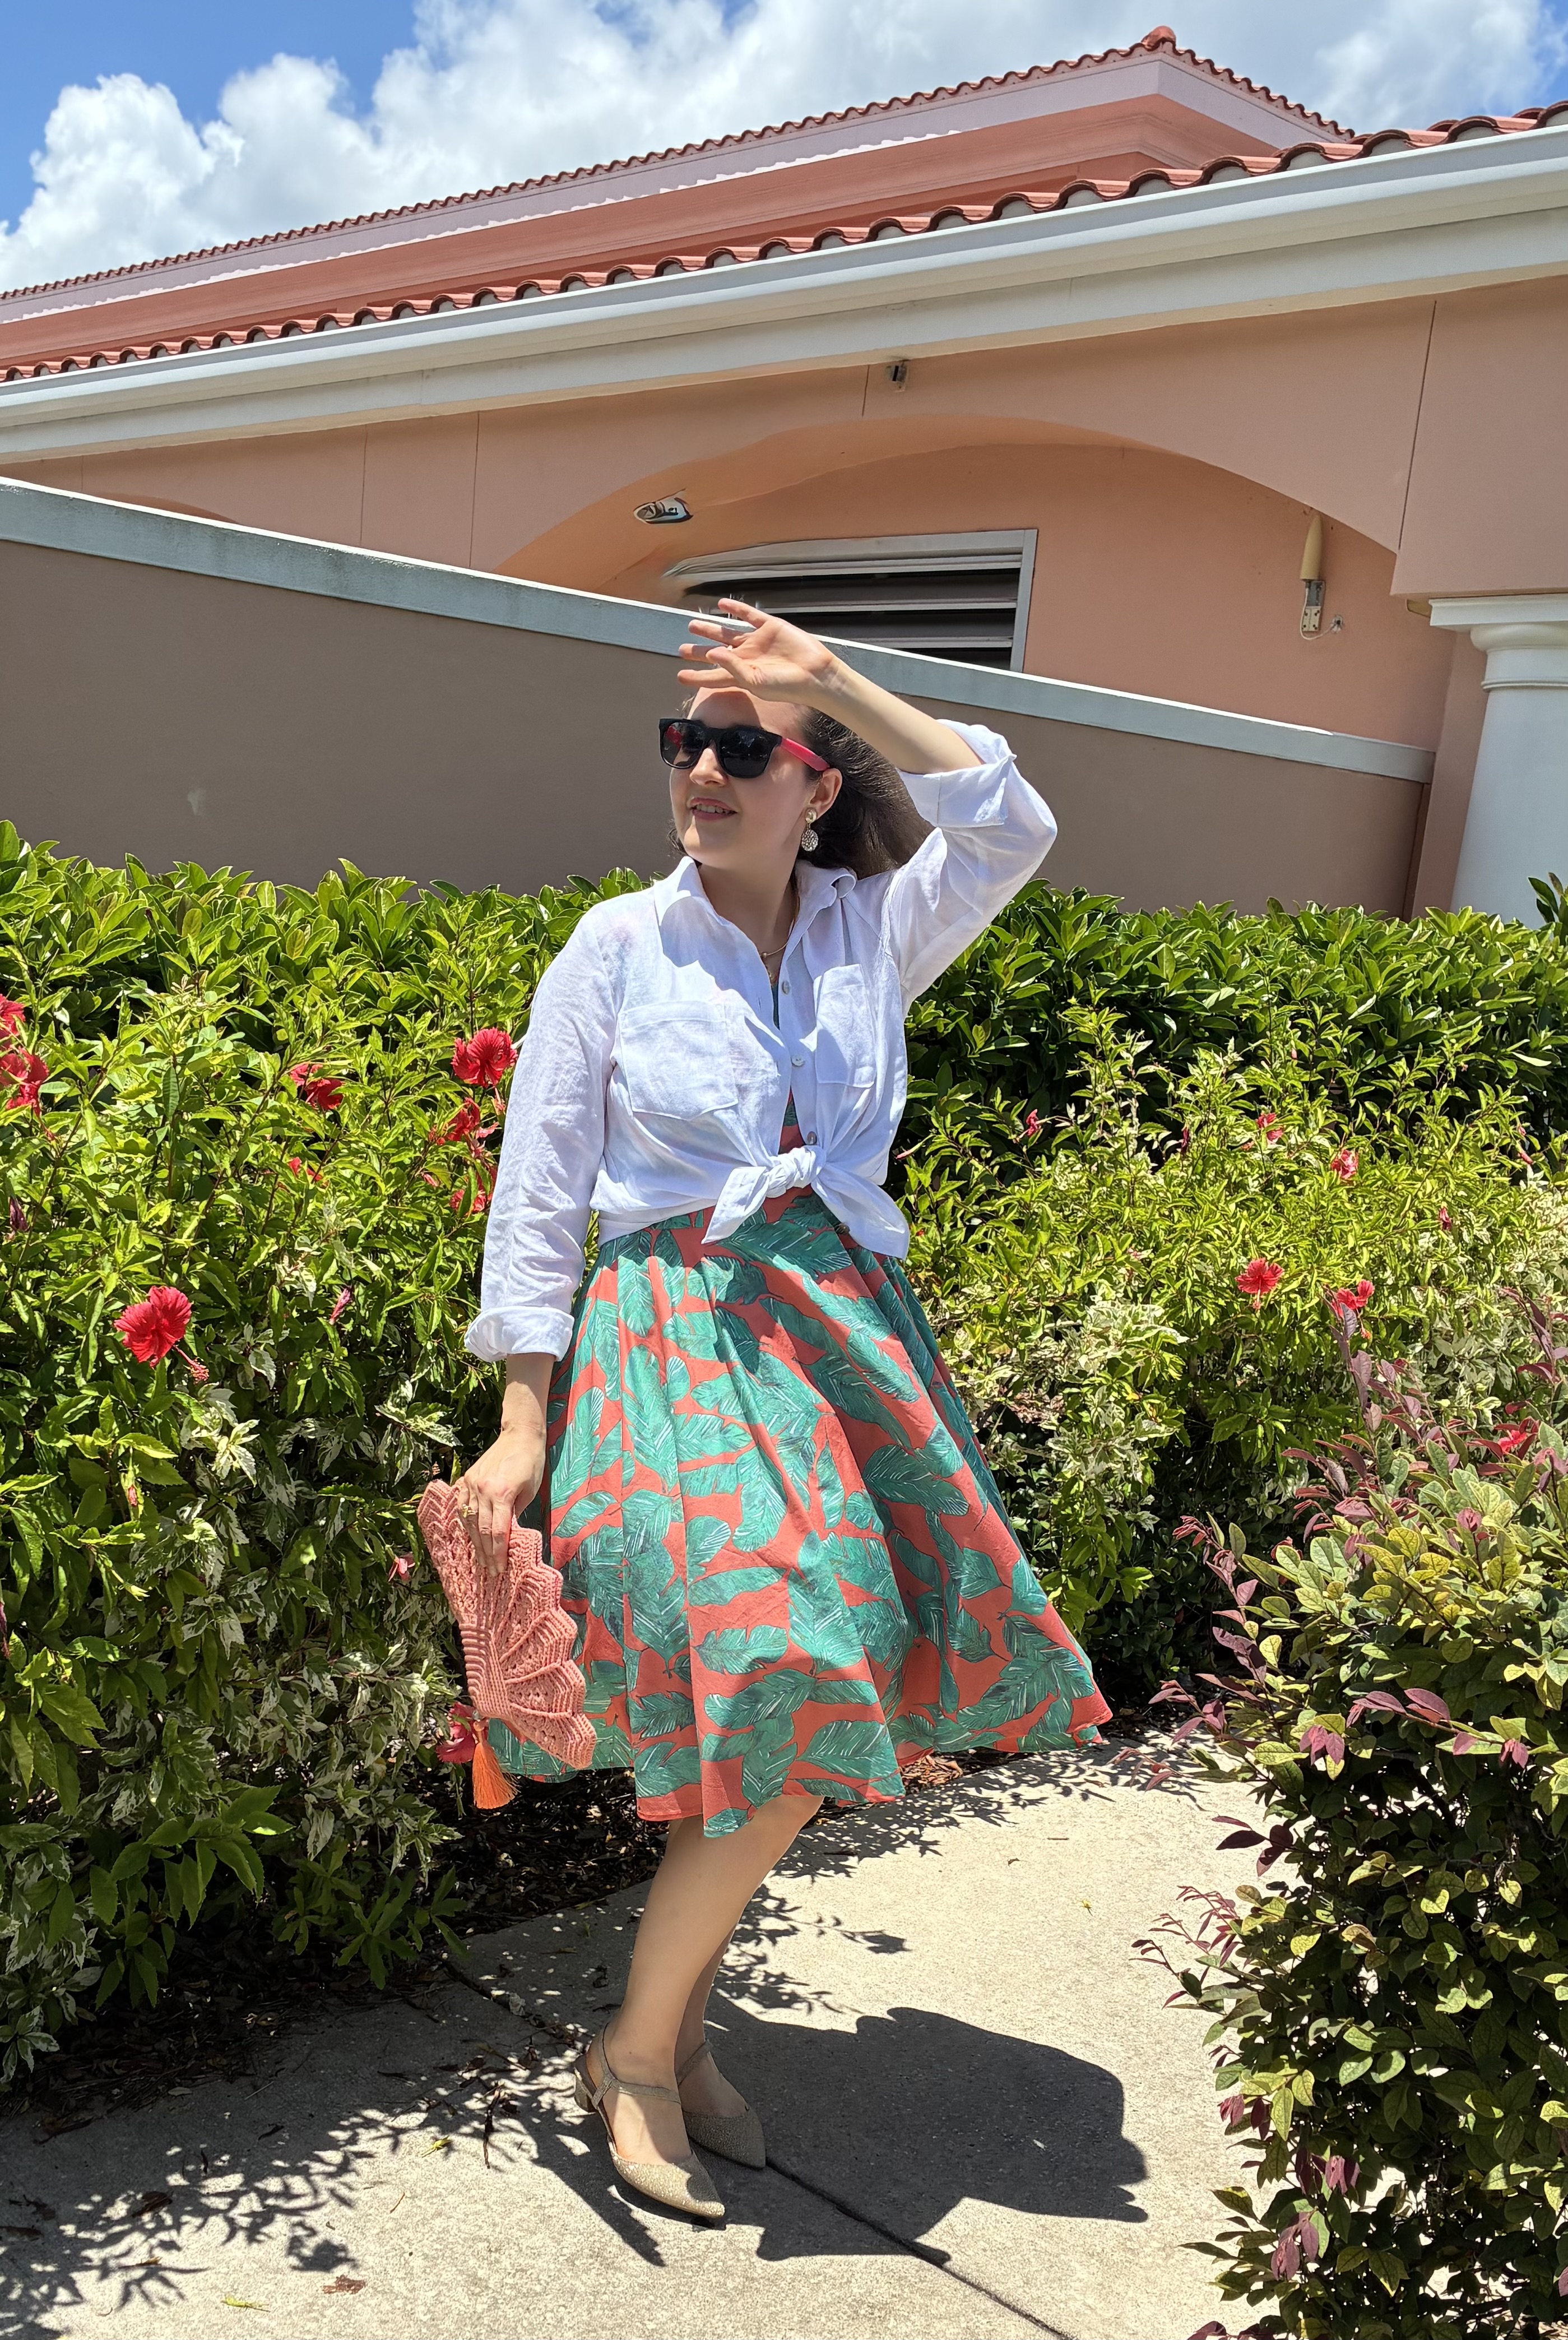
A wild foliage print on a cotton/polyester stretch shirting made for a delightful summer dress, especially when paired with a linen button down shirt as a cool topper.
Sew Over It Betty Dress (V-neck, sleeveless) styled with Pattern Emporium’s All In Shirt
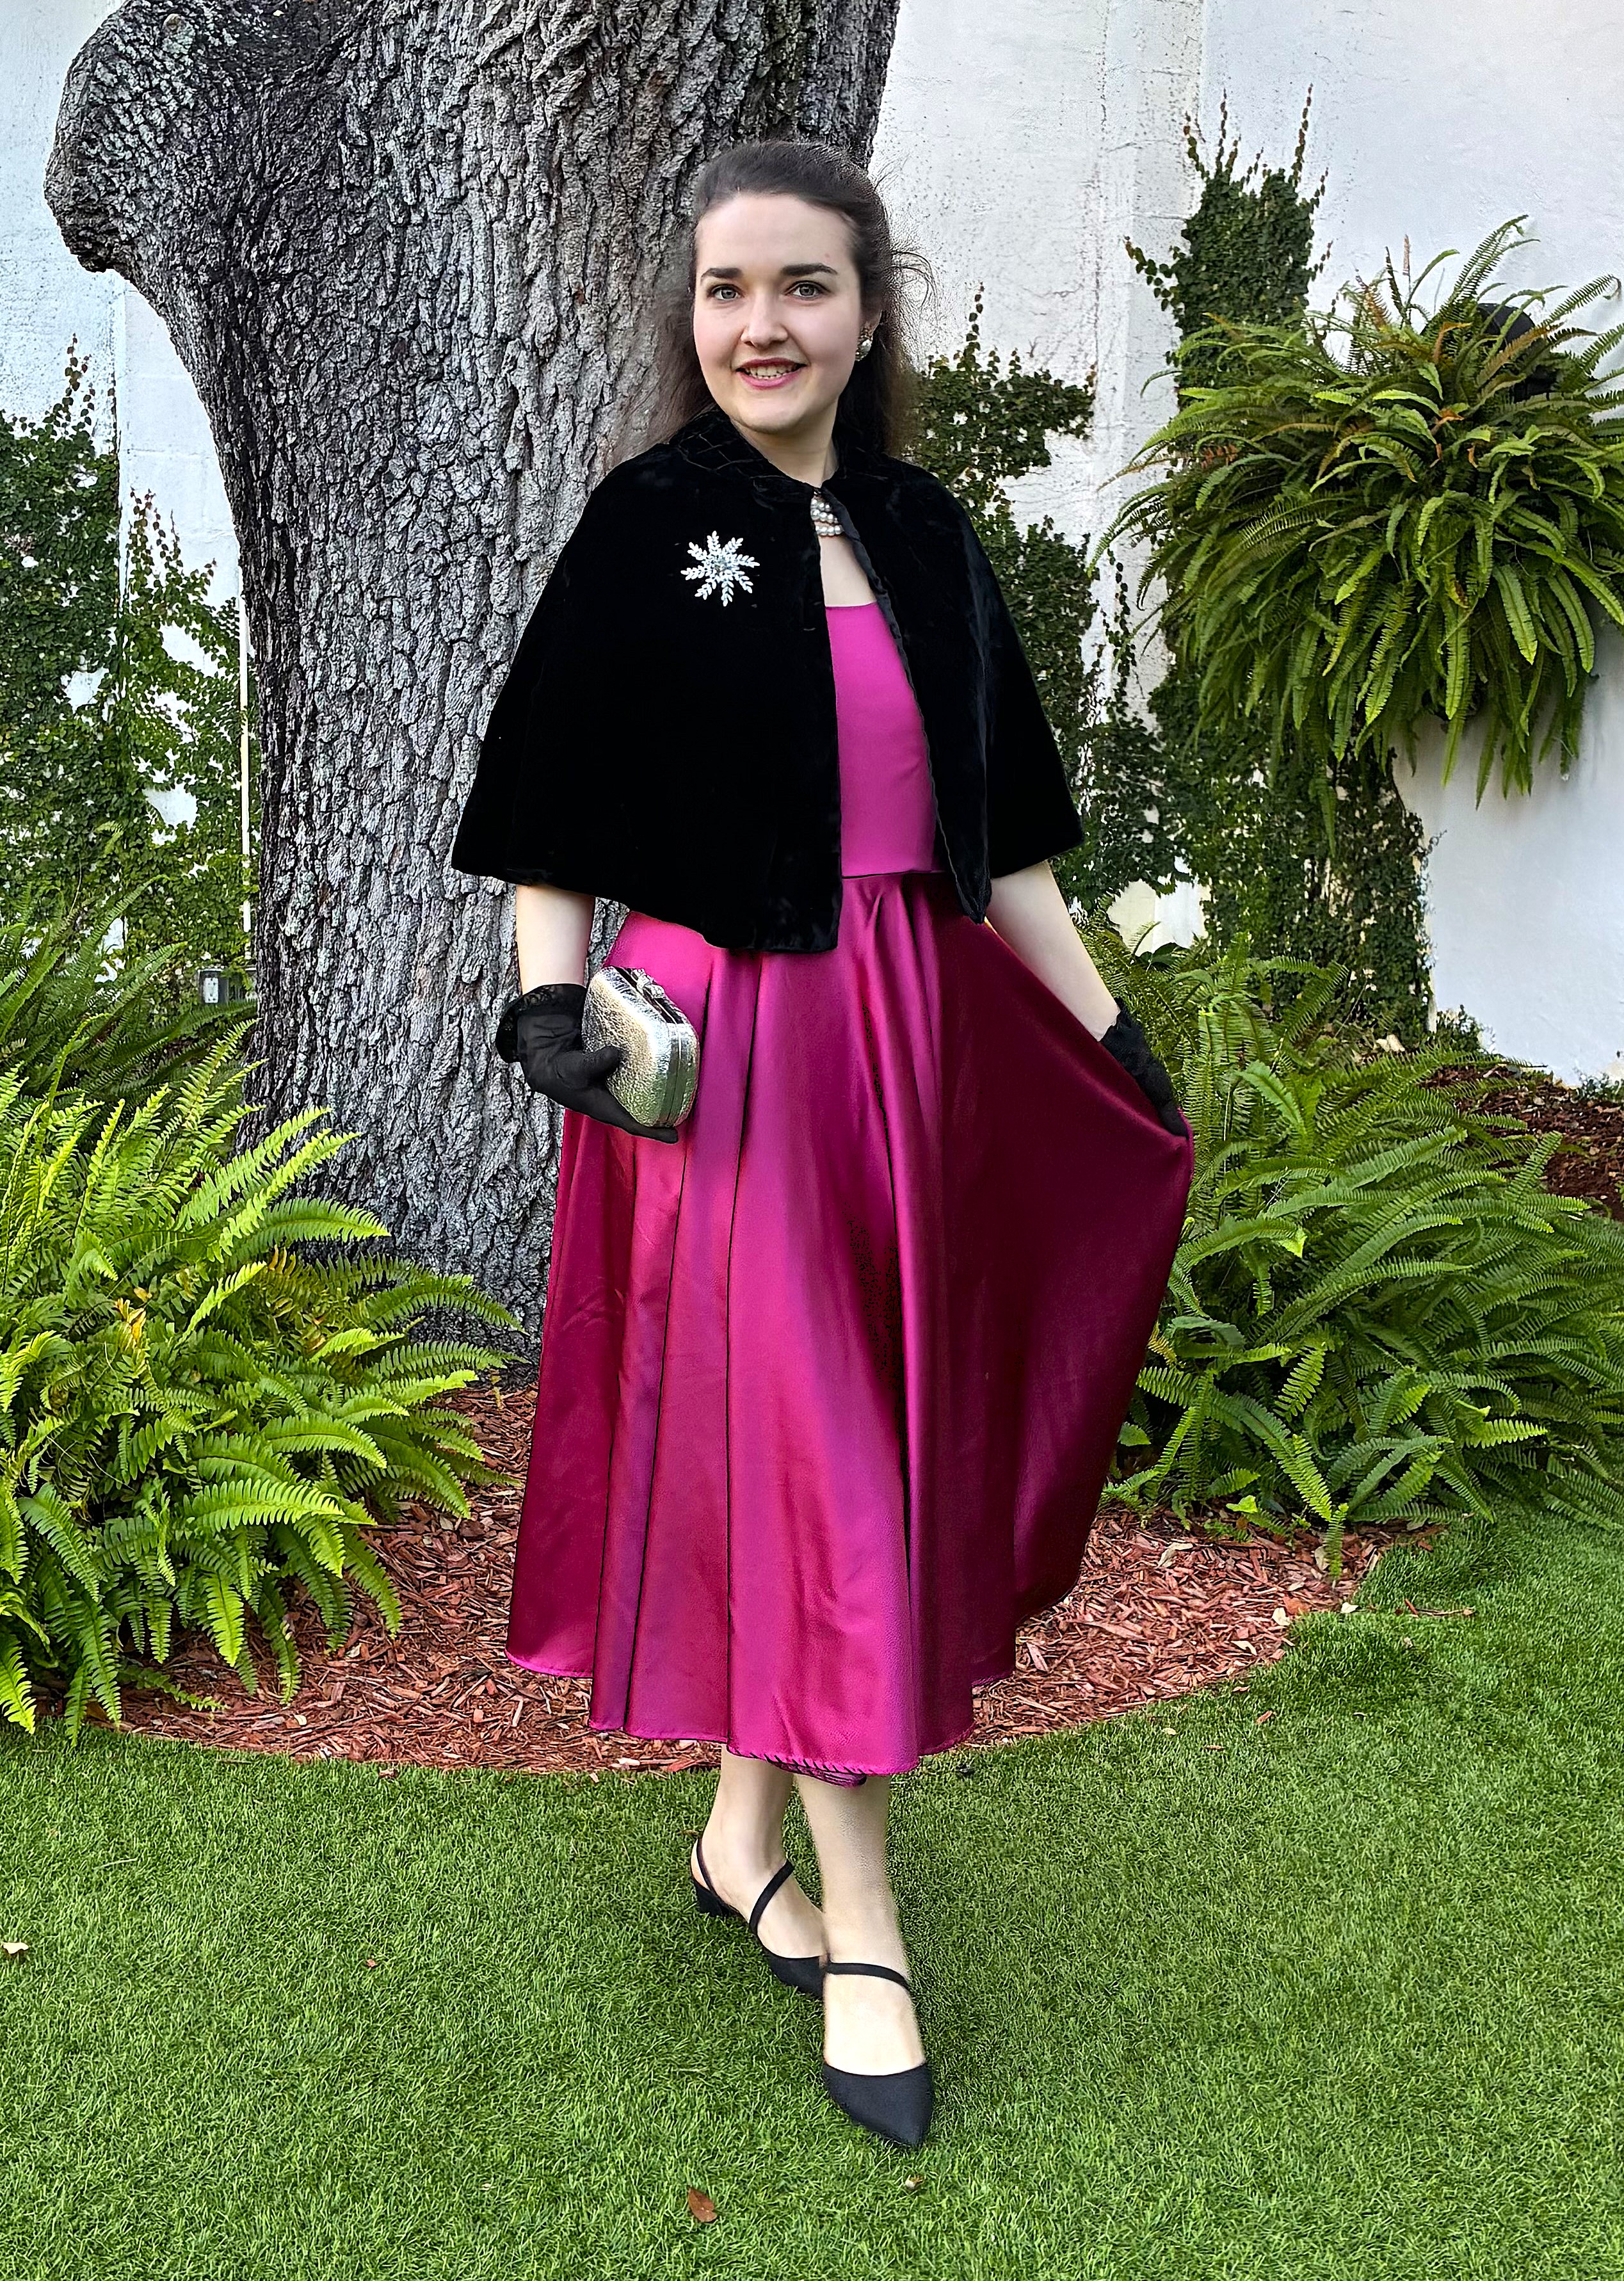
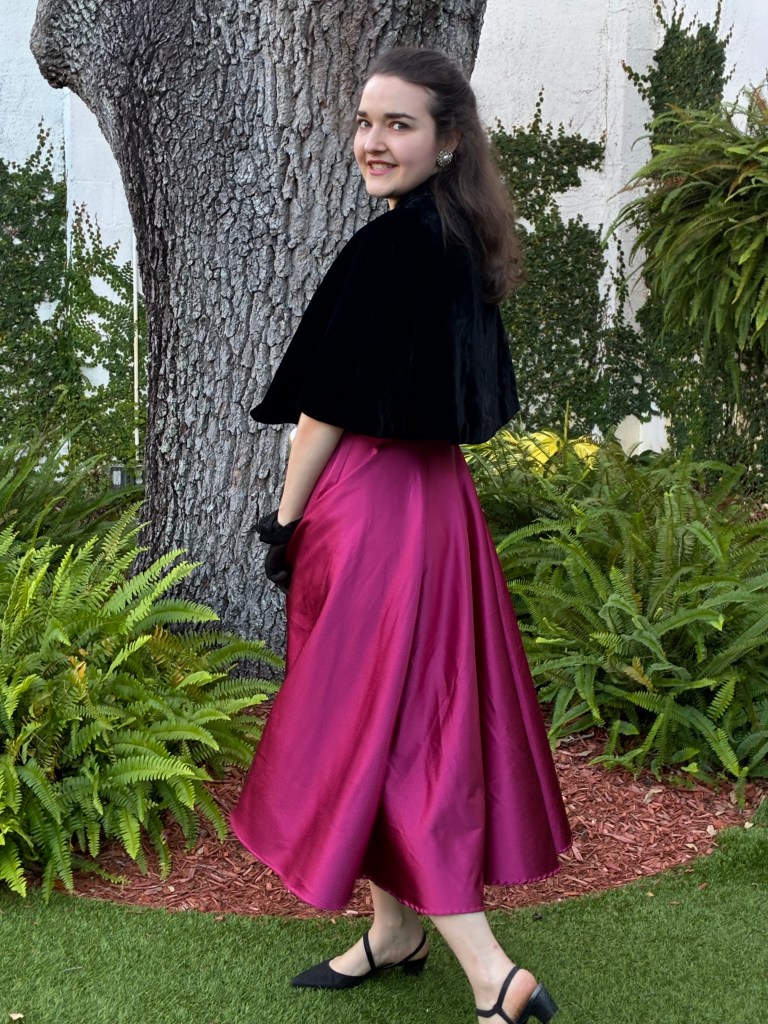
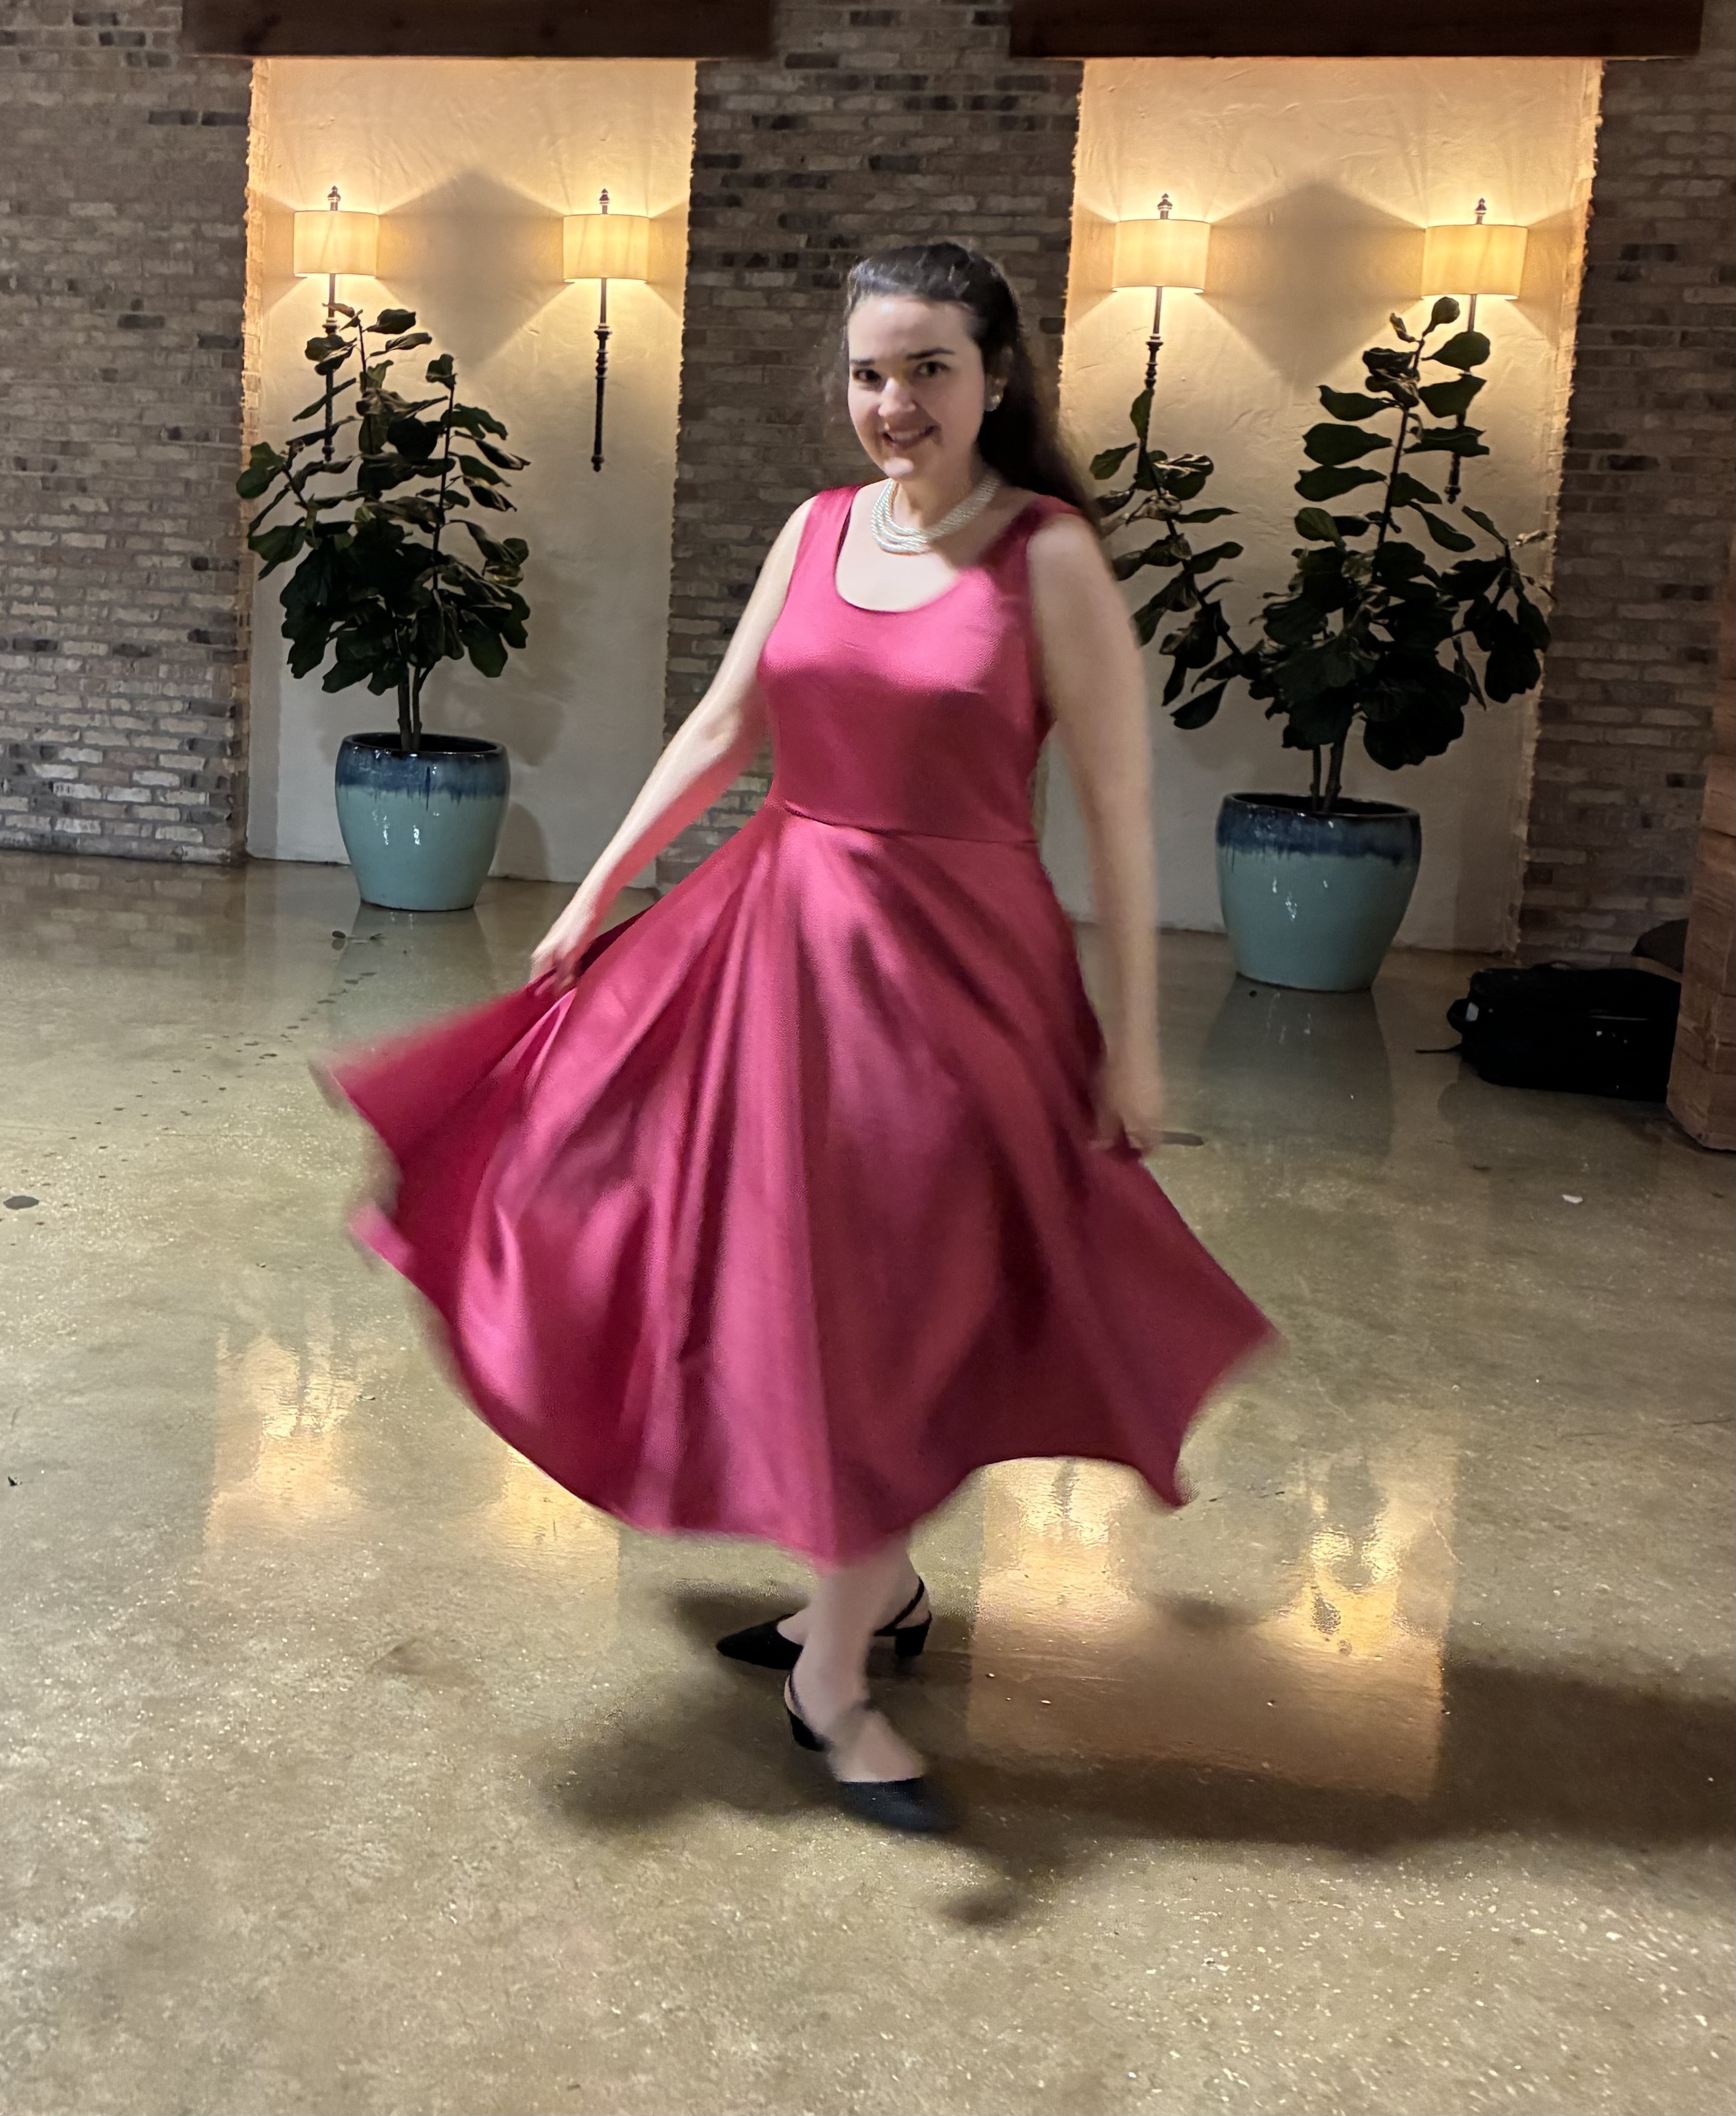
There were now two Betty dresses in my closet, but I still craved more. It was time for a solid frock (and a fancy one, too), I thought. A fall wedding on my calendar was just the excuse I needed to make my desired design.
With the wedding being a semi-formal affair, I extended the skirt to a midi length and used the scoop neck template from the Add-On Pack. Can you guess where I spent most of the evening ?!
As you can tell, the Betty dress easily transitions from a casual daytime look to chic evening attire. And, if you sew like I do, it could become a versatile closet staple and your next sewing addiction.
Oh, Bess… You is definitely my woman now… at least for the duration of an afternoon at the theater ! The creation my 1930’s feedsack frock for Porgy and Bess involved methods that would have left ingenious housewives of the Great Depression tickled pink.
Let’s begin !
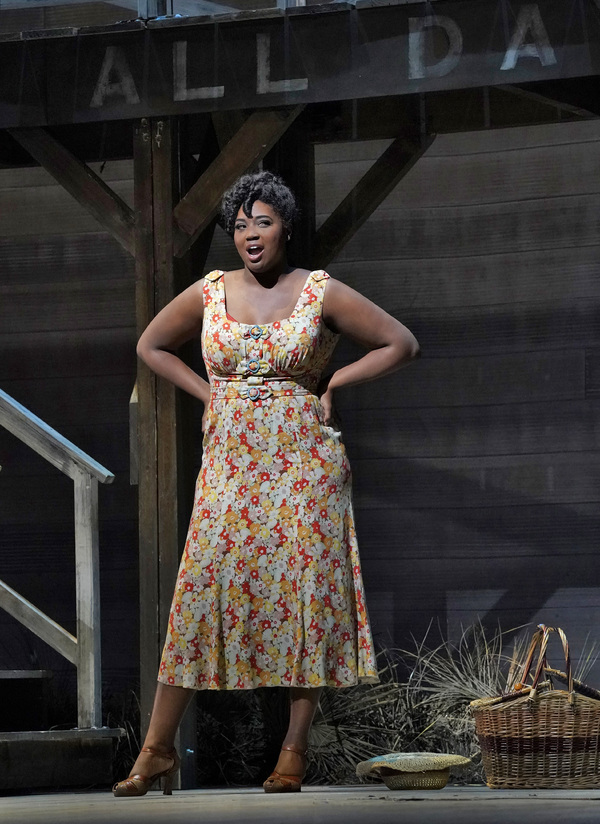
Starting off, my inspiration images were of the sundress worn to the “Kittiwah” Island picnic in Act II of the opera…
Angel Blue as Bess in Porgy and Bess / Metropolitan Opera
Don’t you love the floral print pattern of the material ? I did. So much so that I scoured the web in search of my perfectly matching feedsack print. (More about that in my post about the opera and my guest article for Fabric Mart’s blog.) While researching, I learned how the flour and sugar sacks back in the 30’s and 40’s used to be sold with colorful motifs stamped on them so housewives could sew clothes for their families after using the dry goods inside. Clever ? Yes !
Promotional poster for printed flour sacks
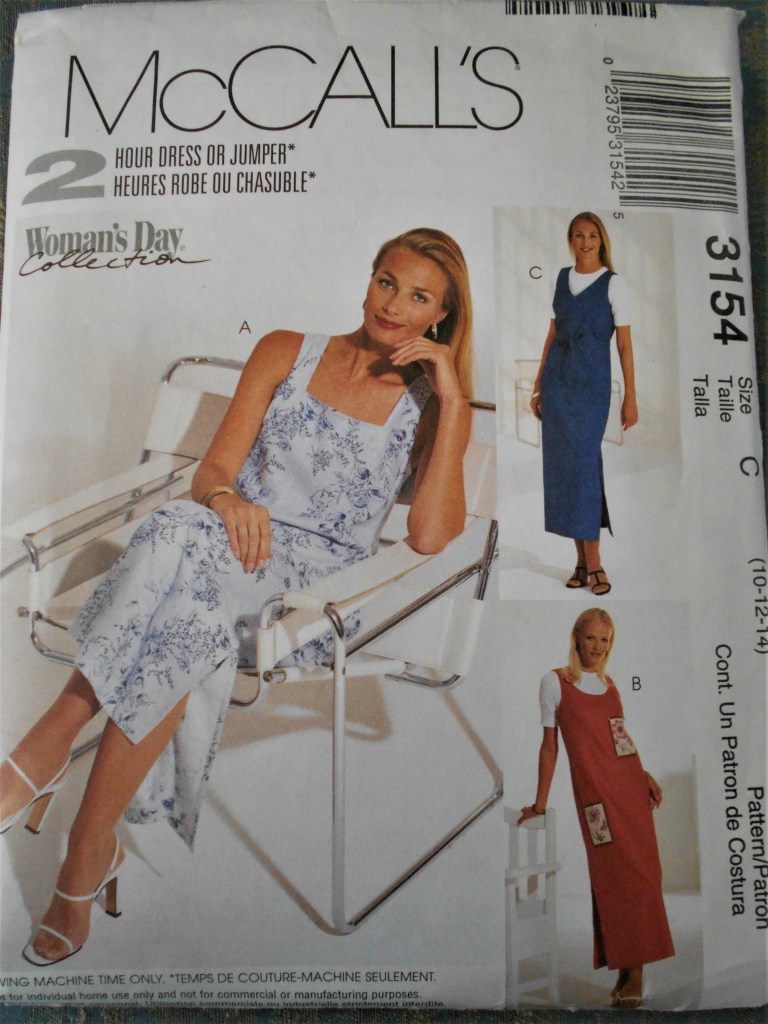
The Porgy and Bess dress had several attributes I wanted to replicate in my own frock. Namely, the underbust gathers, square neckline, and mid-calf hem. I thought of drafting my own pattern from scratch, but what’s the point when a commercial pattern with the same style will do the same ? Seeking simplicity, I perused through my mother’s pattern box and fingered over a never-before-used jumper pattern.
McCall’s 3154
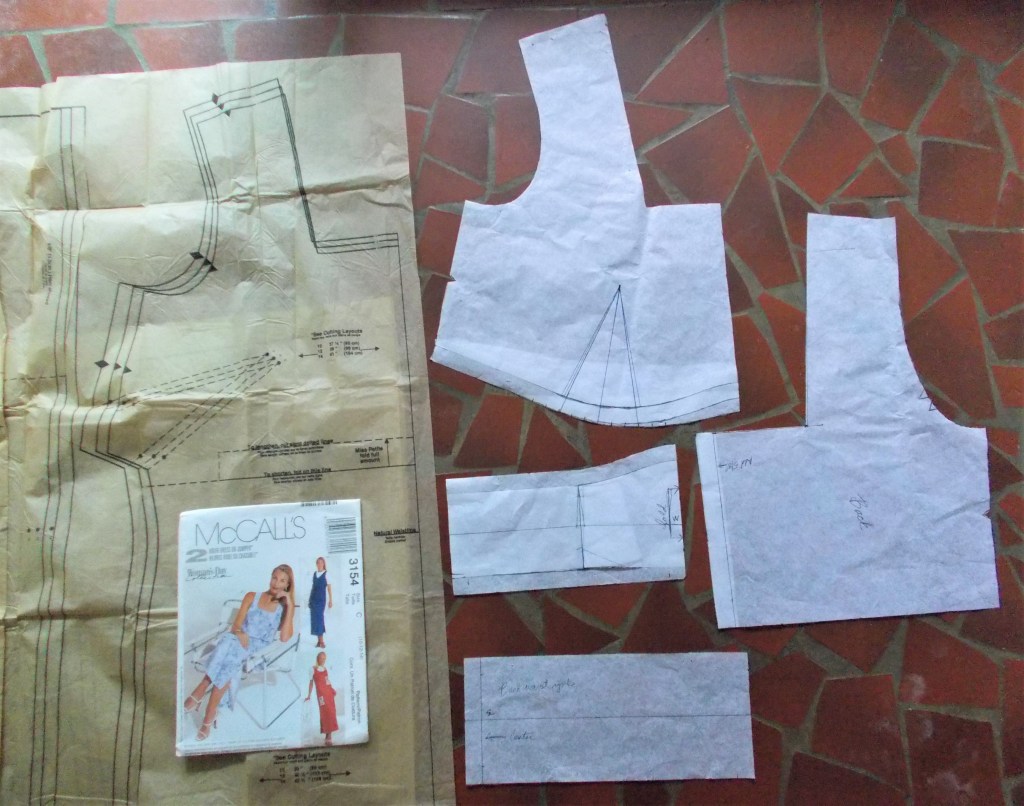
View A, here I come ! Since I only needed the bodice portion of the jumper, I traced its outline onto tissue paper, made the appropriate markings, and rotated the dart from the side to the waist. I also drafted an ascending waist yoke… very vintage.
The original pattern and the new patterns made
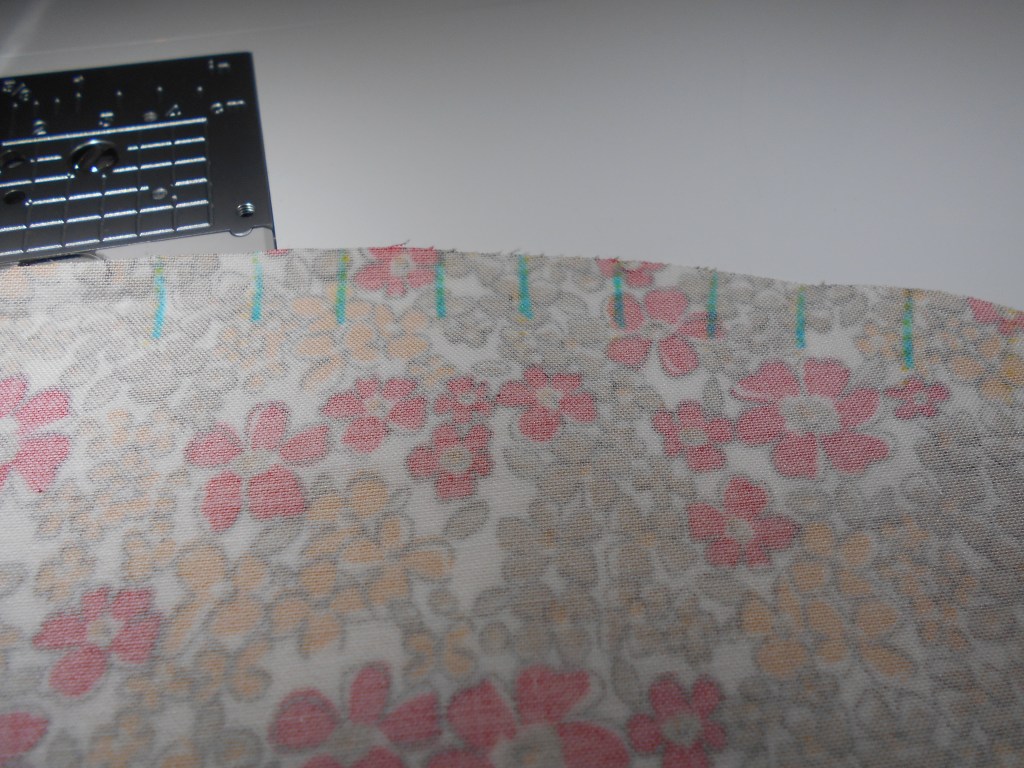
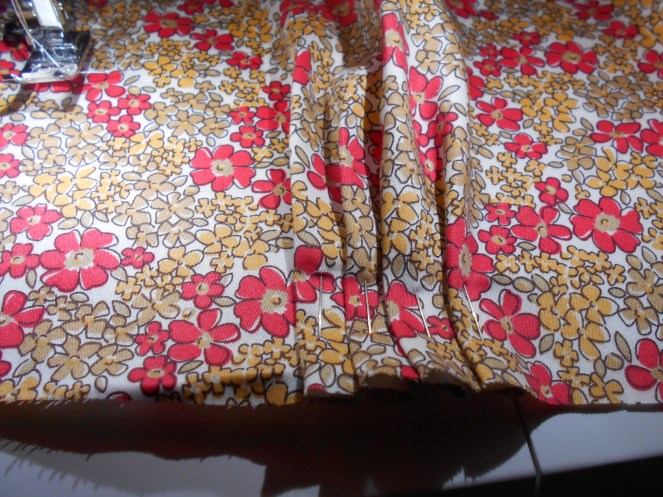
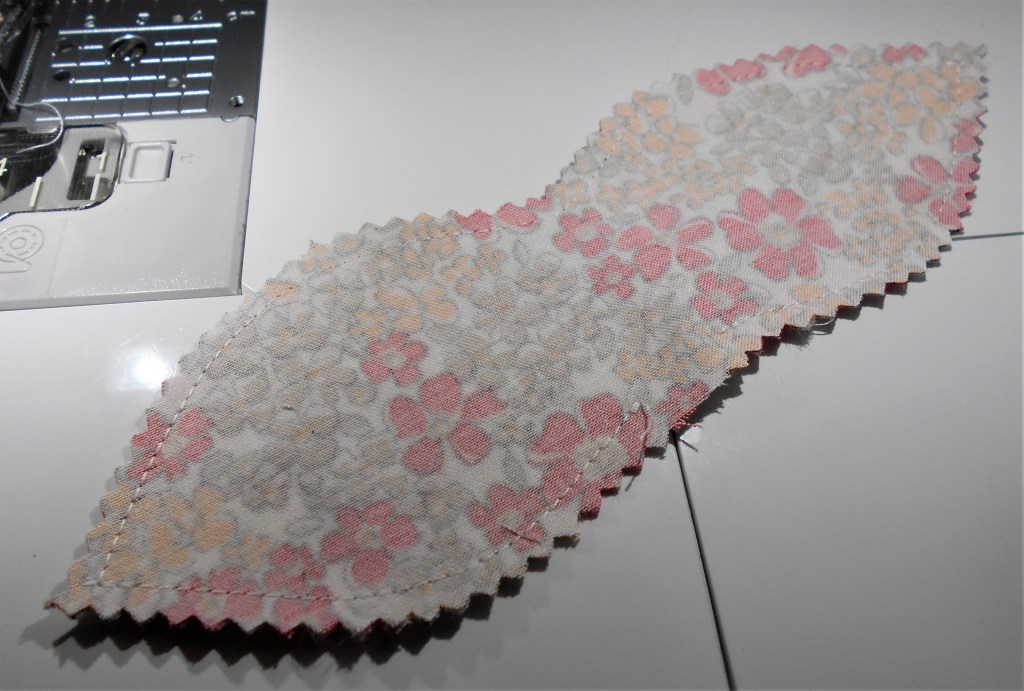
My muslin mock-up indicated some impending flaws. The back gaped and the gathers were thick and unflattering, especially when taking into consideration that the muslin was already thin. I ditched the idea. Using some of the same ingenuity from the Depression-era, I experimented with small pleats in place of the gathers, which were much more efficient and comely. I marked ½ inch lines along the area of the waist dart as a guide for the pleats…
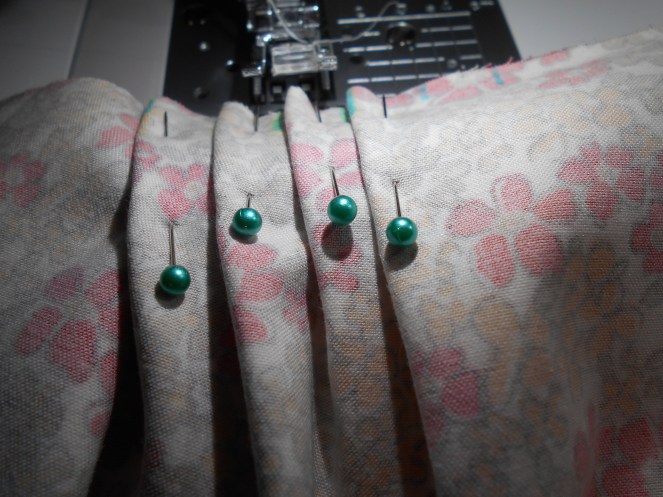
…and pinned them in place.
Pleats pinned in place
Attaching the waist yoke came next. First, I sewed a row of piping along the bottom seam line of the bodice…
…and then clipped the curves along the seam allowances.
The yoke was now attached !
Time to work on the skirt…
When I assembled my mock-up, I traced a basic A-line skirt pattern and altered the waist measurements to line up with those on the lower portion of the waist yoke. The pattern was straightforward and needed few adjustments once sewn. Two back halves were cut as well as one piece on the fold. I also added a pair of inseam pockets because… well, who doesn’t love pockets ?
The inside of the skirt
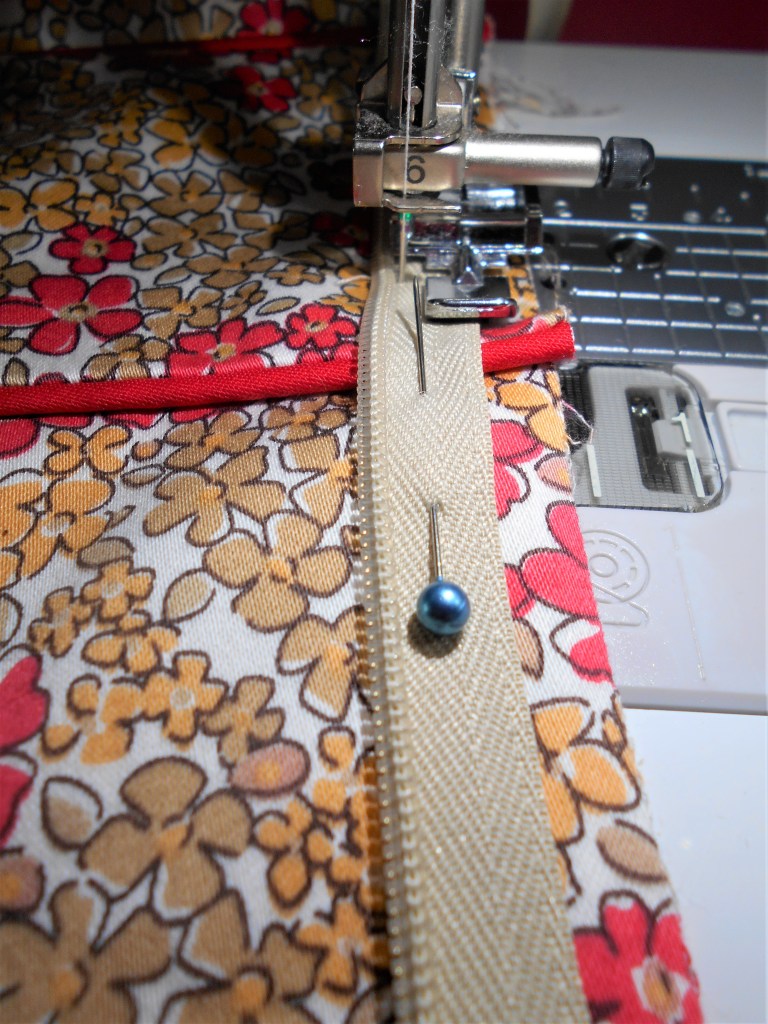
Now for the zipper ! Sewing over two rows of piping and seam allowances can be tough on sewing machines… but not for my Baby Lock ! A zipper foot certainly aided in gliding over the hilly terrain.
Sewing the zipper
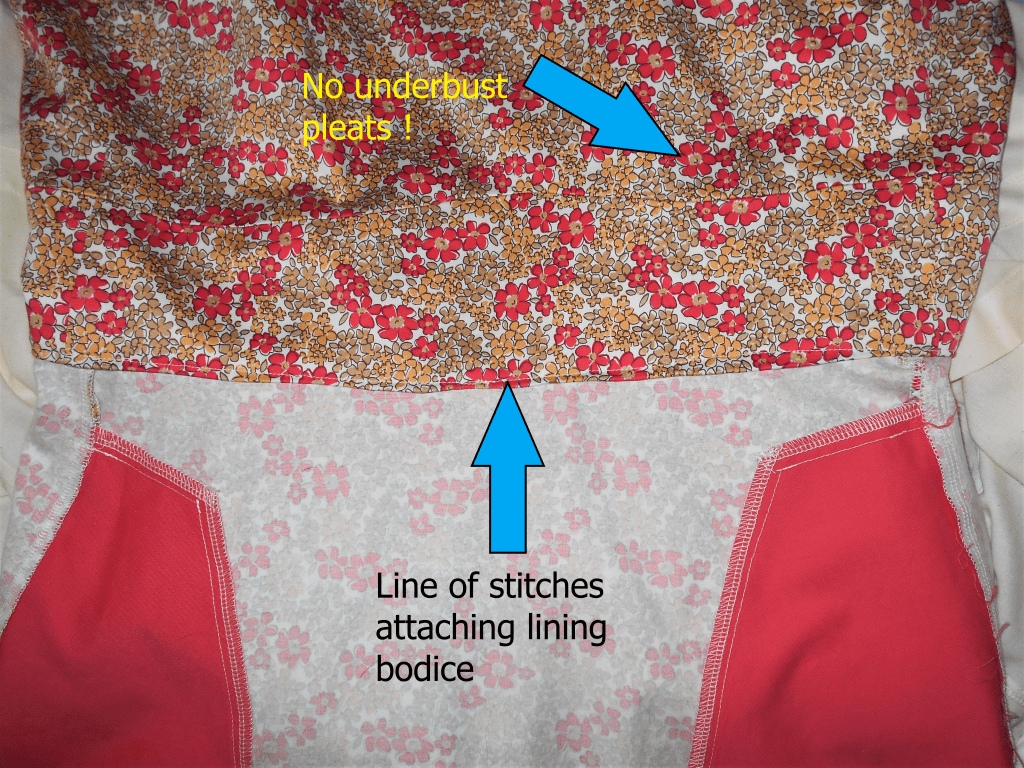
All that was left was to line the bodice, which also included the waist yoke. The easiest way to go about this was to cut identical pieces of the waist yoke (and remembering to close the dart of the front bodice piece before cutting !), sew them together with the bodice pieces along the seam lines, and then fold under the bottom ½ inch along the lower edge of the waist yoke. Here’s what the inside of the bodice looked like after I “stitched in the ditch” of the bottom row of piping from the front:
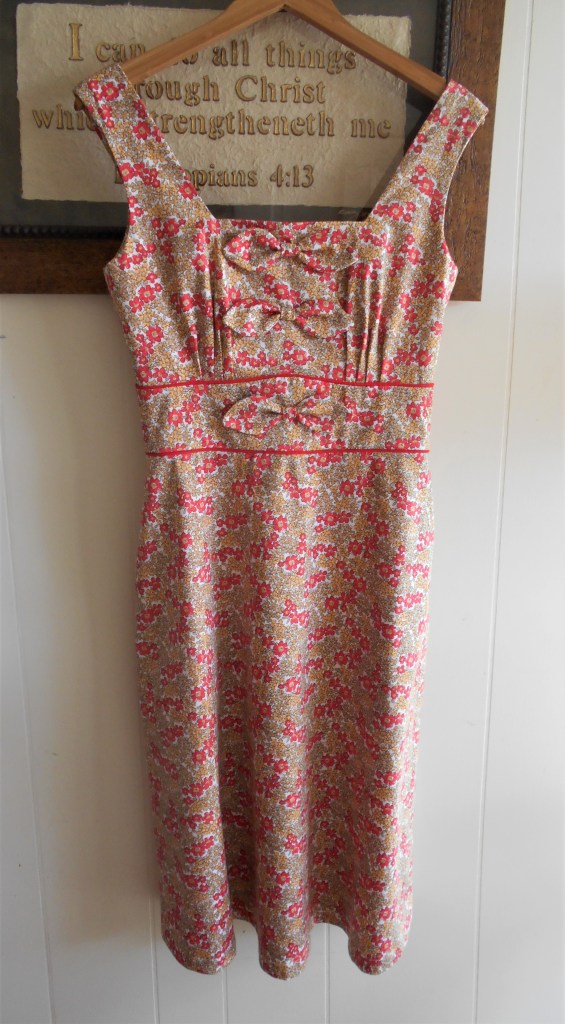
The dress basically finished, it was time to add the bows onto the front.
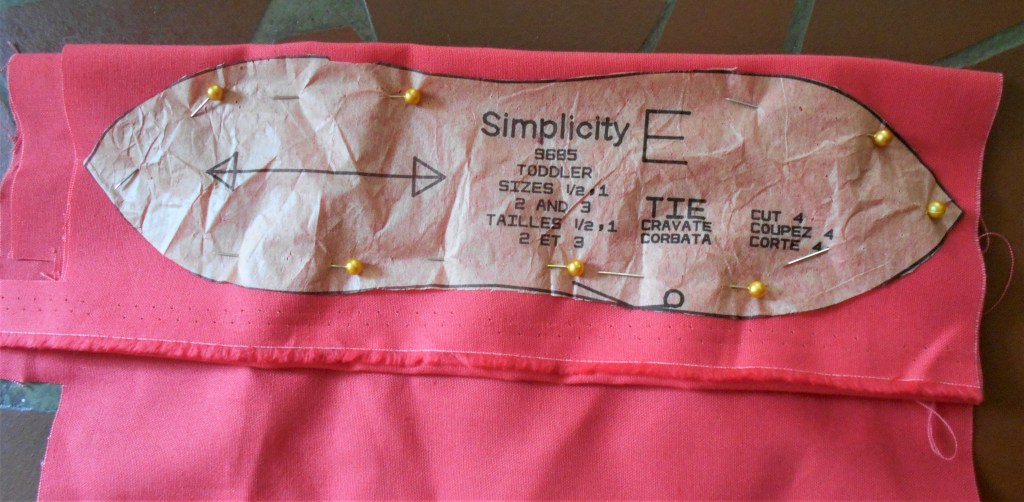
Cutting the right size and shape for a fabric bow can be a toss of the dice. Eyeballing a flat paper pattern piece can at times be tricky when gauging how the pattern will translate into fabric. Because I had such success with the tie bows for the baby clothes I had sewn recently, it followed in my logic that the same pattern would work again.
First attempt at the bows
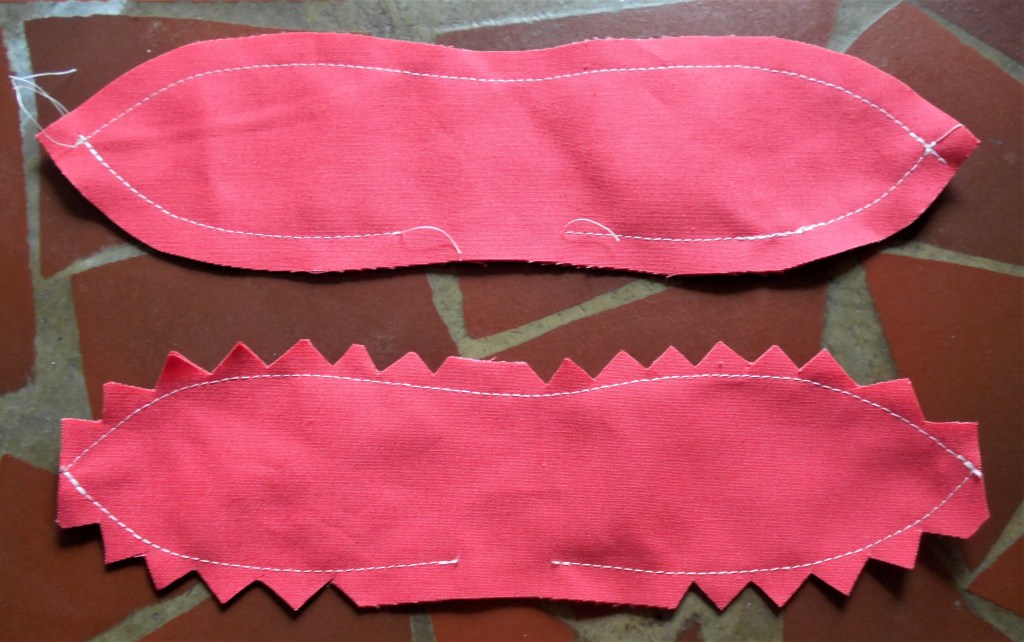
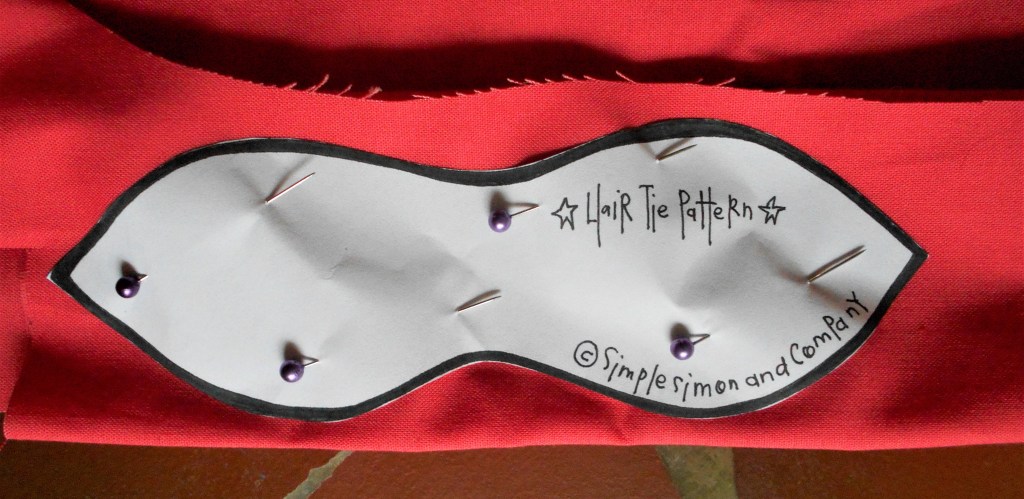
It didn’t work out. Too long, too flat, too thin ! Back to the drawing board… this time with a free pattern I found online.
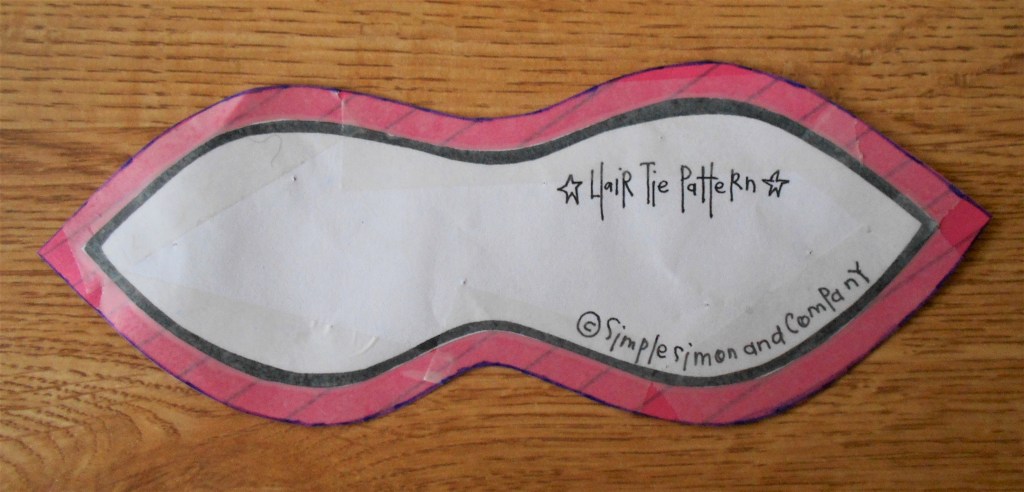
Pattern copyright: Simple Simon and Company
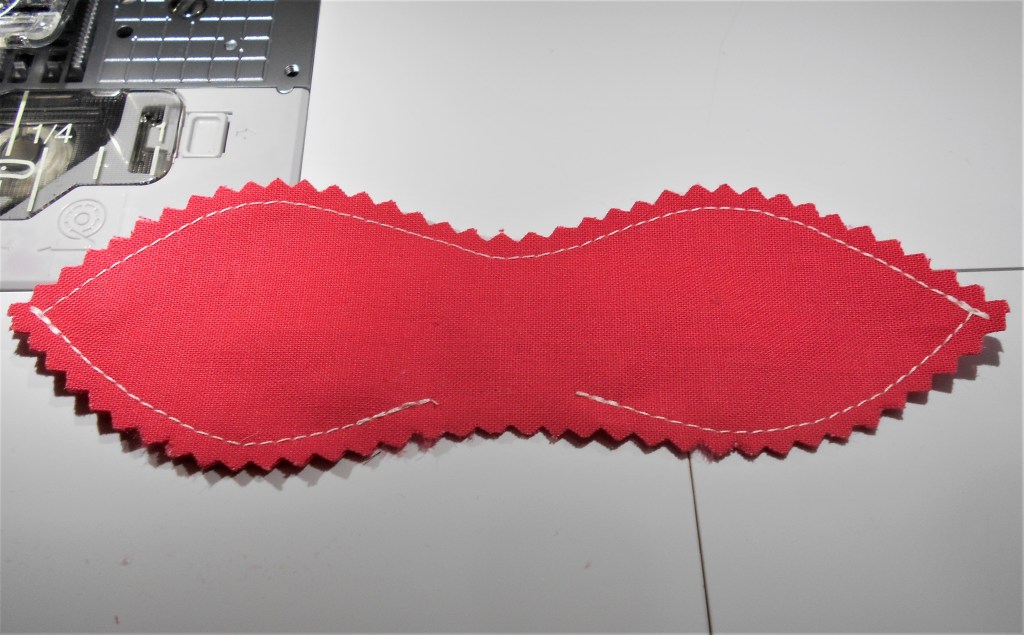
Close, but no cigar. However, by modifying the pattern just a bit (and swapping out the pocket lining material for the floral stretch poplin), I felt I could have a winner on my hands…
Success !
The additional ¼ inch seam allowance created a perfectly fashionable bow, which was pinched together in the center and sewn with a folded rectangle of fabric for the knot.
The bows were just subtle enough sewn down the front of the bodice, but too stiff for the tops of the shoulder straps.
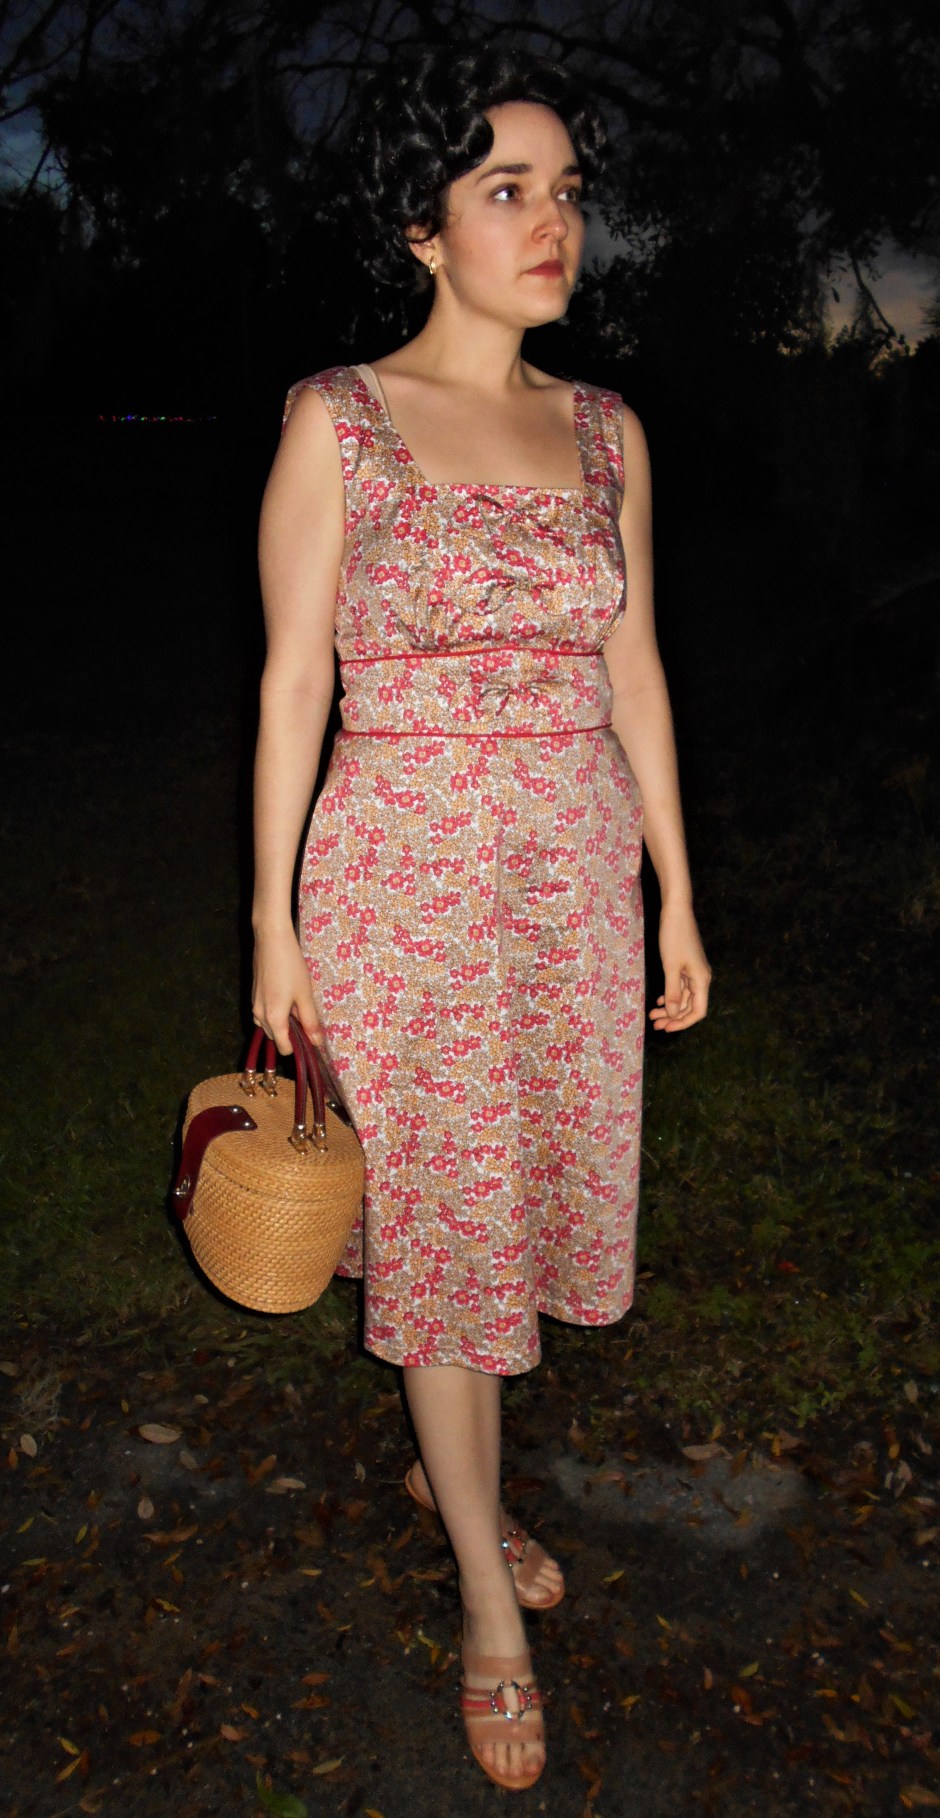
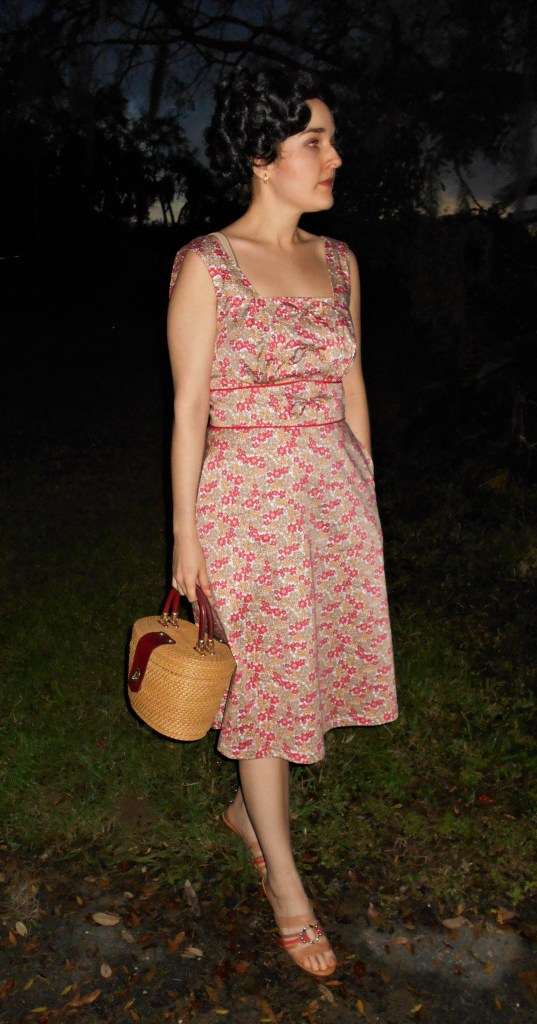
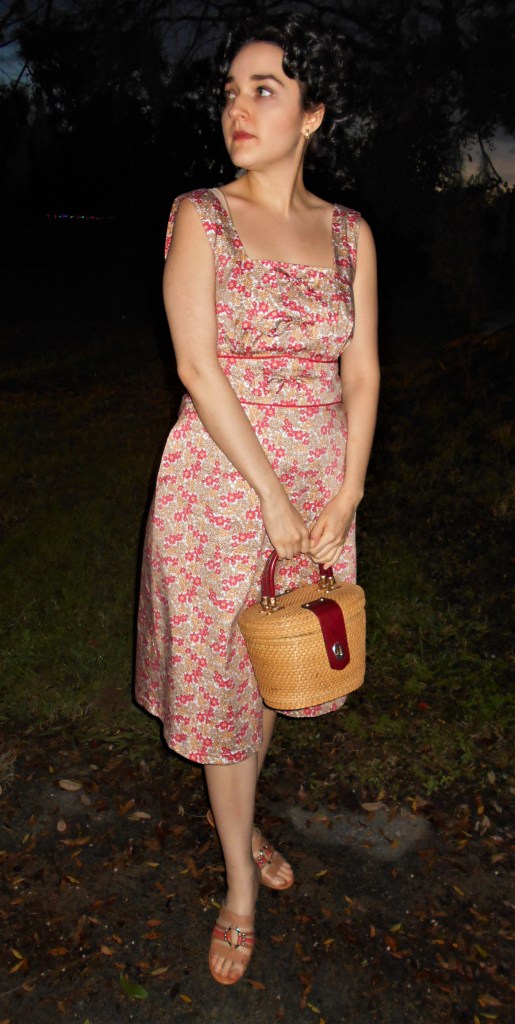
Show time !
I wore a curly 30’s style wig and carried my mother’s Nantucket basket purse for my sundries.
Every project has a flaw and in this dress, it was the shoulder strap placement. I hypothesized that along the way in the multiple manipulations of the original pattern, the shoulder strap became deformed, was cut too wide, and as a result, wanted to slide off my shoulders. Therefore, I found myself constantly checking to ensure the dress concealed my bra straps. As evidenced by some of the pictures, that wasn’t always accomplished. Oh, well !
The dress had flaws, Bess had flaws. Perhaps the old line was more pertinent than I realized─ “Bess, we two is one !”
When you think of the American Wild West, what comes to mind…? Cowboys ? Rocky mountains and perilous cliffs ? The California Gold Rush ?
What about Italian opera ?
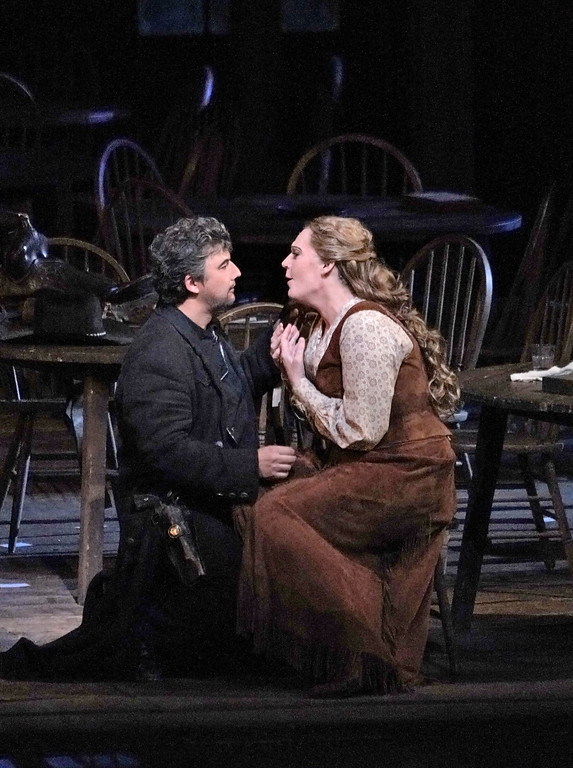
Puccini’s stirring masterpiece, La Fanciulla del West, wrangled together the landscape and romance of one of America’s greatest periods in history into an absolutely captivating production. The opening score swept with vastness and virility, like the opera’s elusive anti-hero, Dick Johnson, played by an even more elusive Jonas Kaufmann. I had waited years to finally catch Kaufmann in a Live in HD performance (he had previously backed out of both Manon Lescaut and Tosca) and I was ready for my due !
Eva-Maria Westbroek as Minnie and Jonas Kaufmann as Dick Johnson in La Fanciulla del West / Metropolitan Opera
I loved nearly everything about this opera: the wholesome heroine, the realistic production setting, the old-fashioned romance, and the wily game of 5 card draw. I laughed, I didn’t cry, I swooned. In fact, I found the opera and production so endearing that I went to see the encore the following Wednesday !
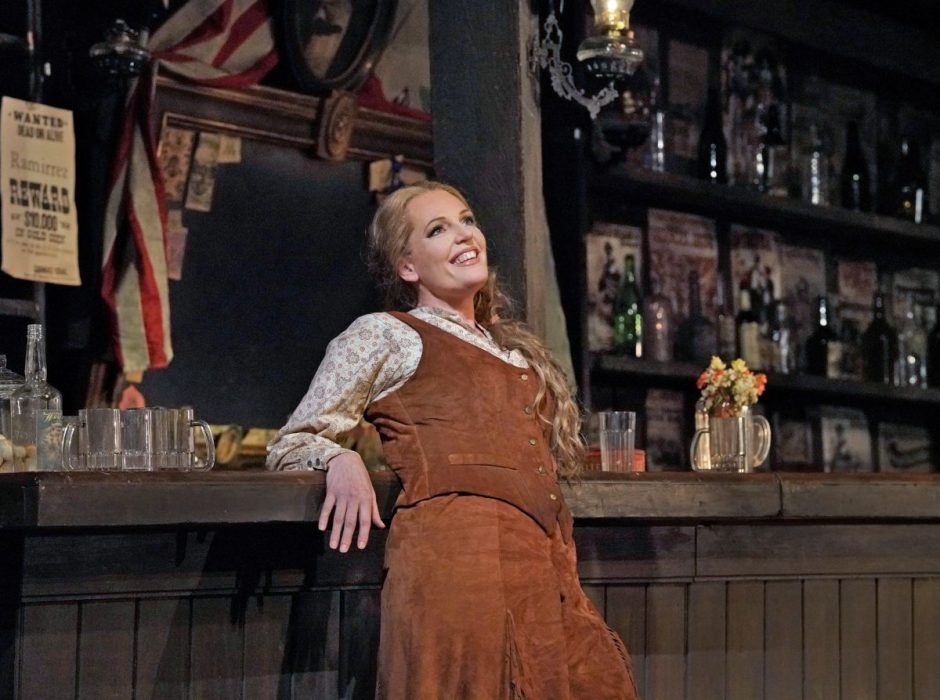
Željko Lučić as Jack Rance and Eva-Maria Westbroek as Minnie in La Fanciulla del West / Metropolitan Opera
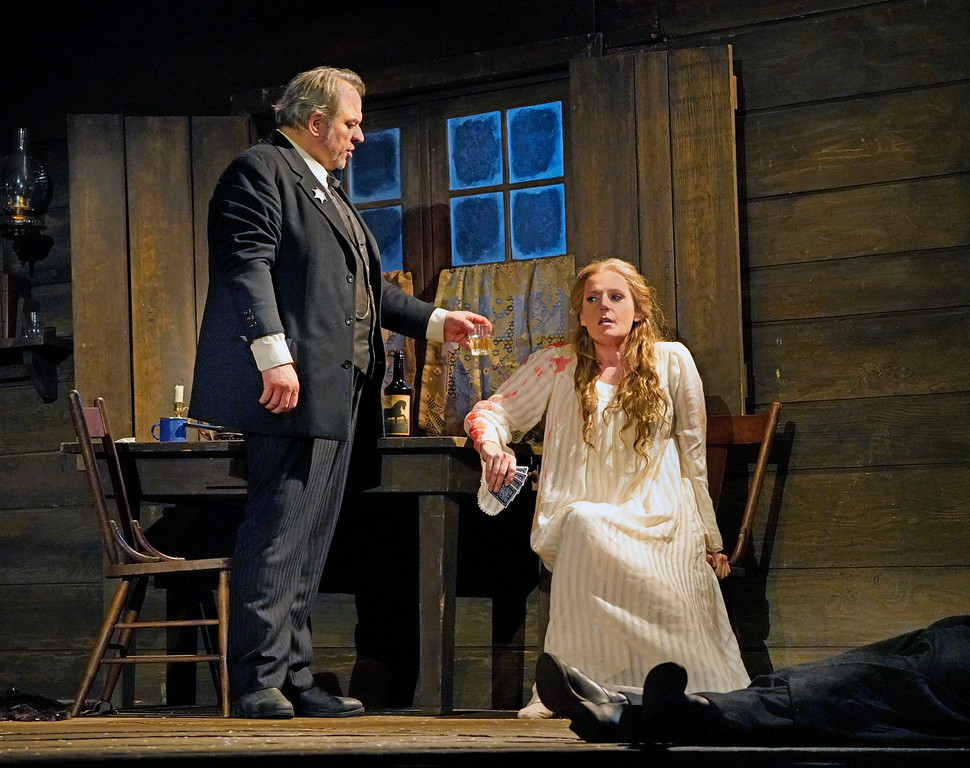
What struck me as so poignant in this opera was how the librettists wove the theme of the opera around a line of Scripture from Psalm 51: “there isn’t a sinner in the world who can’t find salvation.” Little did I know that that passage would play an enormous role later in the opera as the title heroine, Minnie, saved Dick from being publicly hung. The effect was monumental.
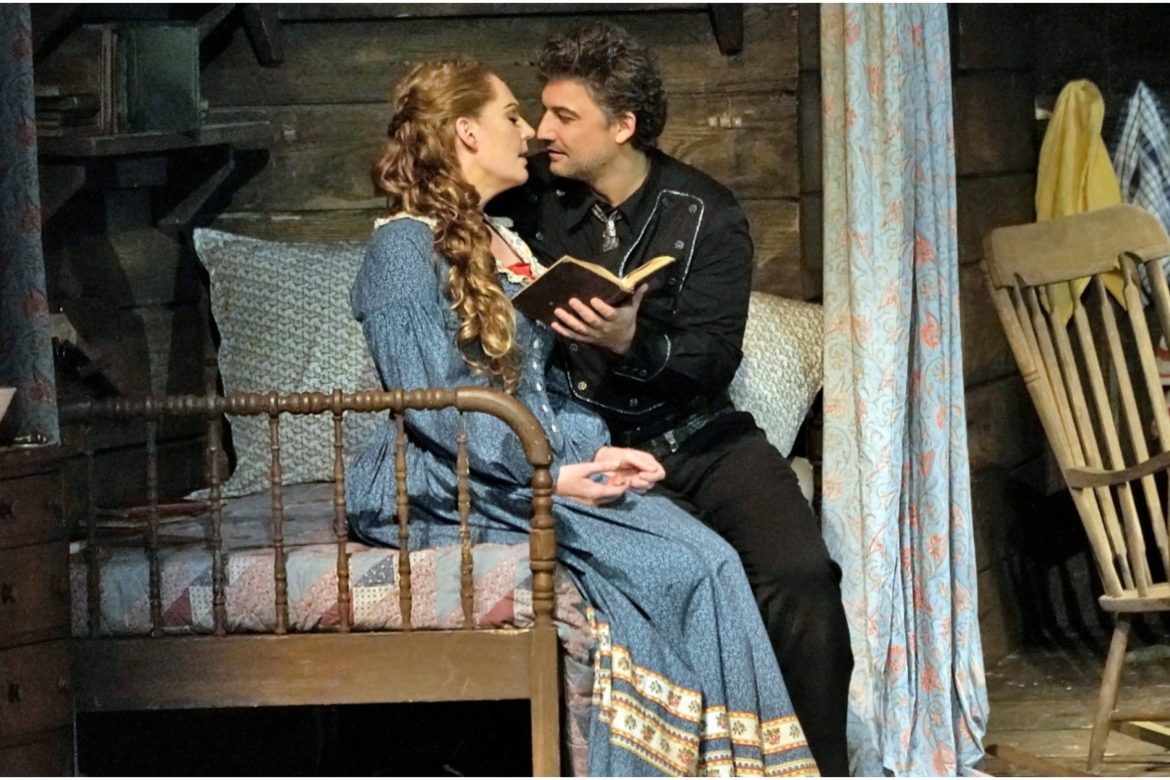
Jonas Kaufmann as Dick Johnson and Eva-Maria Westbroek as Minnie in La Fanciulla del West / Metropolitan Opera
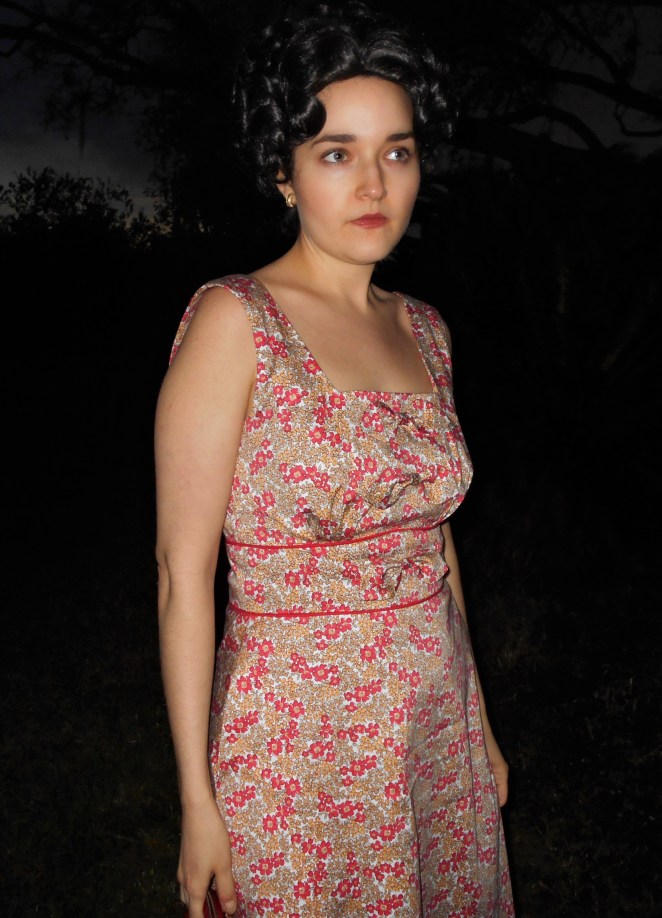
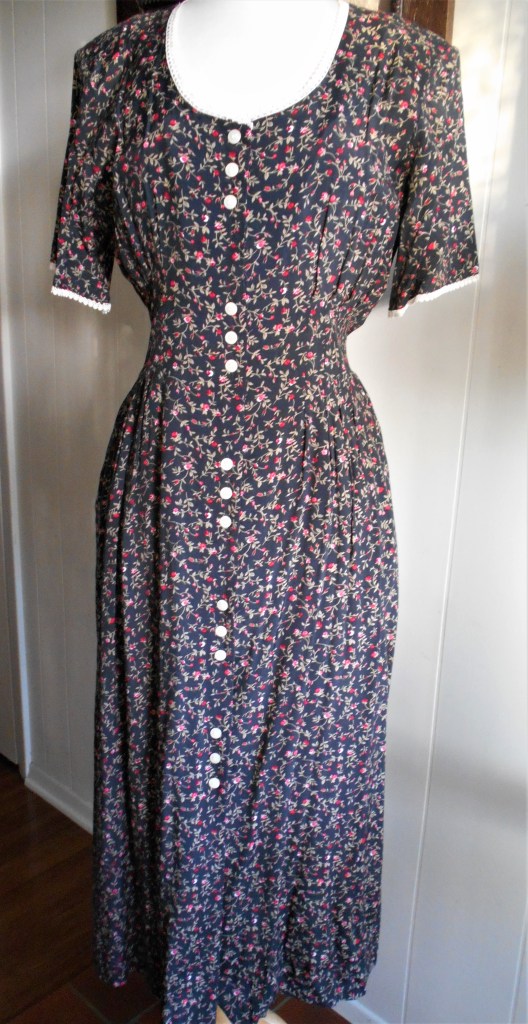
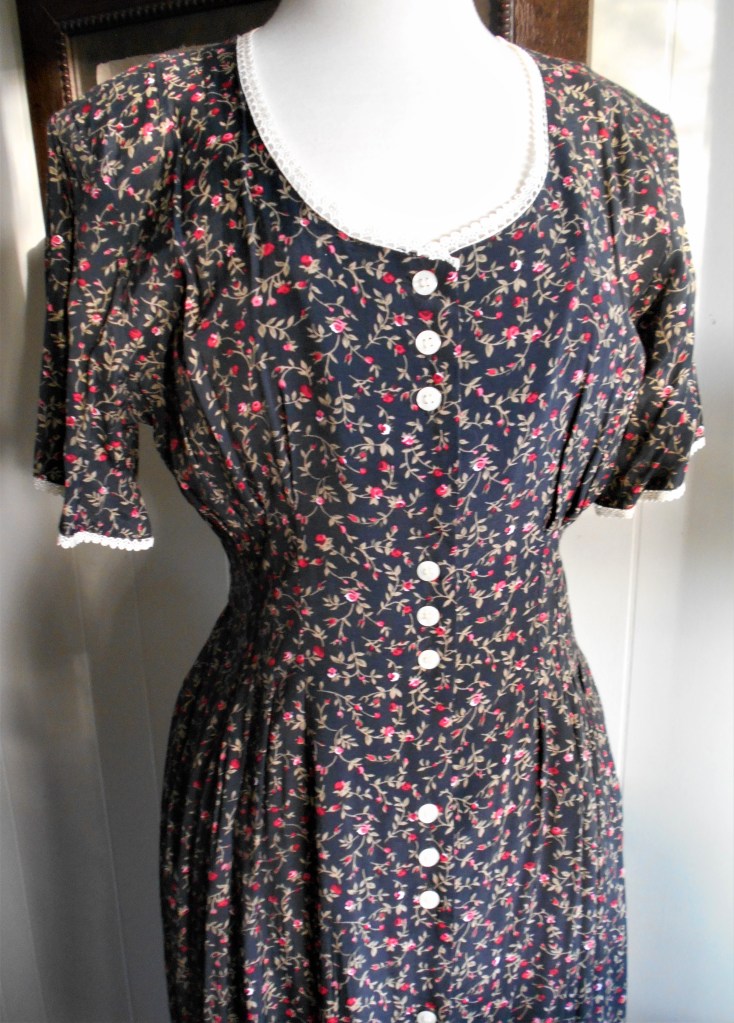
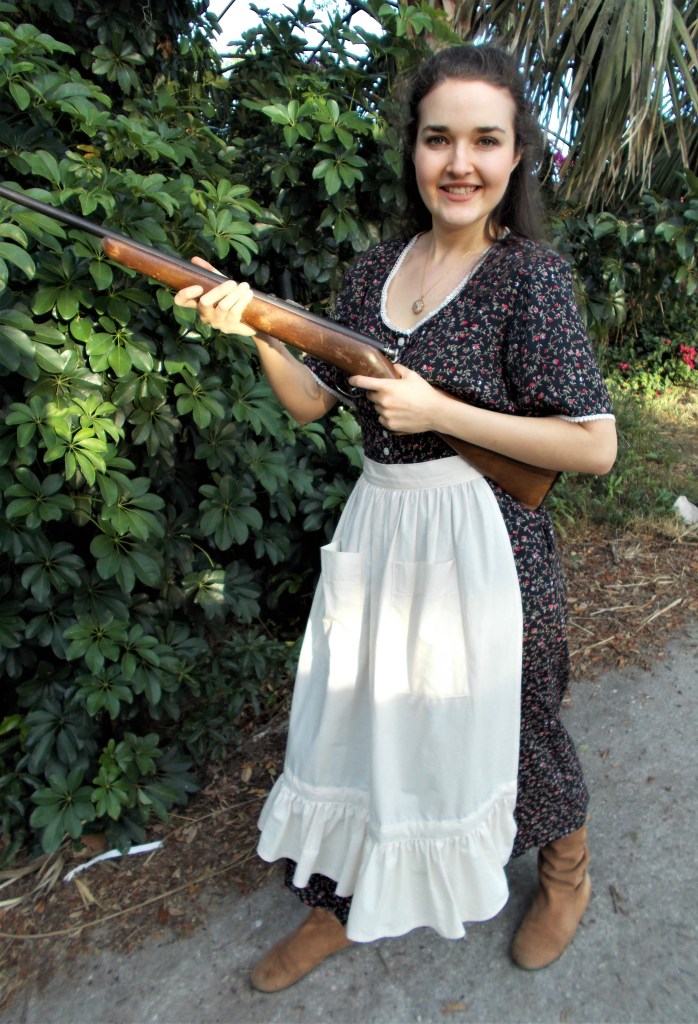
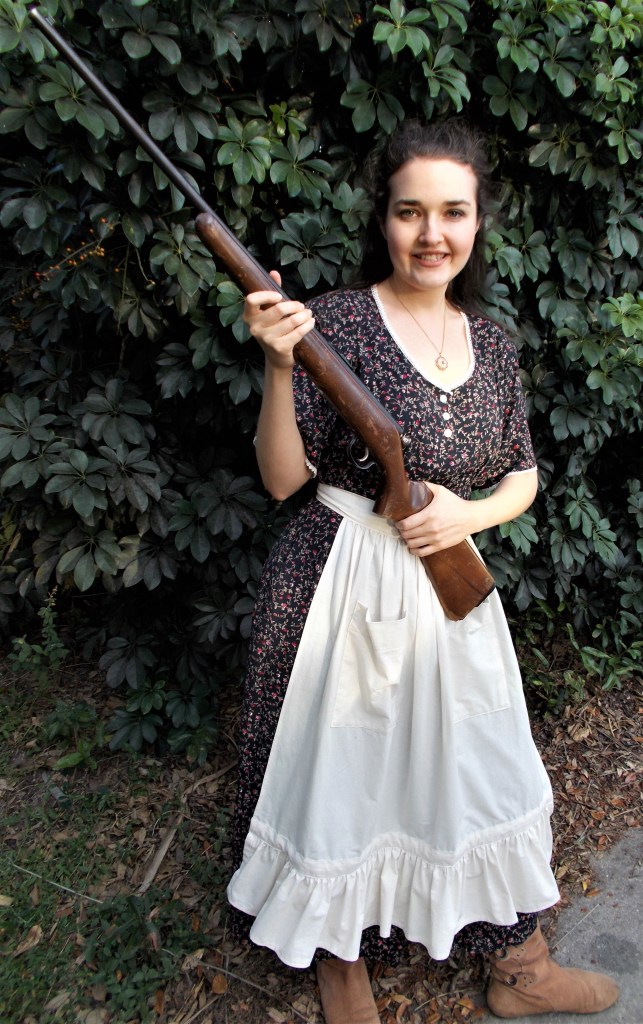
There was no doubt that my outfit for Fanciulla would come direct from my mother’s closet. Wearing an unworn dress my mother bought at the Mast General Store in North Carolina years ago (the tag was still on it), I had a solid foundation for my costume. The diminutive flower print and lace detailing around the collar and sleeves were fitting features to match Minnie’s simplistic and pure character.
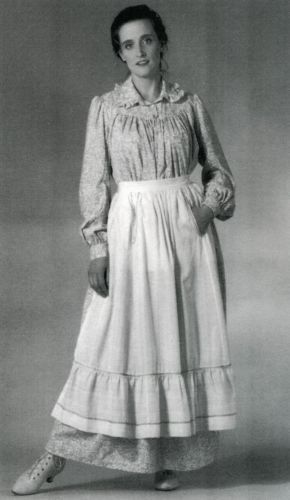
Alone, however, it wasn’t enough ─ it needed something extra… something “Little House on the Prairie”… I researched online and found a picture of a pioneer apron that I thought would be perfect for the outfit. Taking measurements, I drafted a quick pattern for a ruffled muslin apron with front pockets just like the one below:
Minnie’s long lost cousin ?
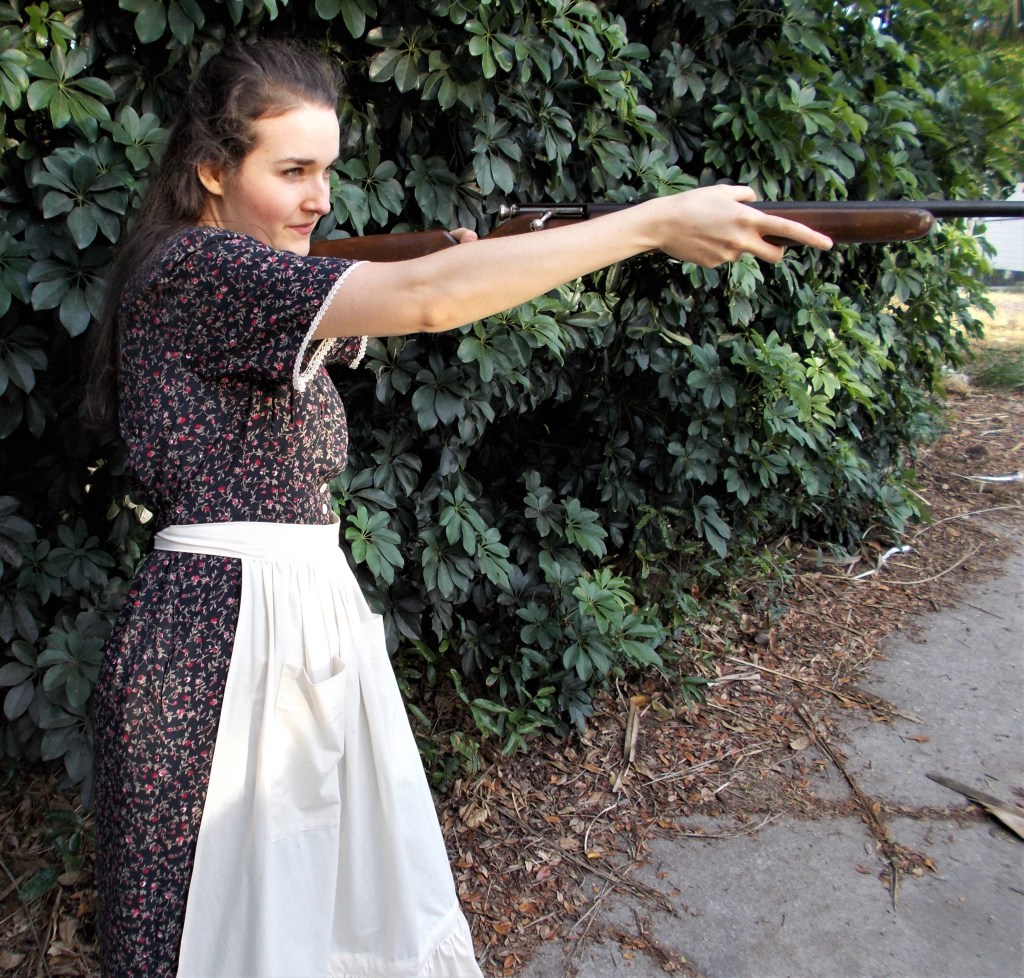
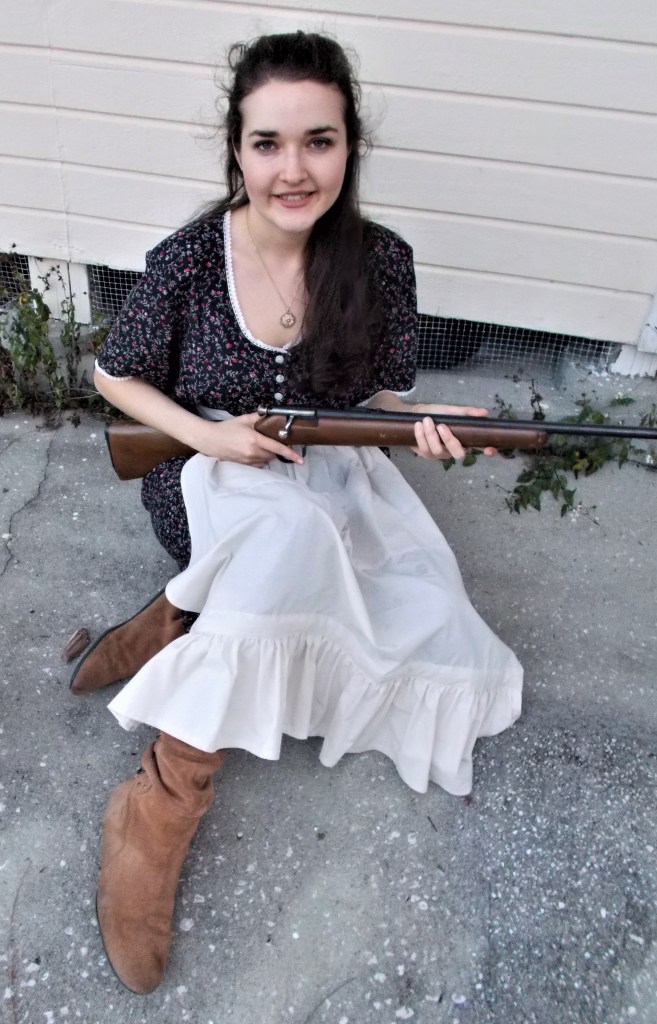
Now I looked the part ! But there was a missing piece to my frontier get-up ─ the addition of Minnie’s favorite companion: her rifle. This was essential to the character and also to my pictures, although you can imagine I left the gun at home while I went to the theater.
Thank you, Uncle Kim, for my .22 Stevens !
Ready, aim, fire !
While it is a known fact that Dick Johnson stole Minnie’s first kiss, it can also be confirmed that the tenderness of Puccini’s La Fanciulla del West stole my heart.
Toi, Toi, Toi,
Mary Martha
Cast and Credits:
La Fanciulla del West ─ Giacomo Puccini (1910) Live in HD air date: October 27, 2018
Cast: Minnie ─ Eva-Maria Westbroek Dick Johnson ─ Jonas Kaufmann Nick ─ Carlo Bosi Jack Rance ─ Željko Lučić Sonora ─ Michael Todd Simpson Ashby ─ Matthew Rose Jake Wallace ─ Oren Gradus
Credits: Conductor ─ Marco Armiliato Production ─Giancarlo del Monaco Set and Costume Designer ─ Michael Scott Lighting Designer ─ Gil Wechsler Live in HD Director ─ Gary Halvorson Host ─ Susanna Phillips