
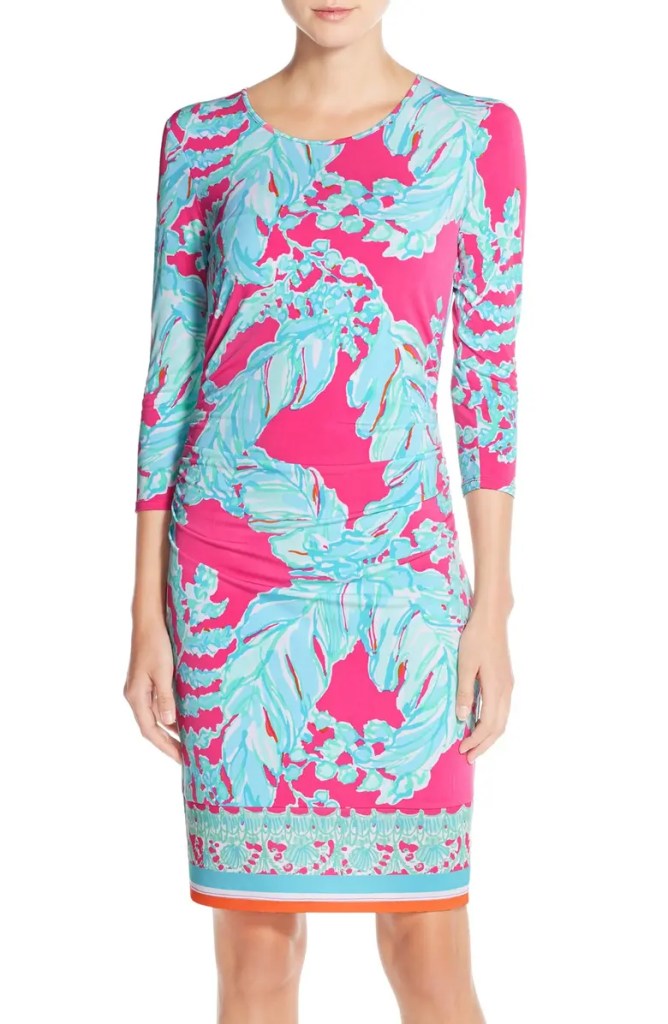
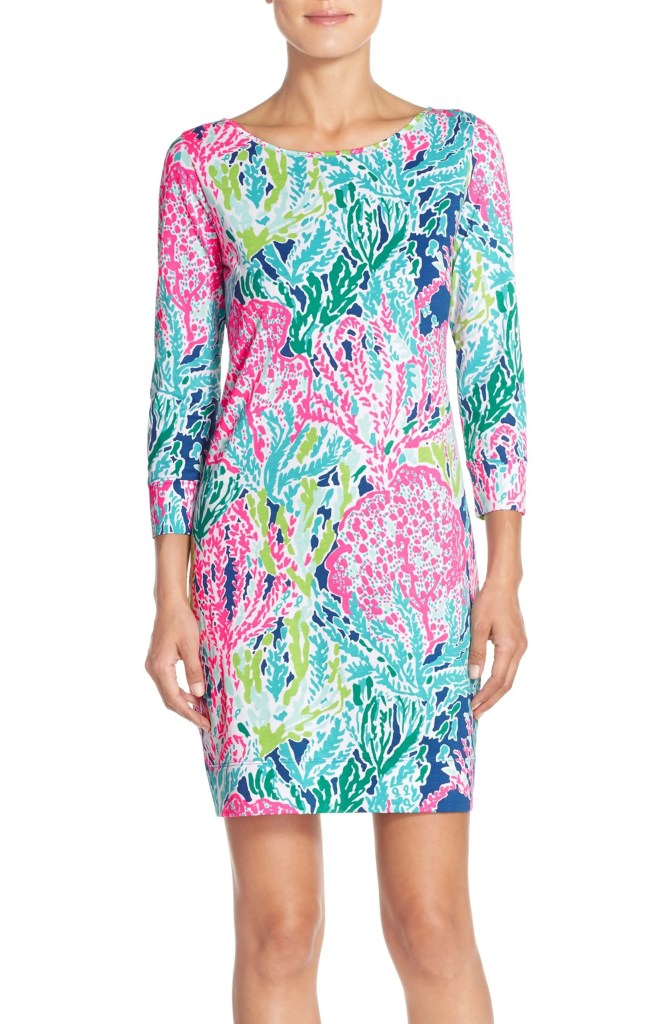
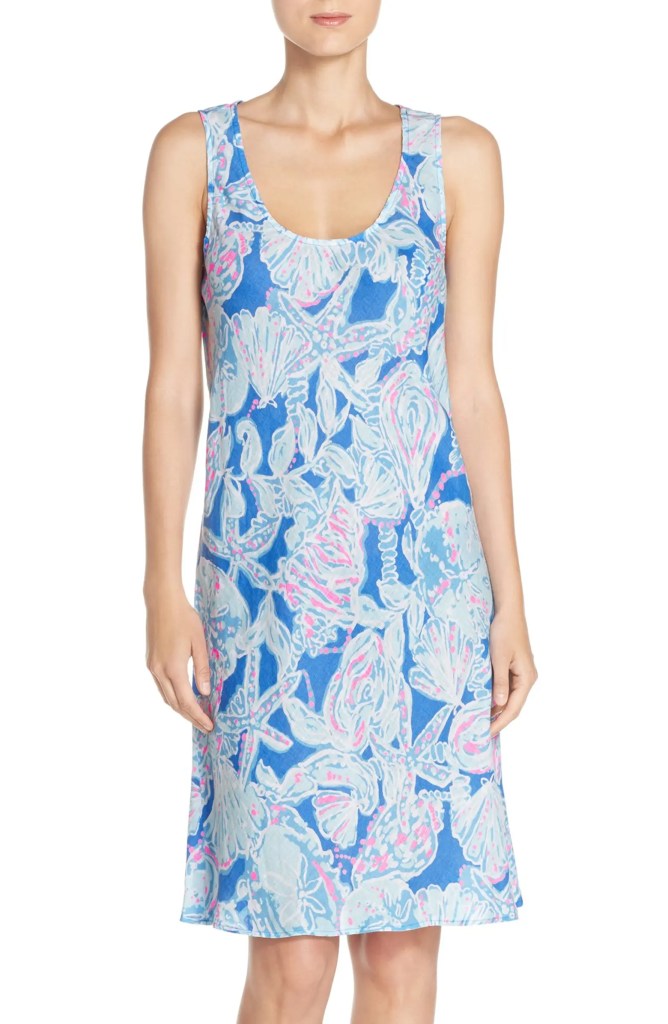
Sheath dresses have never been a go-to garment choice for me due to their unflattering appearance on my non-rectangular figure. Despite being a misfit for my natural shape, I have always envied the look of a classic sheath style. Especially stunning are the Lilly Pulitzer dresses in their tropical prints and cool, neon hues.
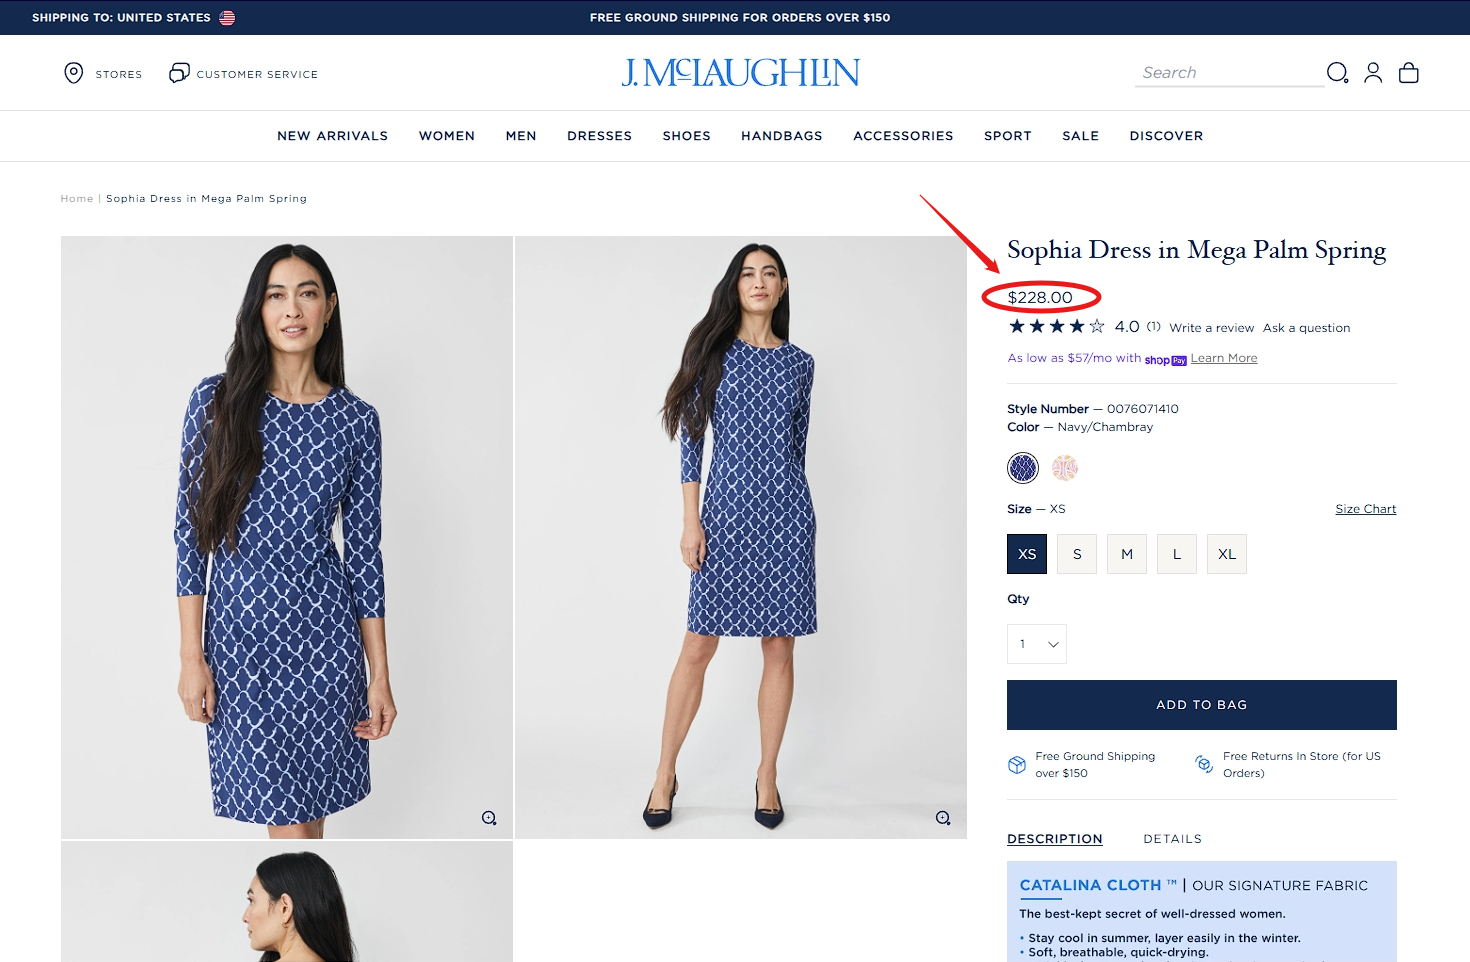
In a past issue of Julie’s Picks, a certain collection of fabrics caught my eye. It was titled, “Winter In Palm Beach”. Amid the blue-toned fabrics was a NY Designer swatch that made me believe it was once used for a signature Lilly dress. Curious, I emailed Fabric Mart and inquired about my hunch. As it so happened, the fabric wasn’t Lilly Pulitzer; it was J. McLaughlin.
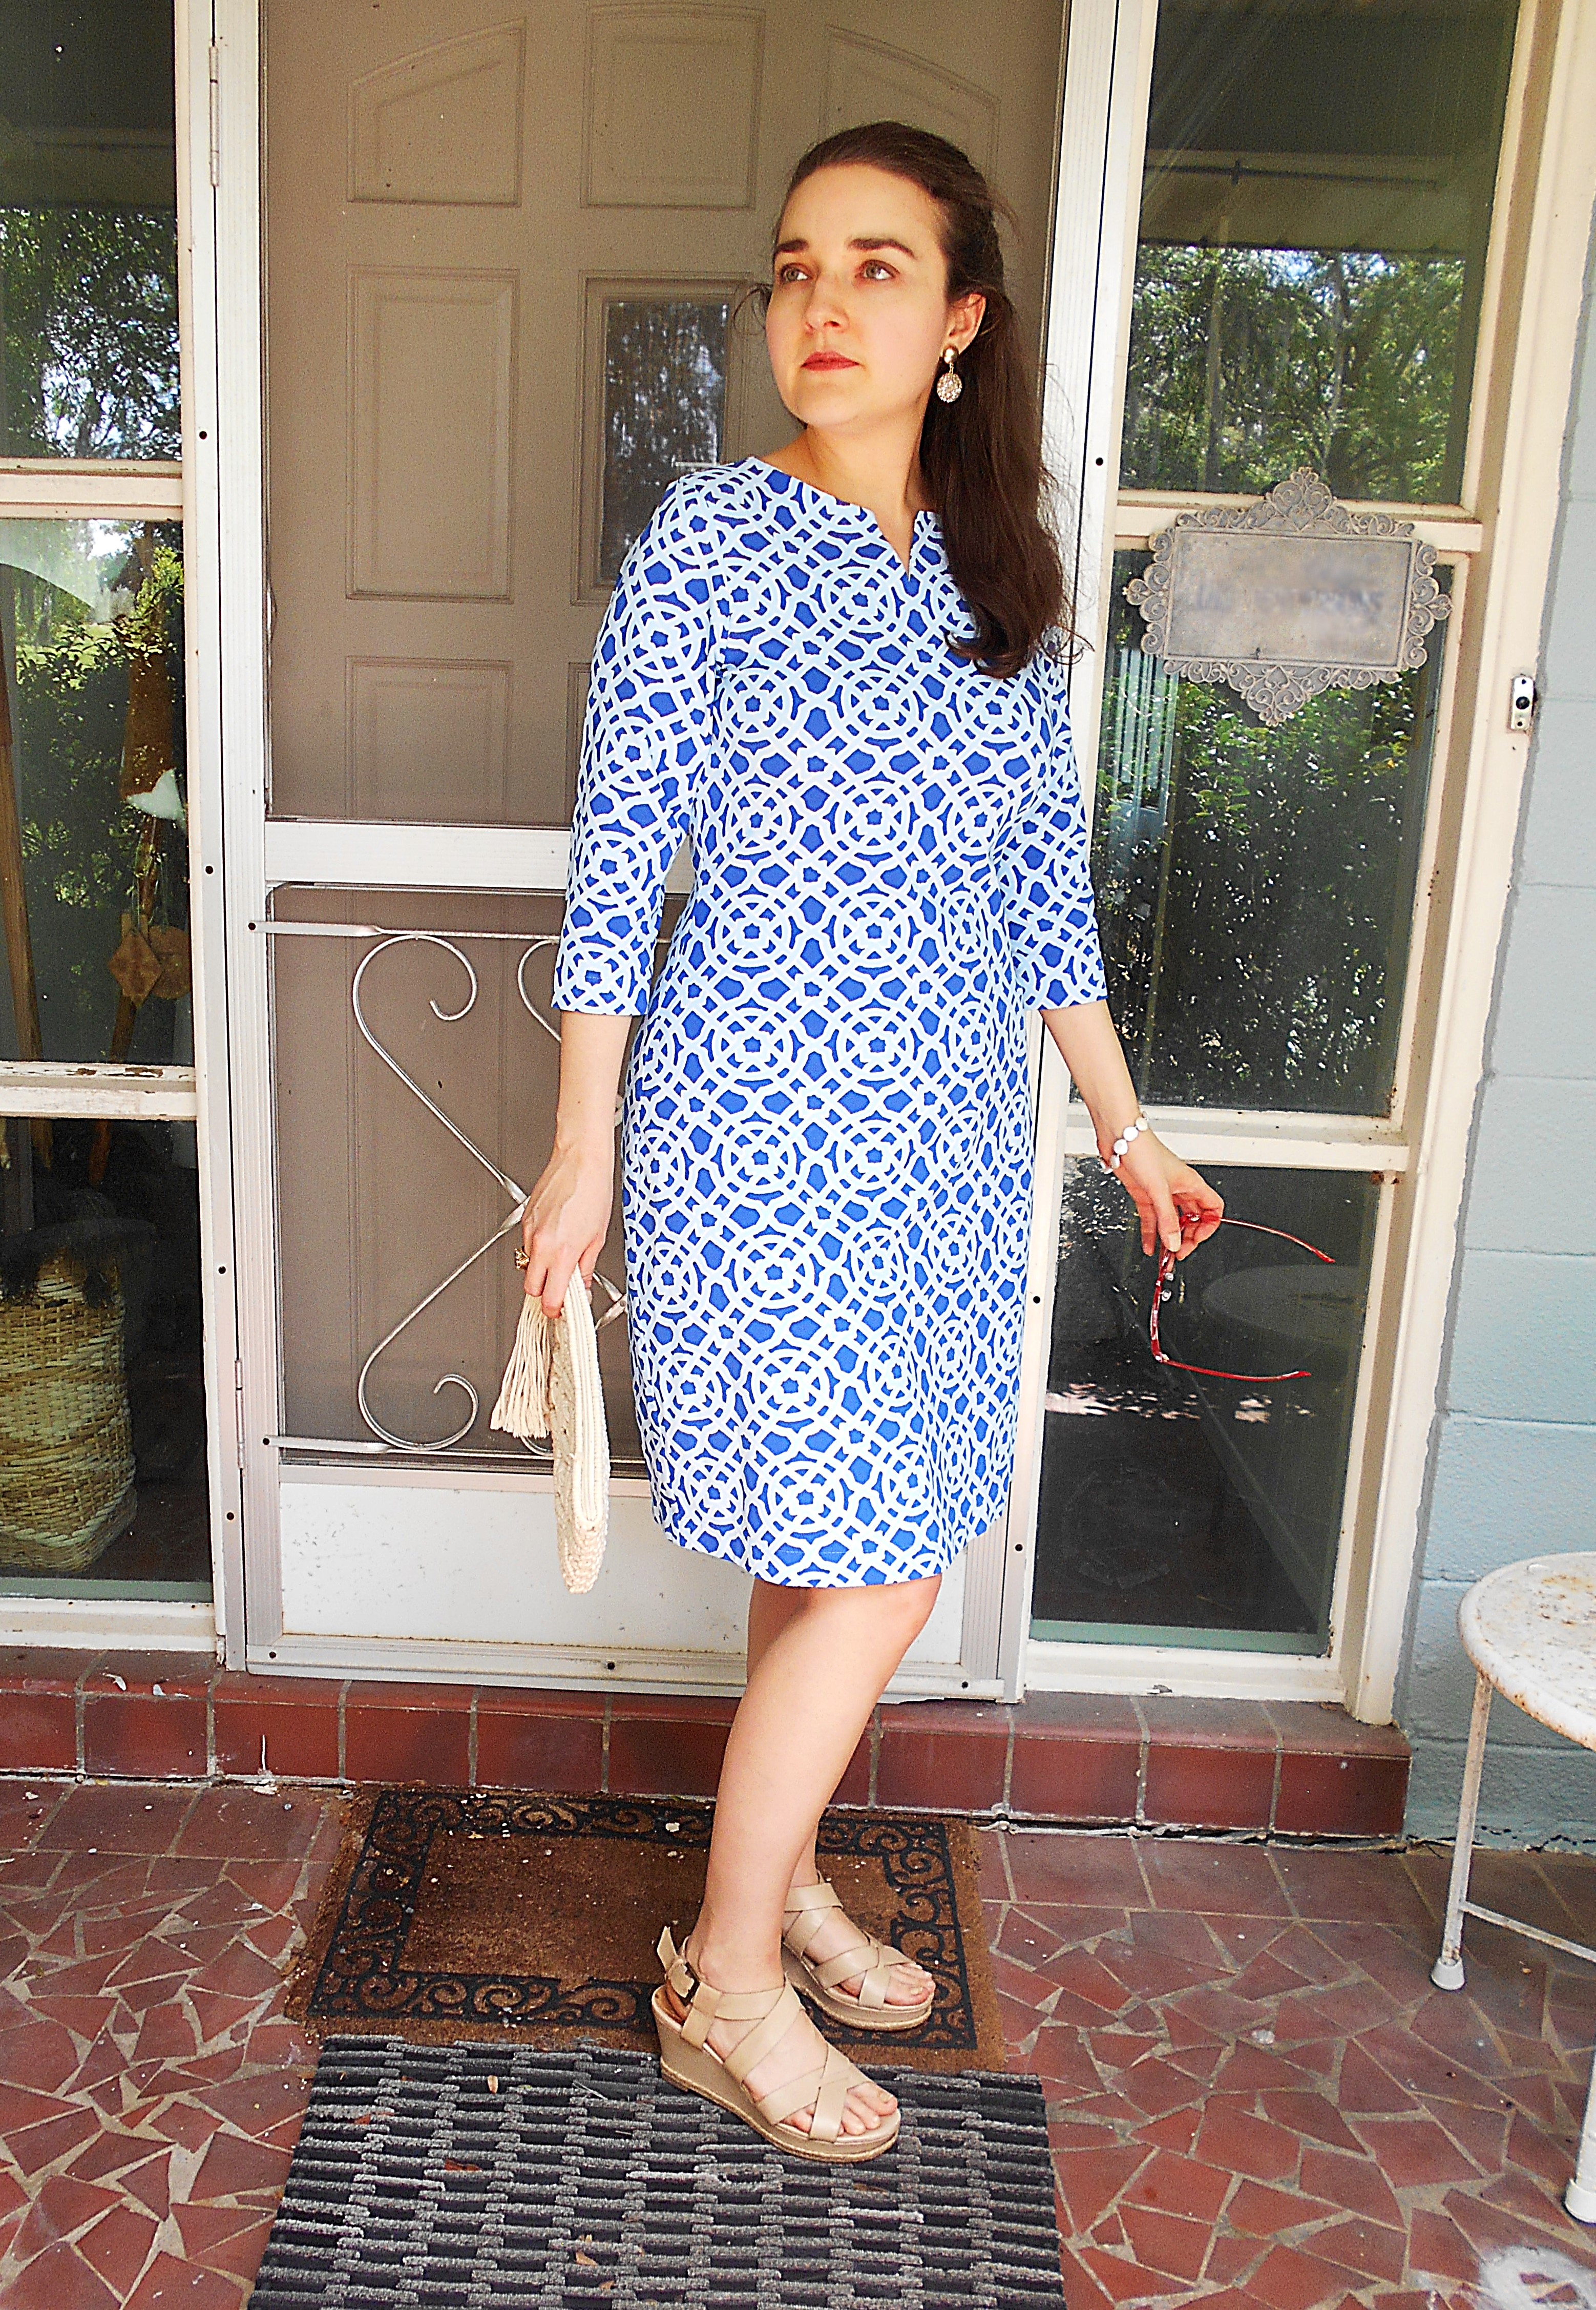
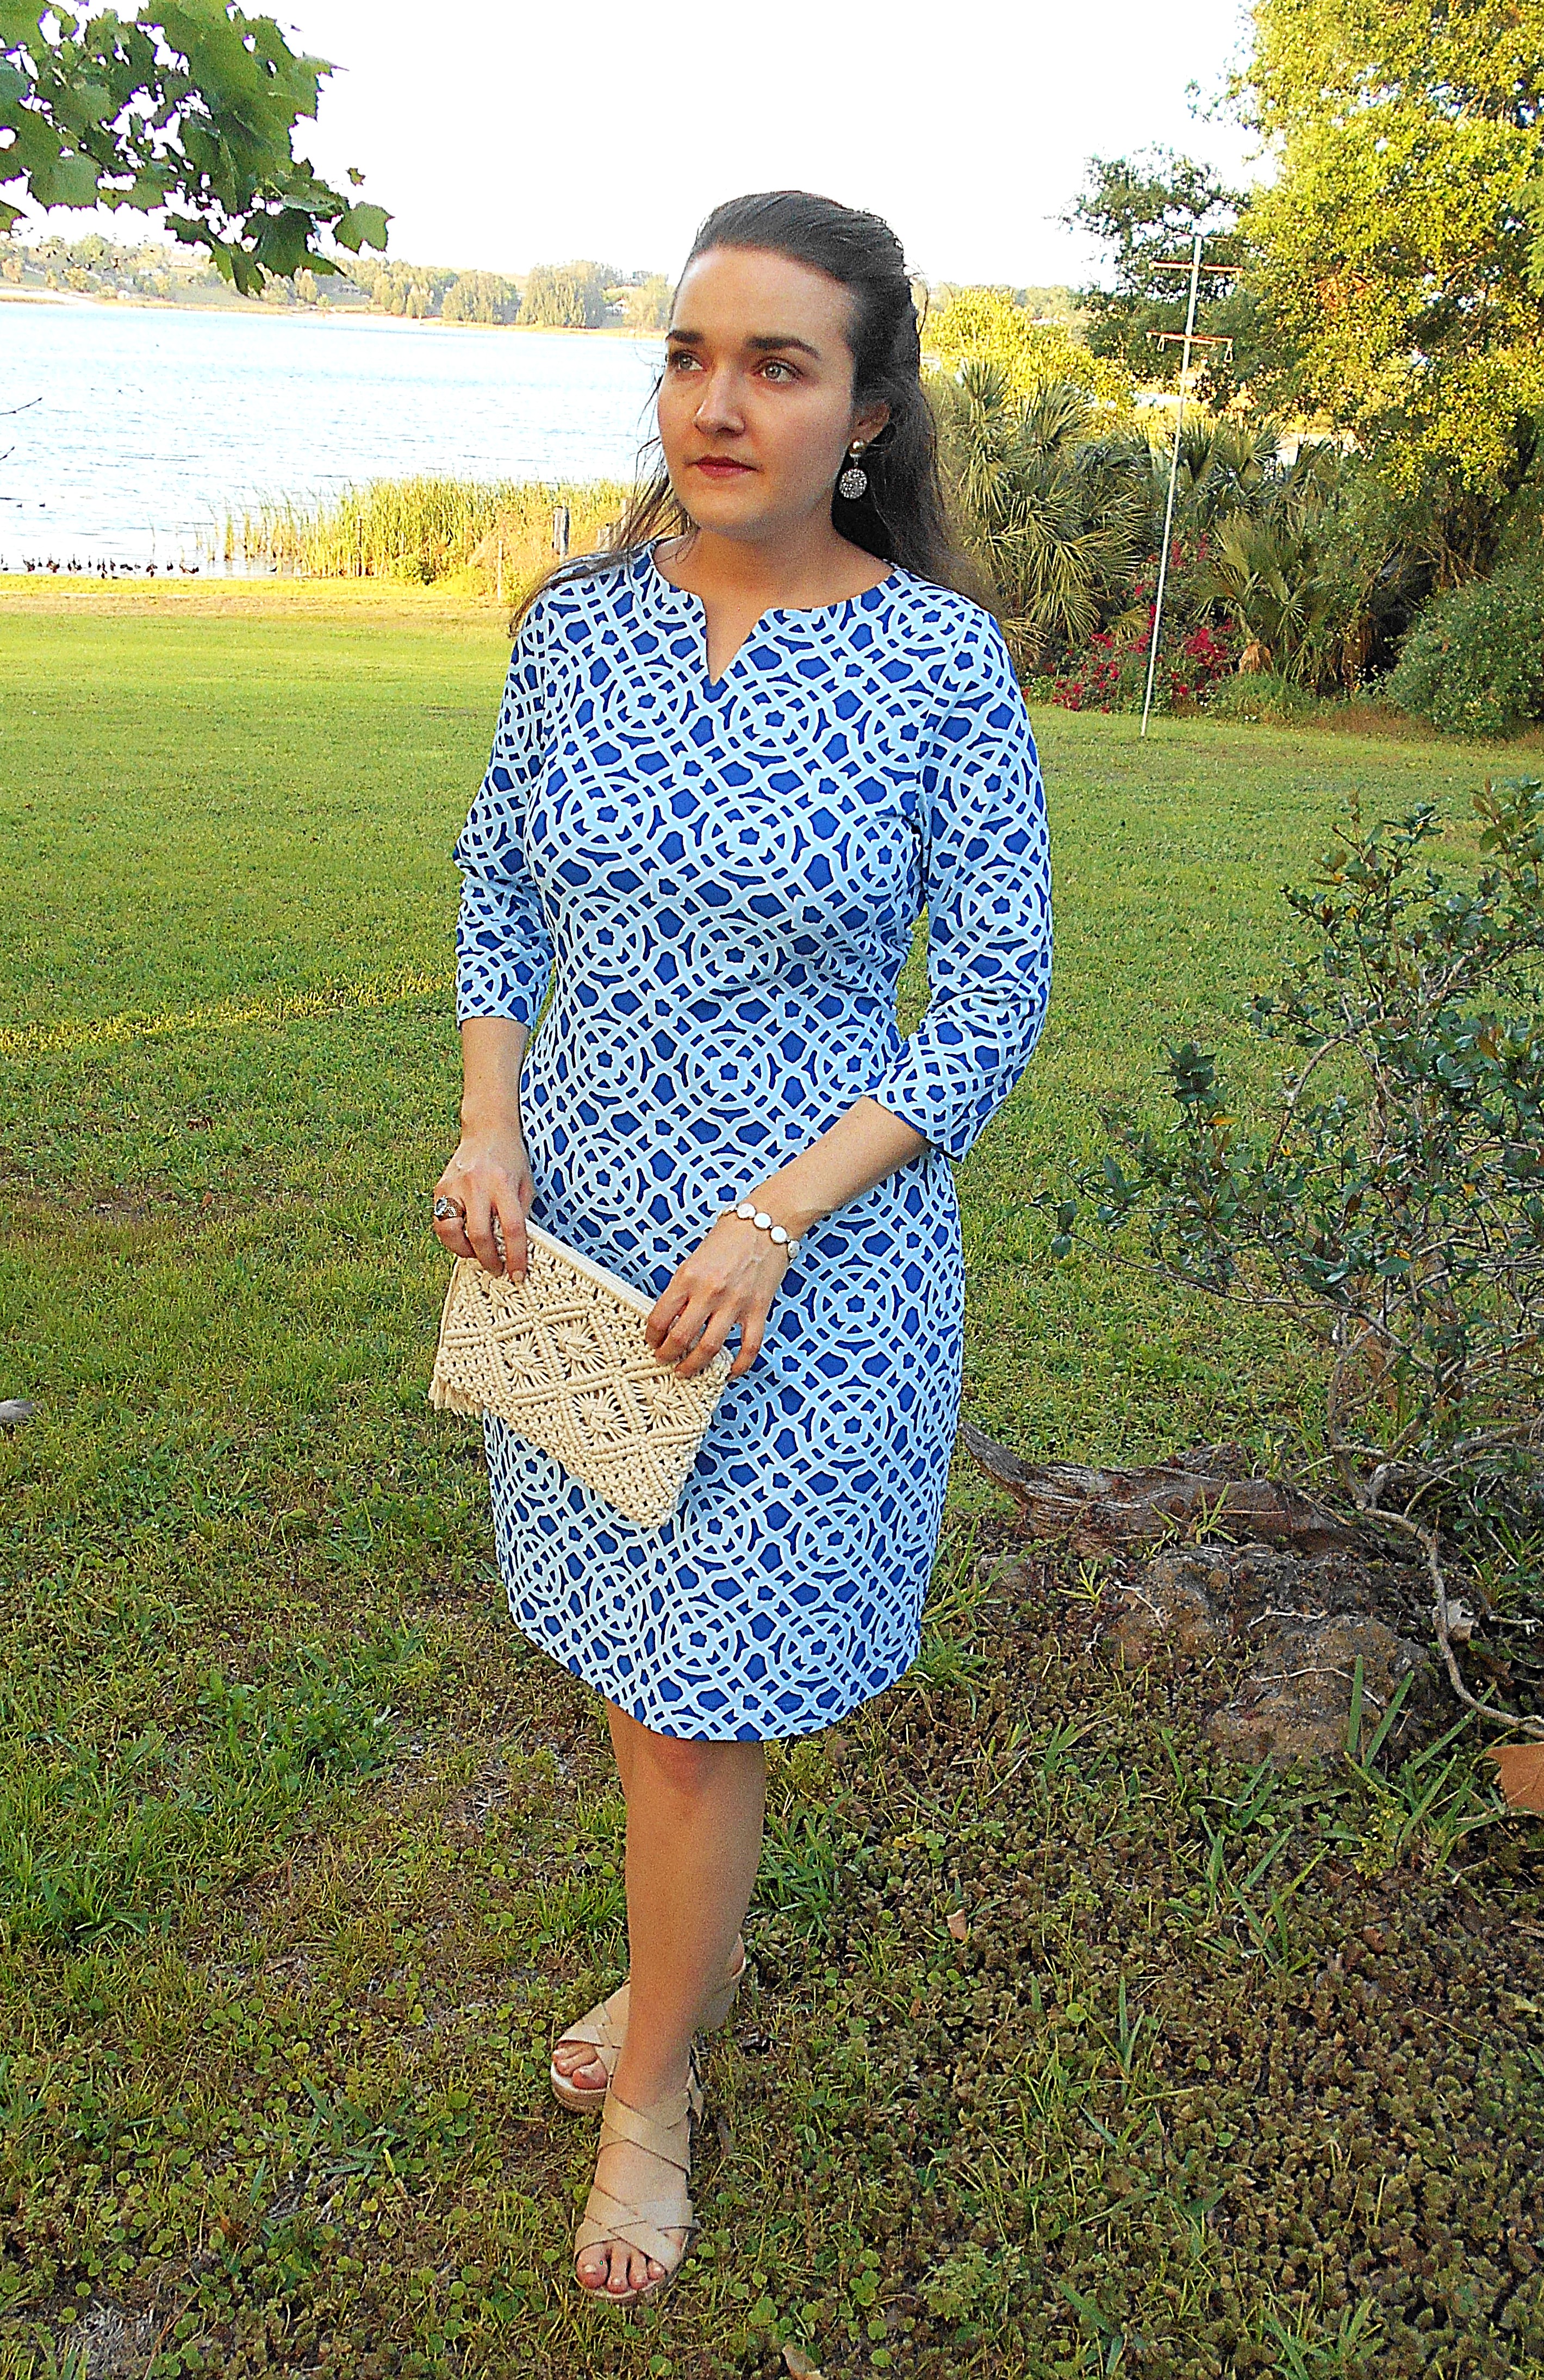
When I found an image online of a dress made out of the exact fabric I had purchased from the swatch club, I was stunned.

More shocking was the price. A similar style dress in the same Catalina Cloth™ as my own deadstock yardage ran upwards of $200. Decidedly, I made it my mission to create the look for less.
With the success of my Santa dress, I knew the Tessa Sheath pattern would be a perfect fit in its full length for my attempt at the upscale knockoff.
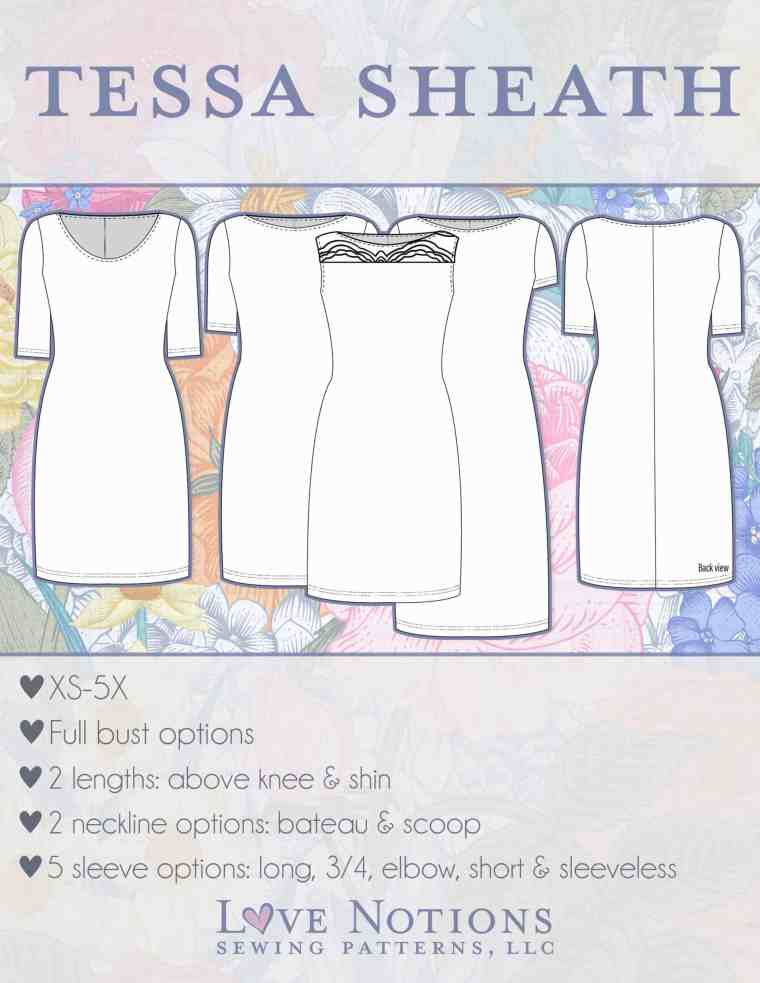
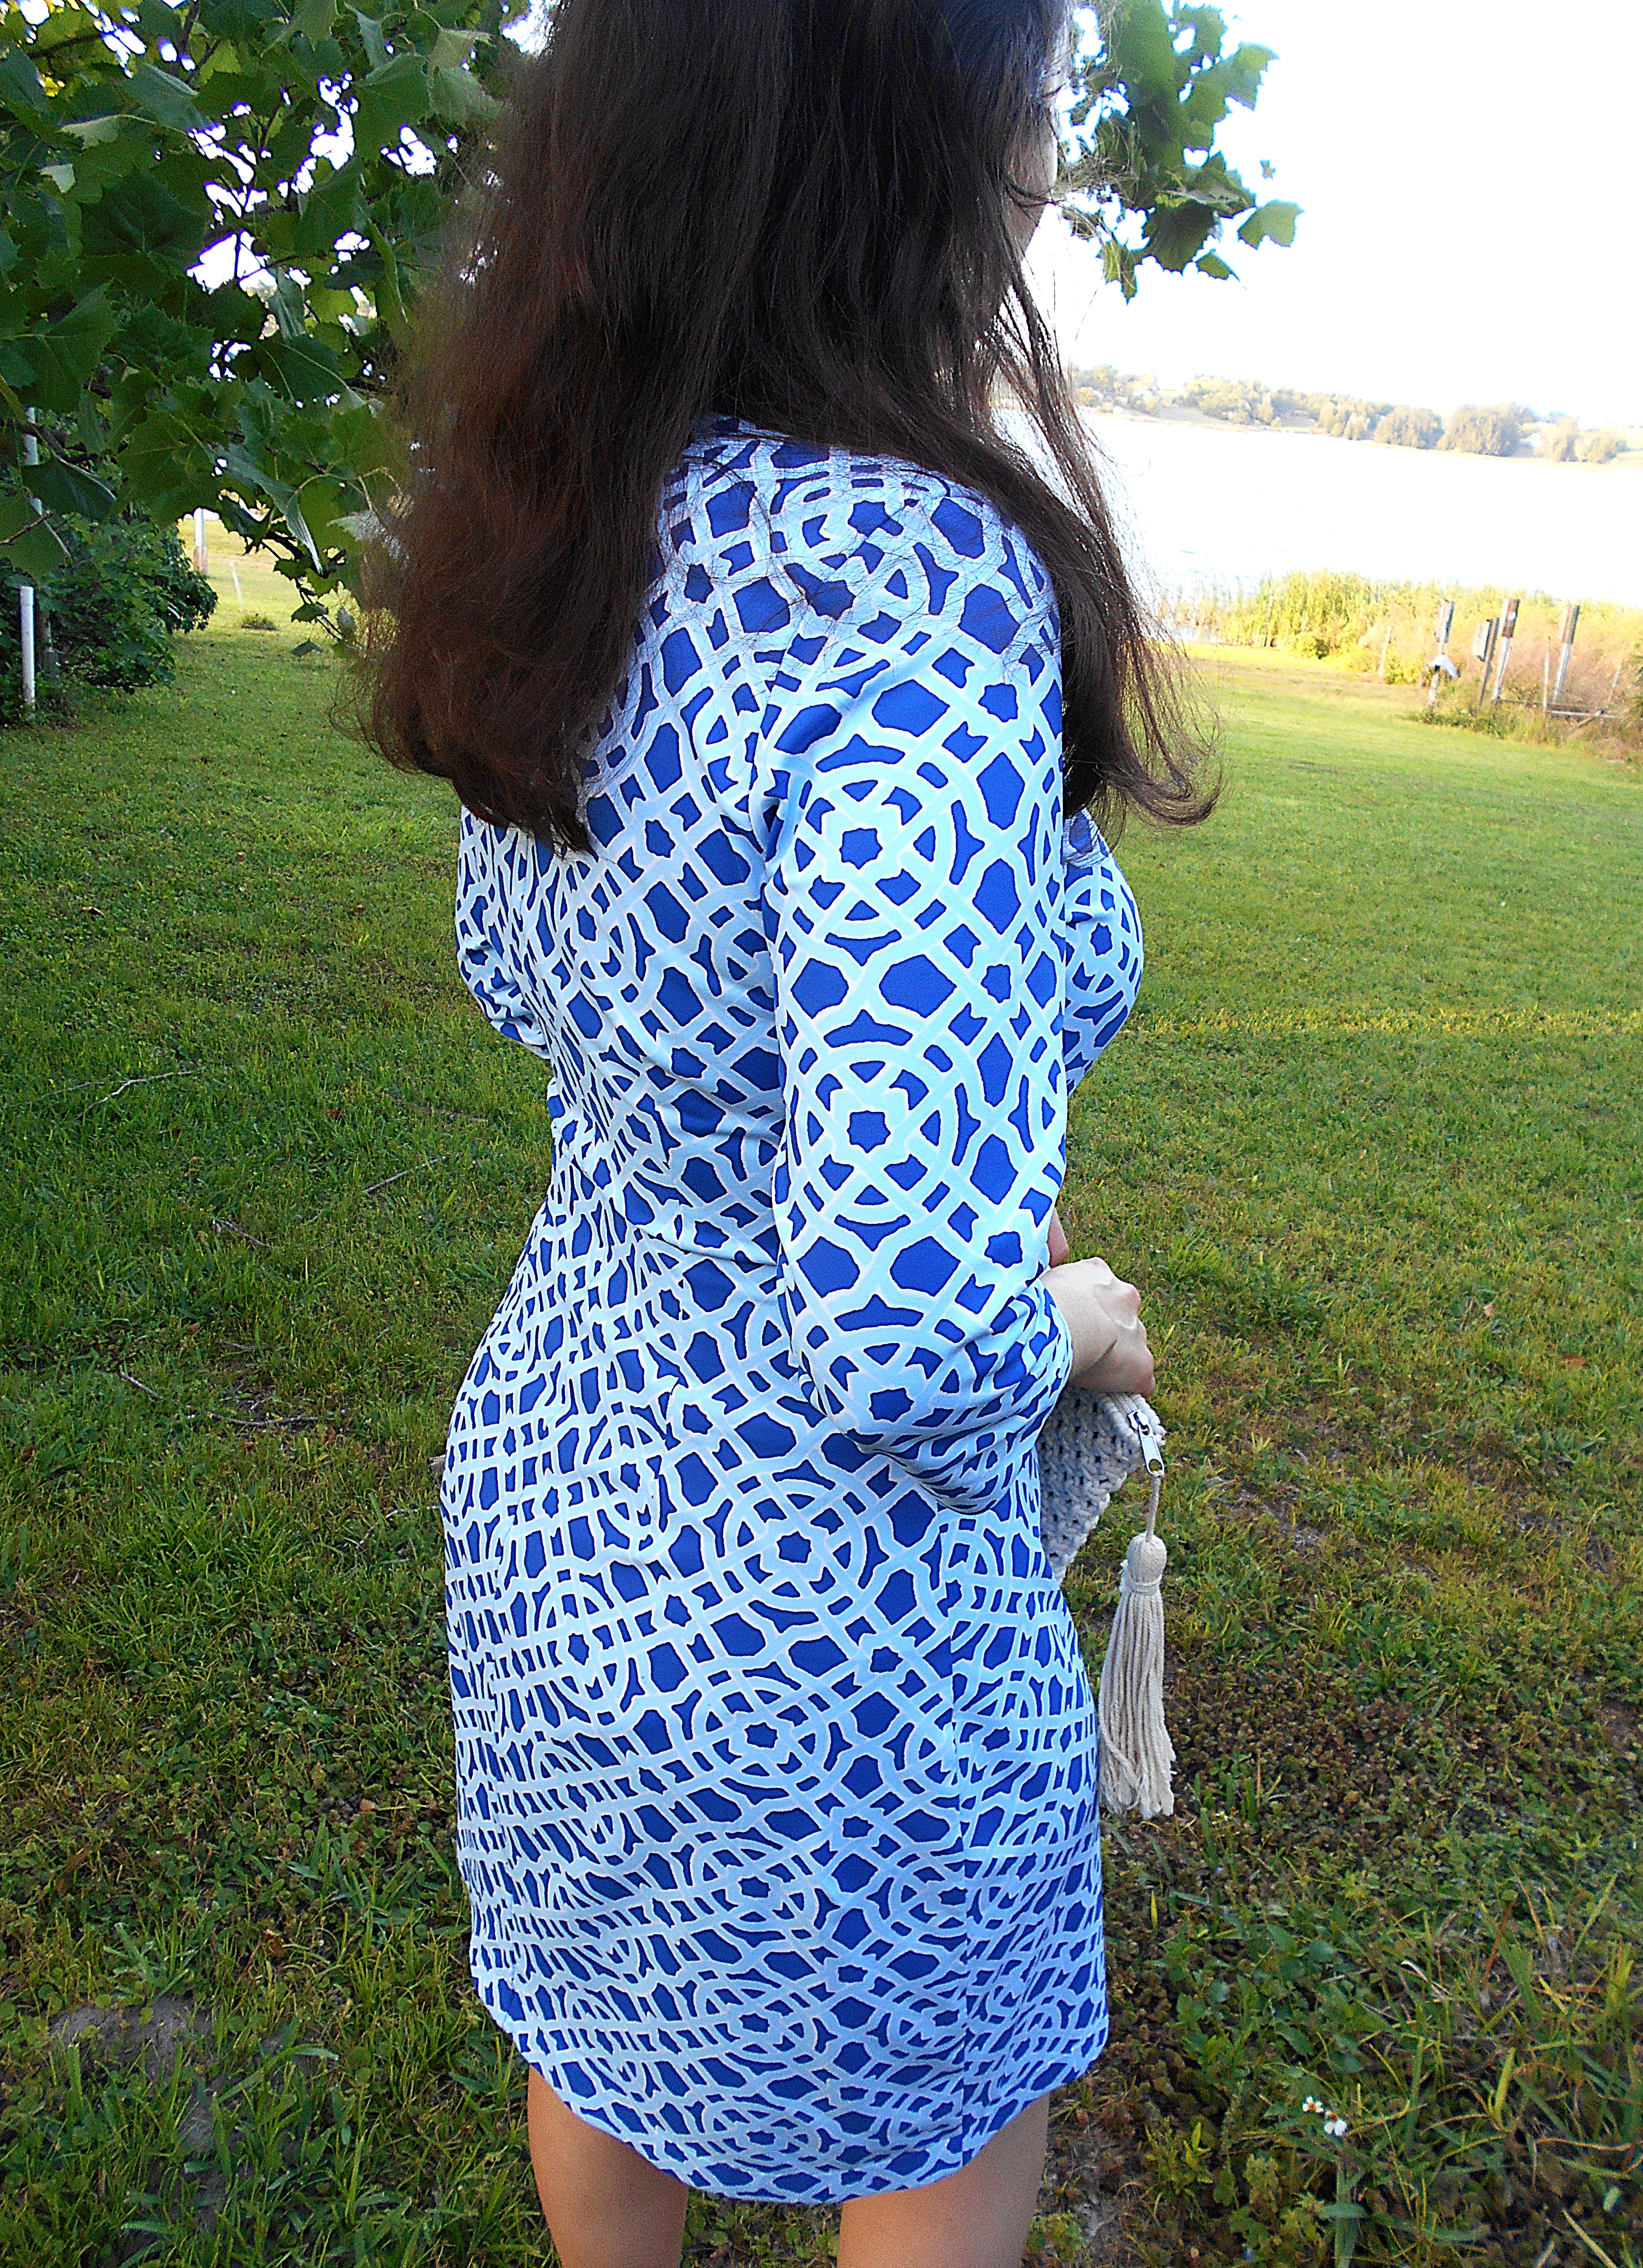
Did I make adjustments to the pattern ? Yes. In addition to lengthening the pattern by an inch, I experimented by blending sizes at the hips, but didn’t like the results. Rather, I graded out from the hip to include an extra 1″ seam allowance to the hem and sewed the prescribed 3/8″ seam allowance. This worked beautifully !

I also learned how to add fisheye darts to the back of the dress to bypass the painfully tedious process of cutting and splicing the pattern to make my mandatory swayback adjustment. Going forward, I intend to employ this method when making garments as it took away the hassle of back pattern alterations and gave me better-than-anticipated results.
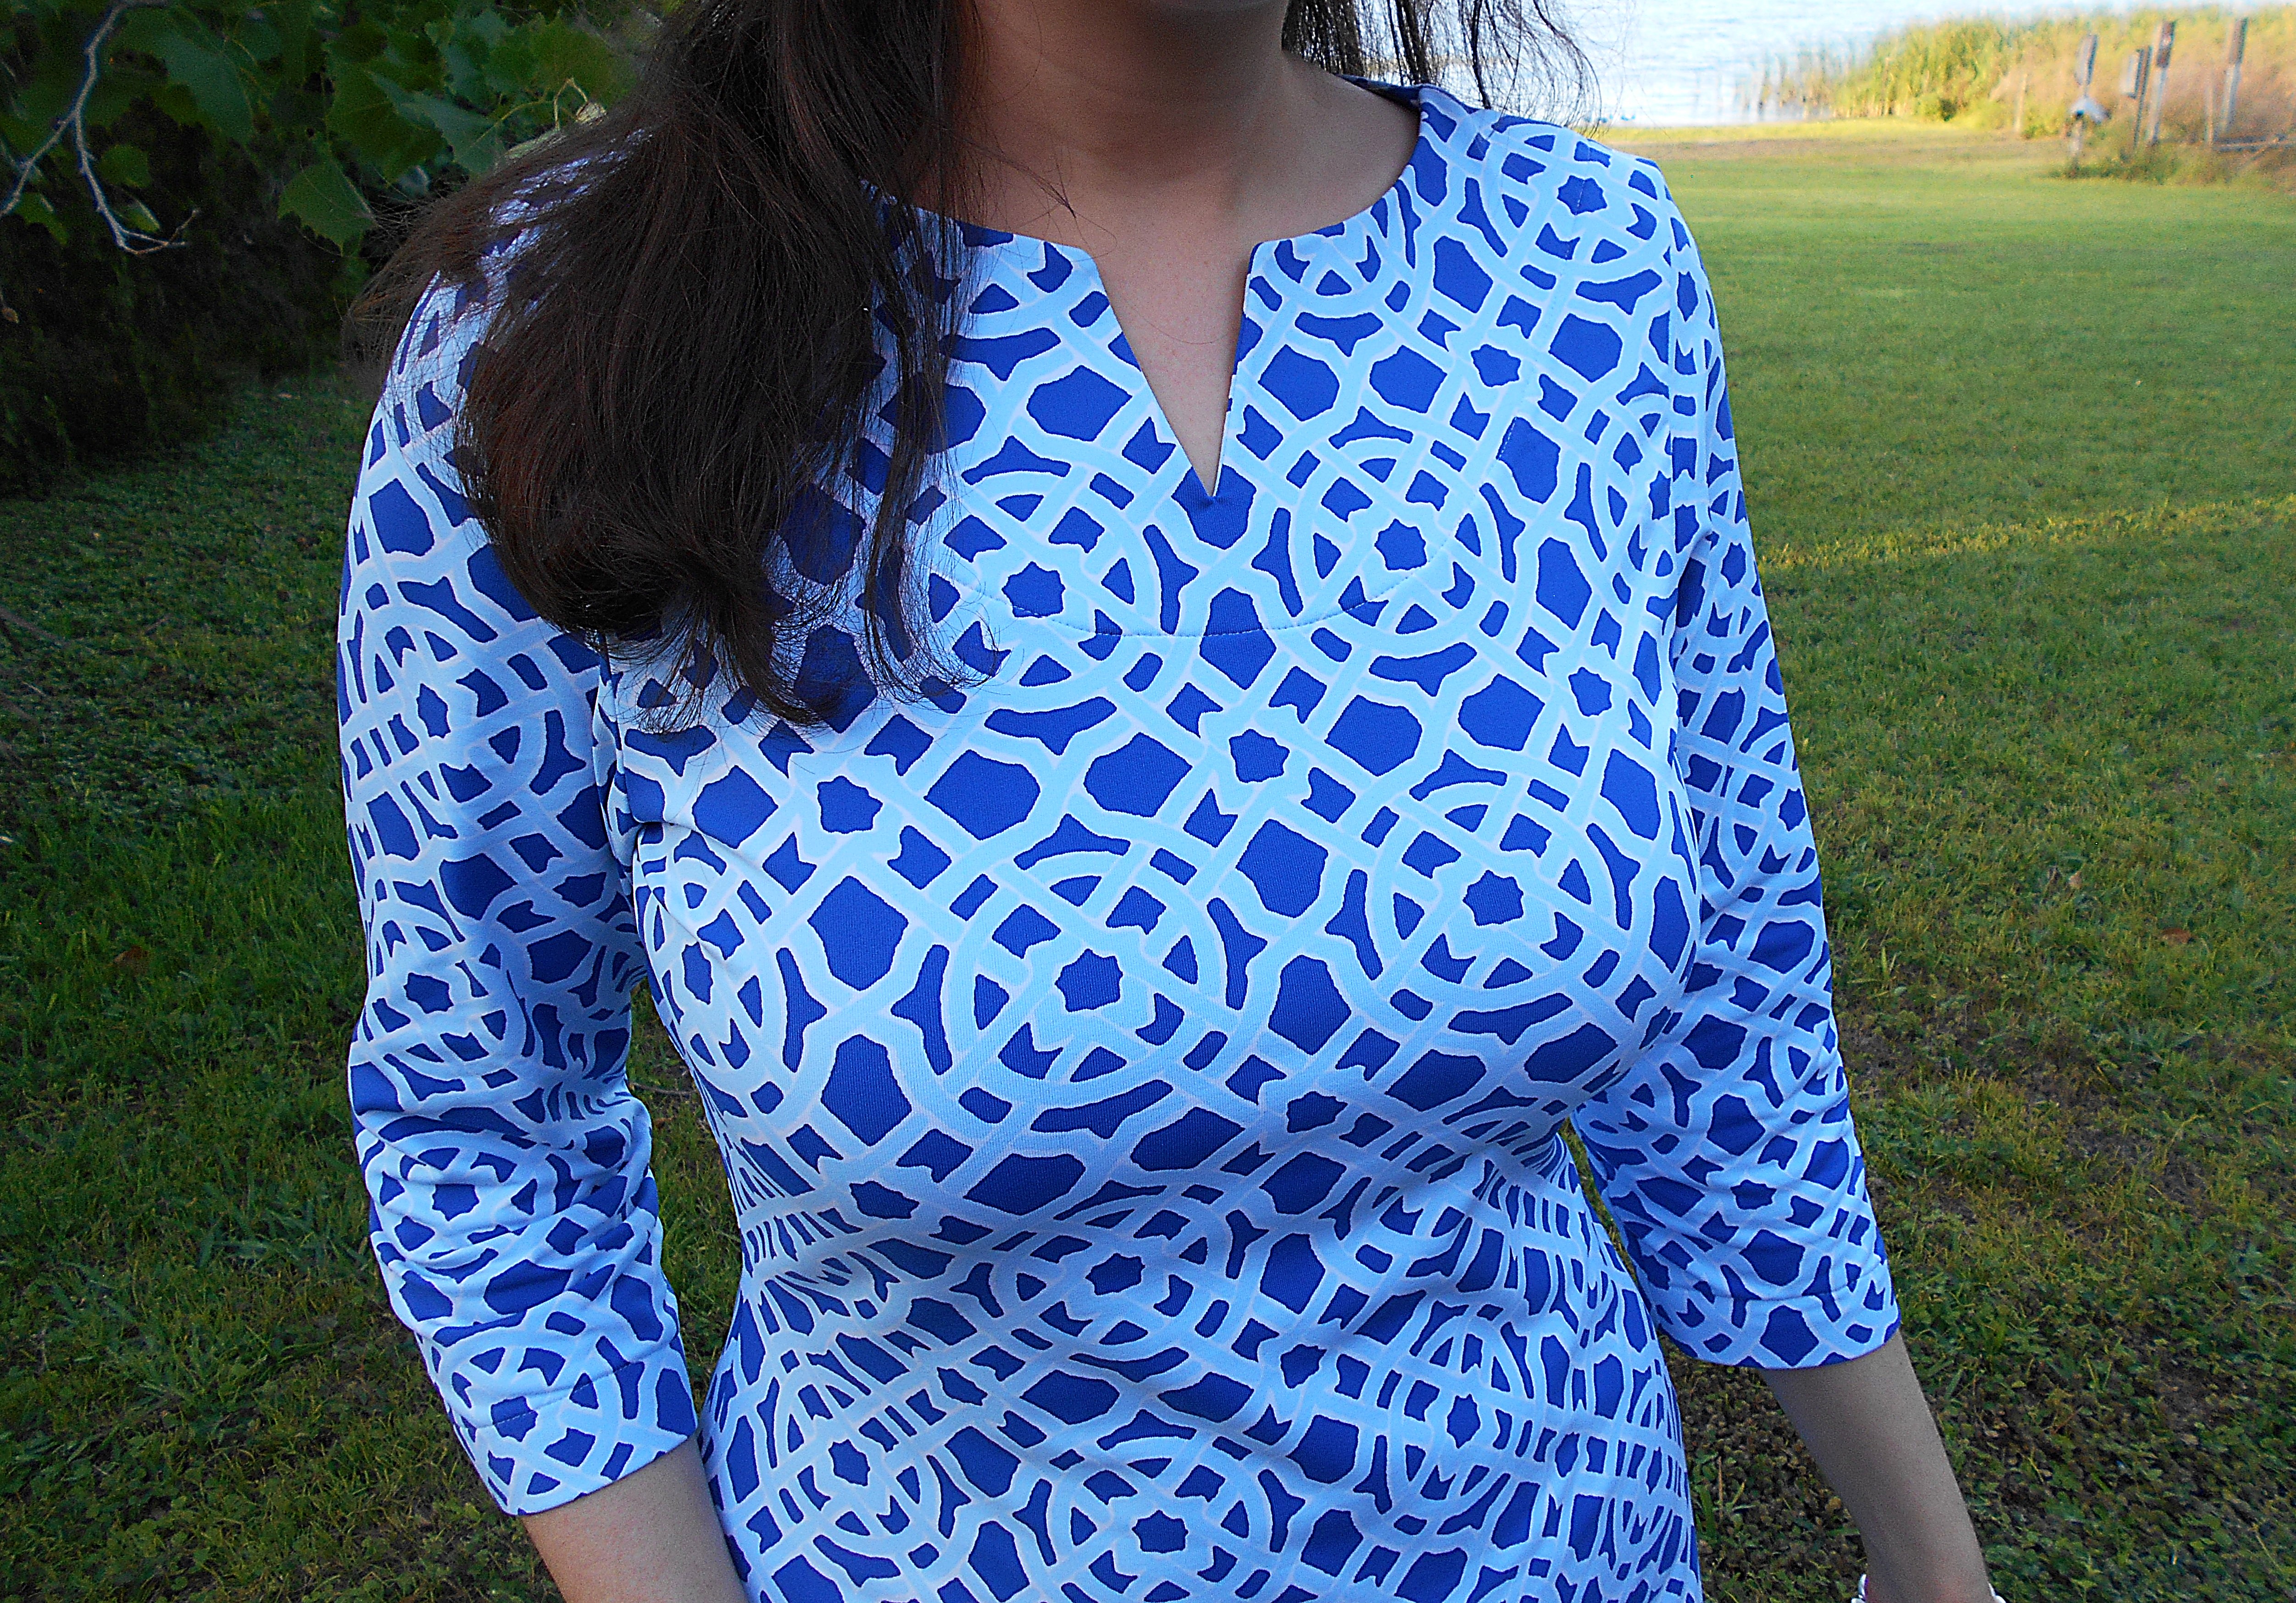
And that perfectly notched neckline ? I followed the instructions from an article online and watched a video about how to mark and sew the notch all together with the facing. But the real secret was PerfectFuse Light interfacing used on the front and back facing pieces and decreasing my stitch length to just 1.2mm at the bottom point of the notch.
The deadstock J. McLaughlin fabric I purchased was under $10 a yard and I used less than two yards for the entire dress. So, for less than a tenth of the price of a store-bought designer dress, I had my very own luxury piece at a fraction of the cost. Plus, the fun I had while recreating this design and the inner glee I felt in revealing its sophisticated origins gave me a feeling of utmost delight.
Toi, Toi, Toi,
Mary Martha

Thank you, Mary Martha. Lisa and I thoroughly enjoyed this and love the dress. You look lovely in it.
LikeLike
Wow! Your dress is so well crafted and you got to structure it exactly to your figure.
Well done, it looks great on you!
LikeLike
Hi Mary Martha,
That sheath turned out to be fantastic on you, looks very professional indeed and stunning from every angle. You could surely wear it to any business meeting or job interview with definite success. I would guess it feels good too, in that appealing cool print.
Put a short jacket with it, and you might be elected Chair of the Board, if the job appeals to you. ð
Thanks ever so much for sharing your story. I am delighted you are staying with your sewing expertise, although the opera is apparently no longer your thing. Perhaps this will be your Easter dress?
Easter blessings to you and family!
Miss Jo
LikeLike
Mary Martha, you did a fabulous job creating this! Love the way it fits you! ❤️
LikeLike
Fabulous dress – perfect for a sophisticated Florida lady! ❤
LikeLike
Lovely creation on a not so unusual figure. The fabric find certainly got you started and you persevered with it until you made it just for you! Why we sew, yes, ladies?!
May I suggest, for your sway back adjustment, that you make a horizontal dart just above your waist with the fullest part at CB and tapering out to the side seams to nothing. Somewhat similar to a “fisheye” dart but horizontal. It will take out the excess fabric at the curve of your back and you may not need the darts you have sewn in. I’m passing along this alteration only because I see a fold right in this location in your third photo showing the back view. If that fold in the fabric is caused by the way you’re standing then that’s understandable.
I hope you continue to share some of your beautiful garments.
LikeLike
Thank you ! I’ve never made a horizontal dart at the back, but usually make that adjustment on the paper pattern before cutting the fabric. The problem is, once I make the swayback adjustment on paper, the back neckline becomes skewed at the top, forcing me to perform another series of alterations. Ugh ! Adding the fisheye darts was an easy way to eliminate some of that excess fabric (but not all !). I appreciate your advice !
LikeLike
So sorry I didn’t make thais clear. The dart is made in your muslin or pattern not the finished garment. The depth of the “dart” at Cb usually isn’t more that an 1” total which would be a fair amount. Because your back curves the fabric creates a fold at that place. Once the excess is taken up in the dart your garment should hang much more smoothly. It shouldn’t effect the neckline at all.
LikeLiked by 1 person