BOGO Queen: Recycle the Runway 2026

Recently, I had the immense pleasure of participating in something that I had never done before: a charity fashion show. Although it was not my first fashion show (that honor belongs to the P.E.O. Founders’ Day celebration of 2022), I was both excited and nervous to walk the runway under the bright lights of the historic Ritz Theatre stage.

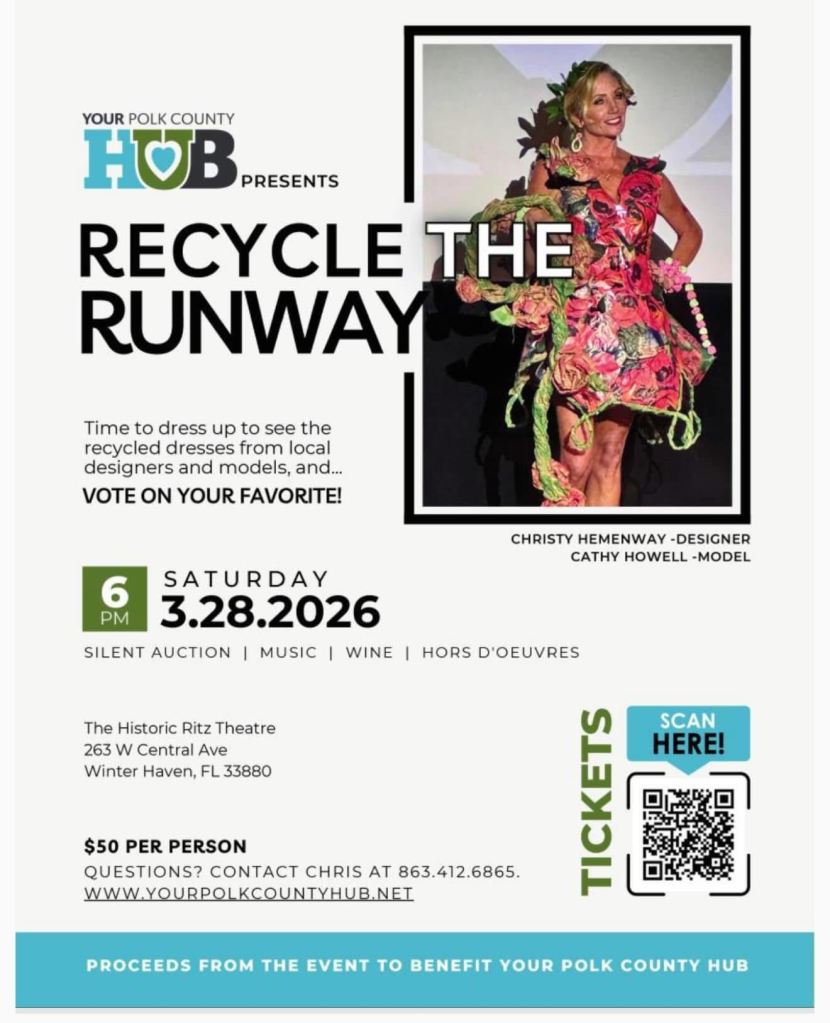
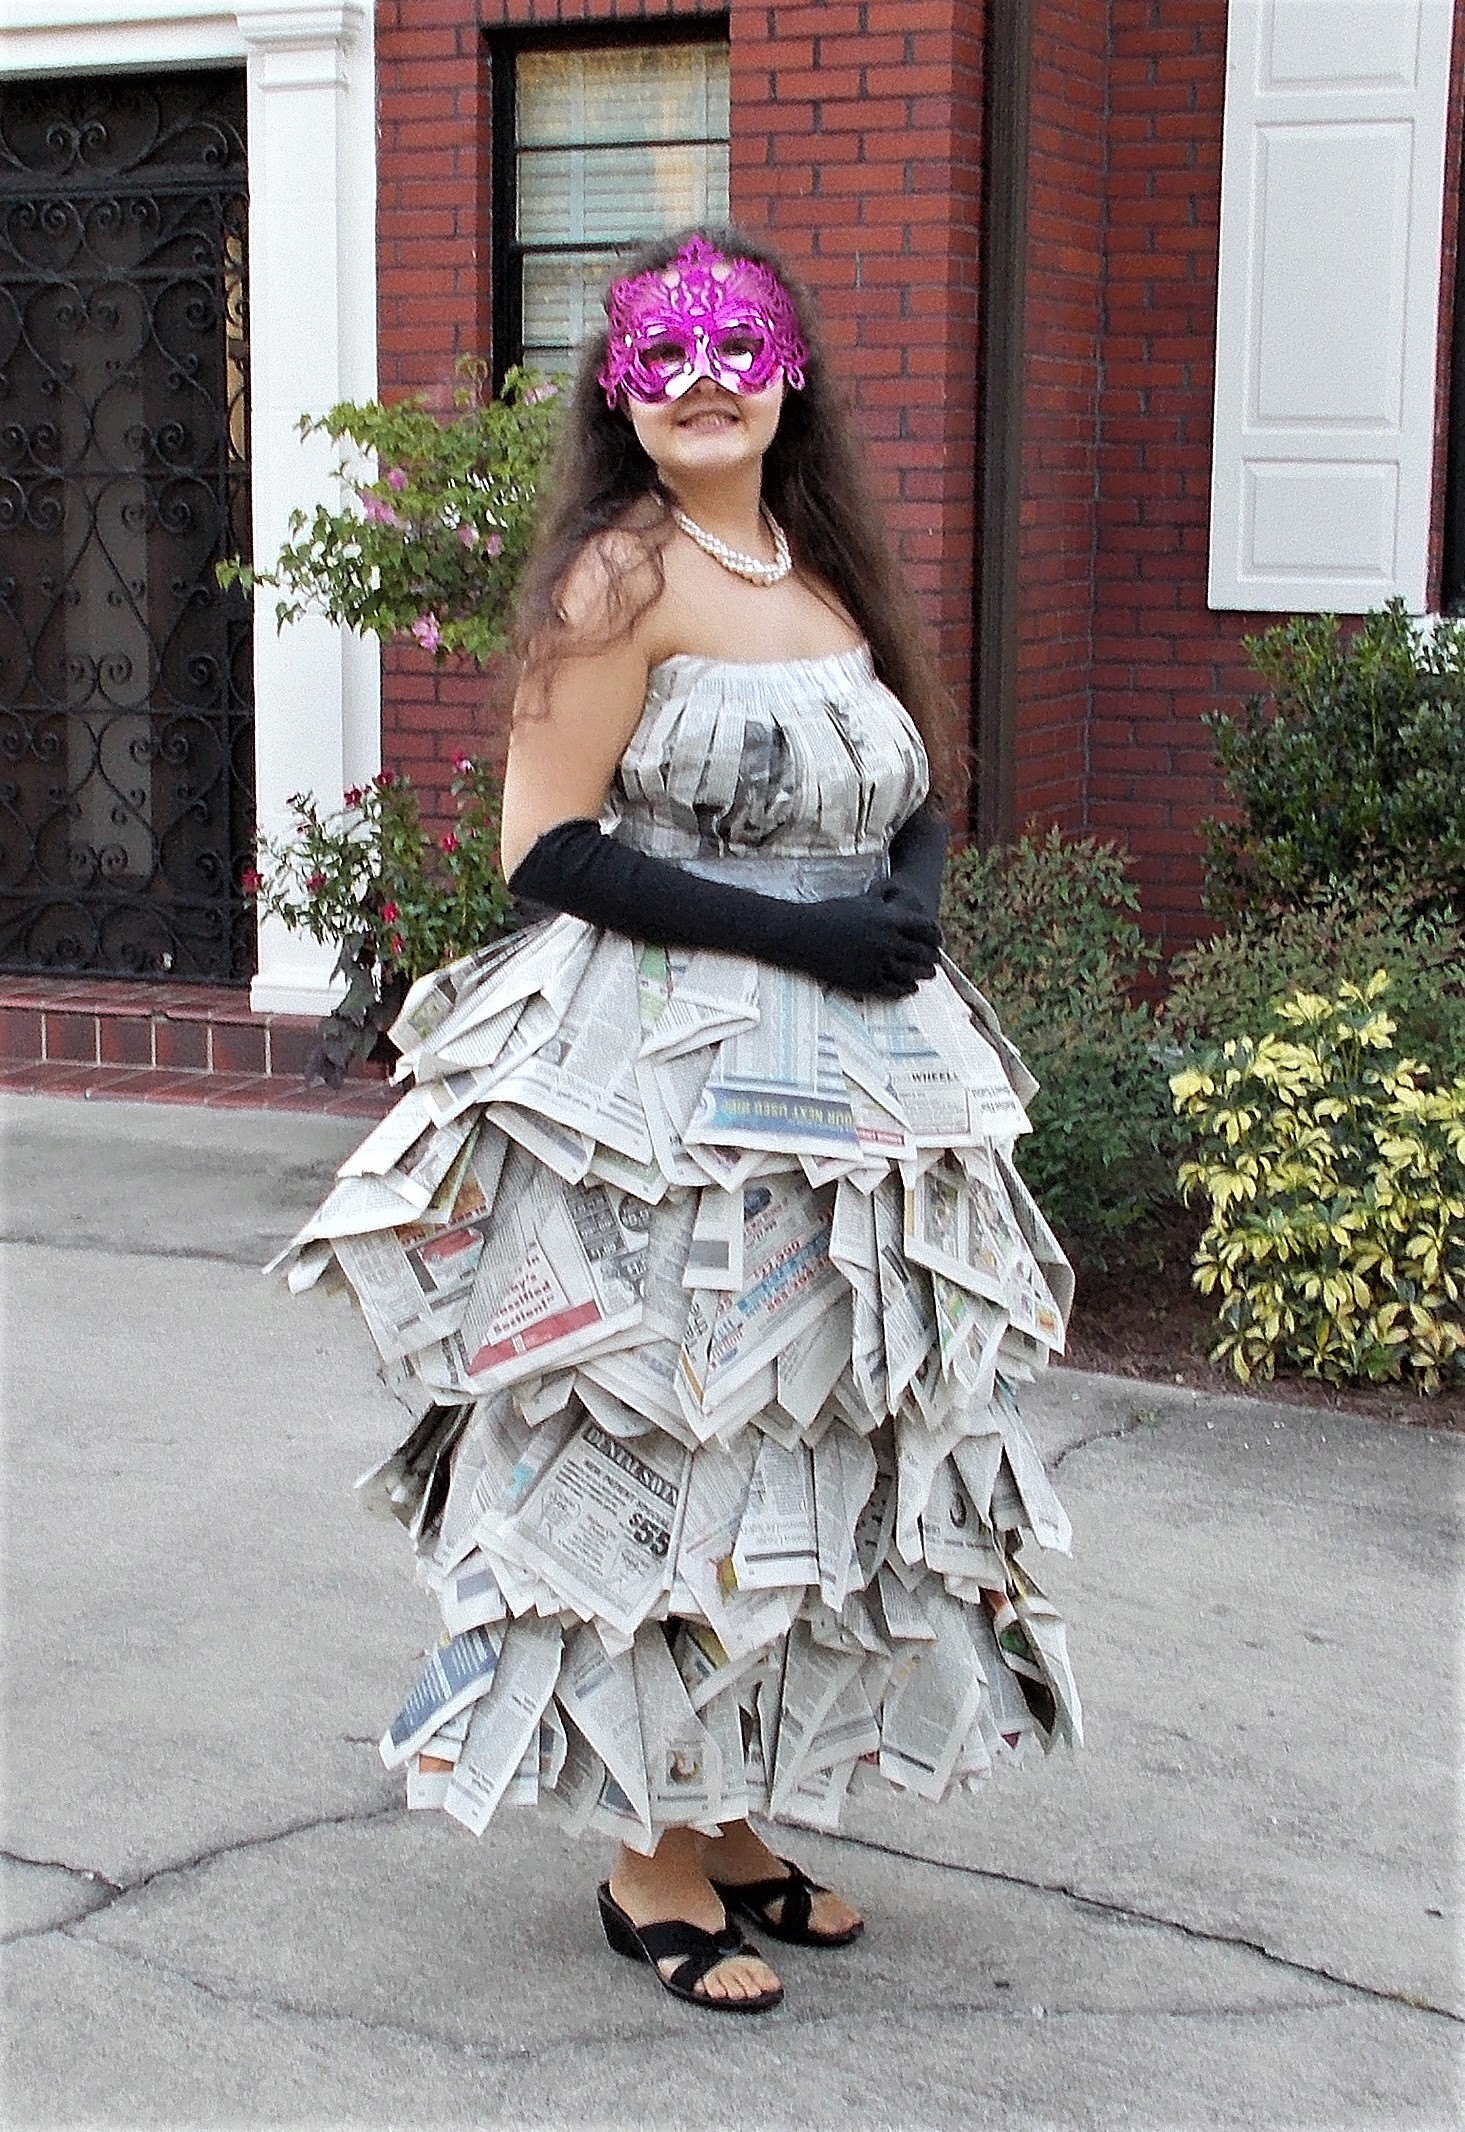
Benefiting Your Polk County HUB, a cancer and chemo support non-profit, the aim of Recycle the Runway was to design an outfit made primarily out of recycled materials. I was up for the challenge and for good reason; I had previously made a newspaper dress in 2013 when I went as “Old News” for Halloween.

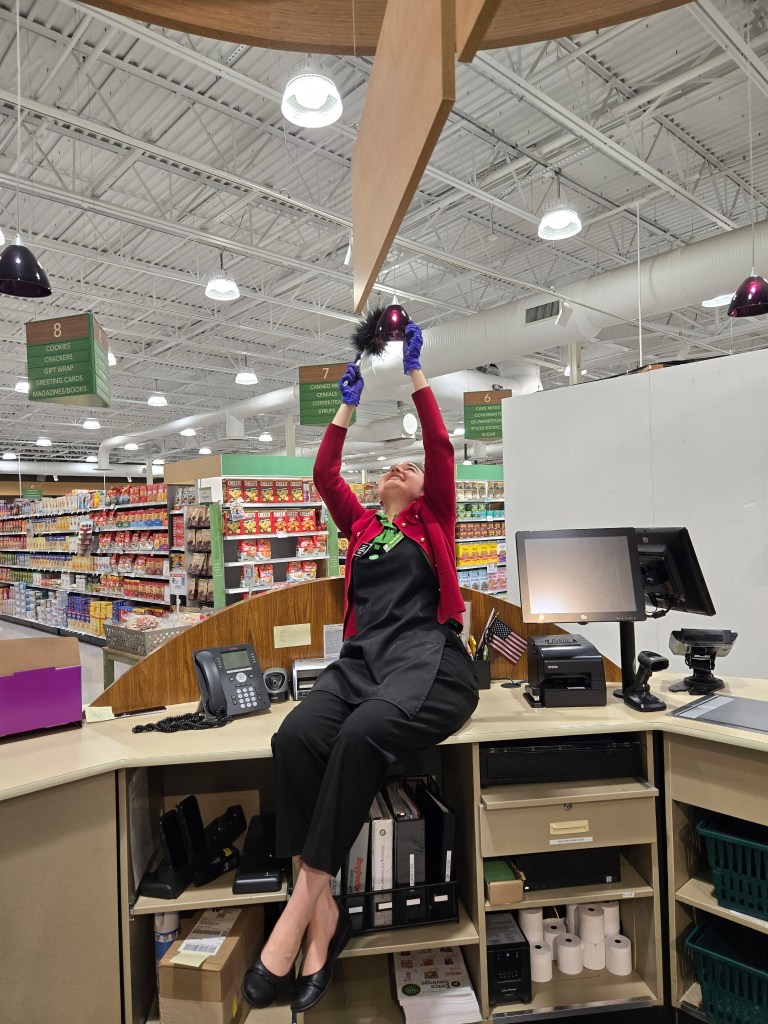
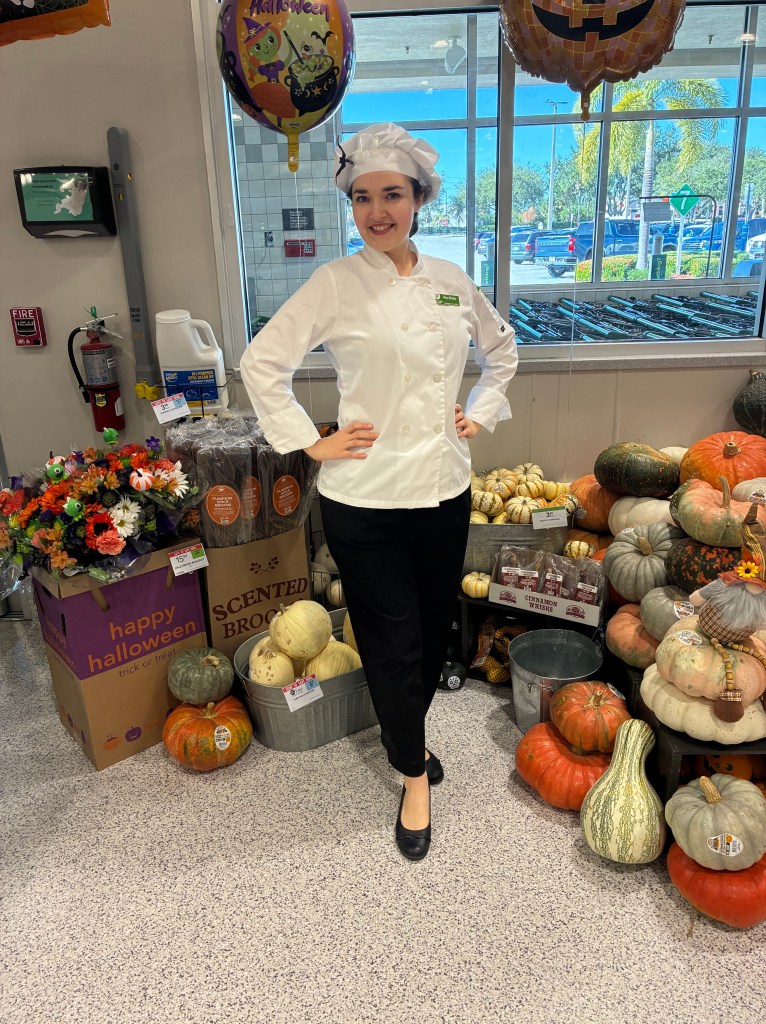
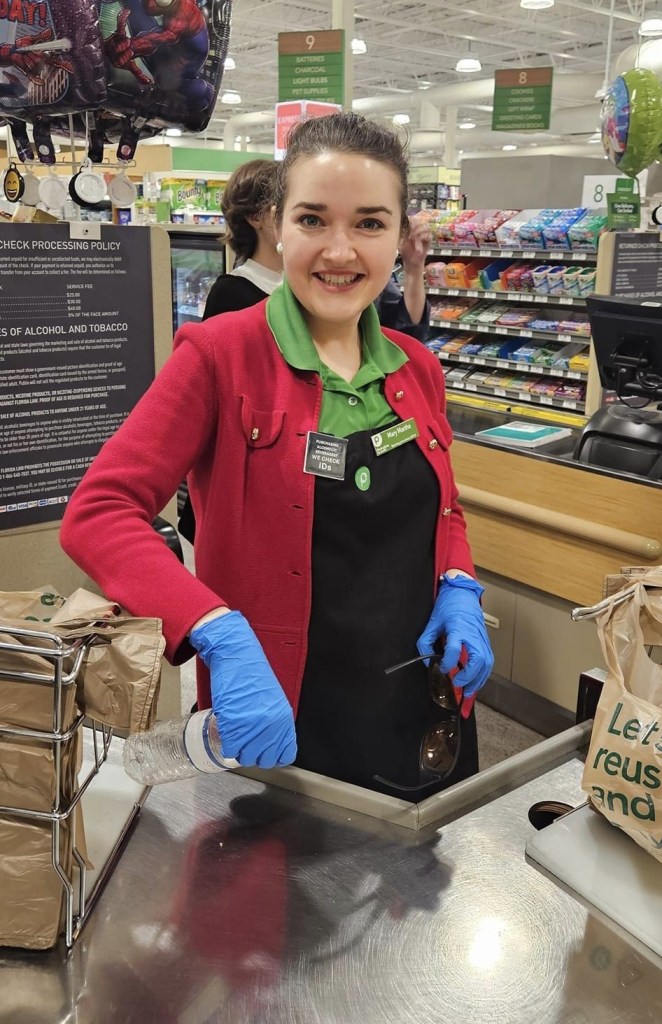
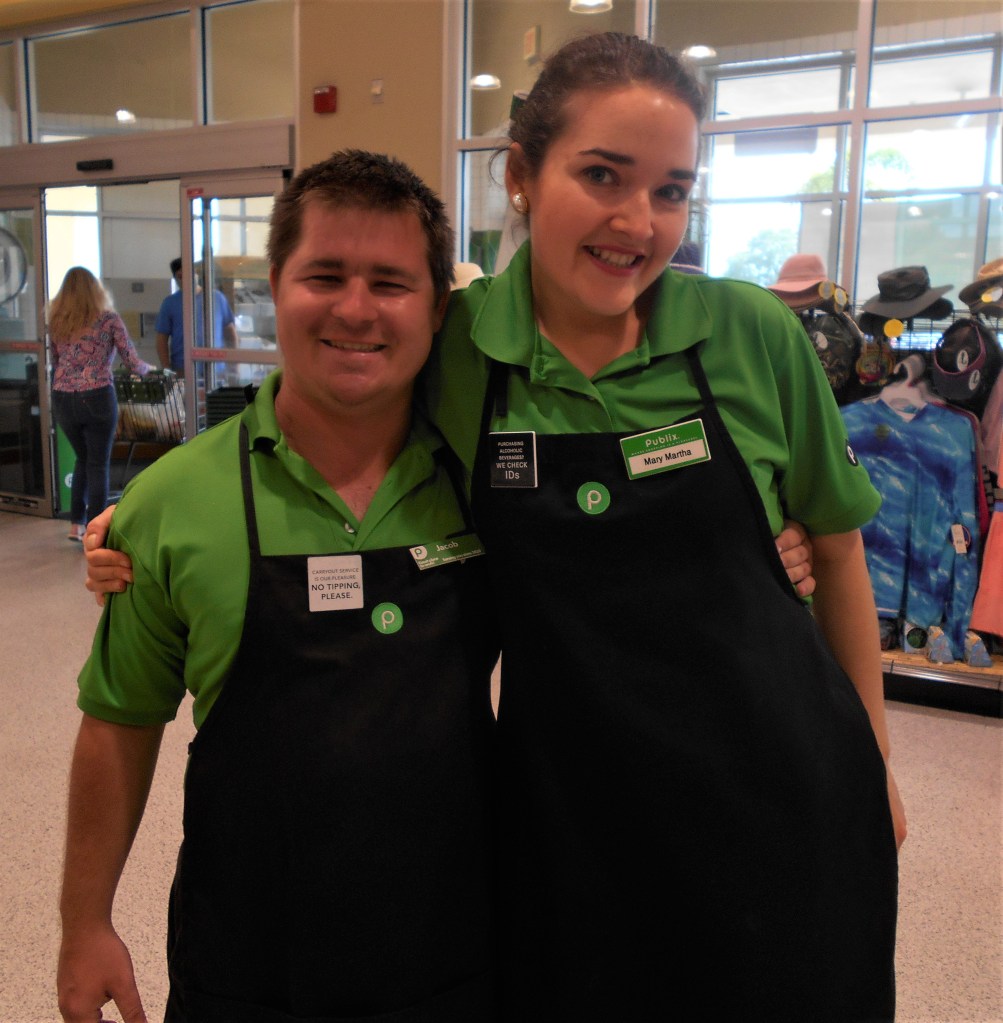
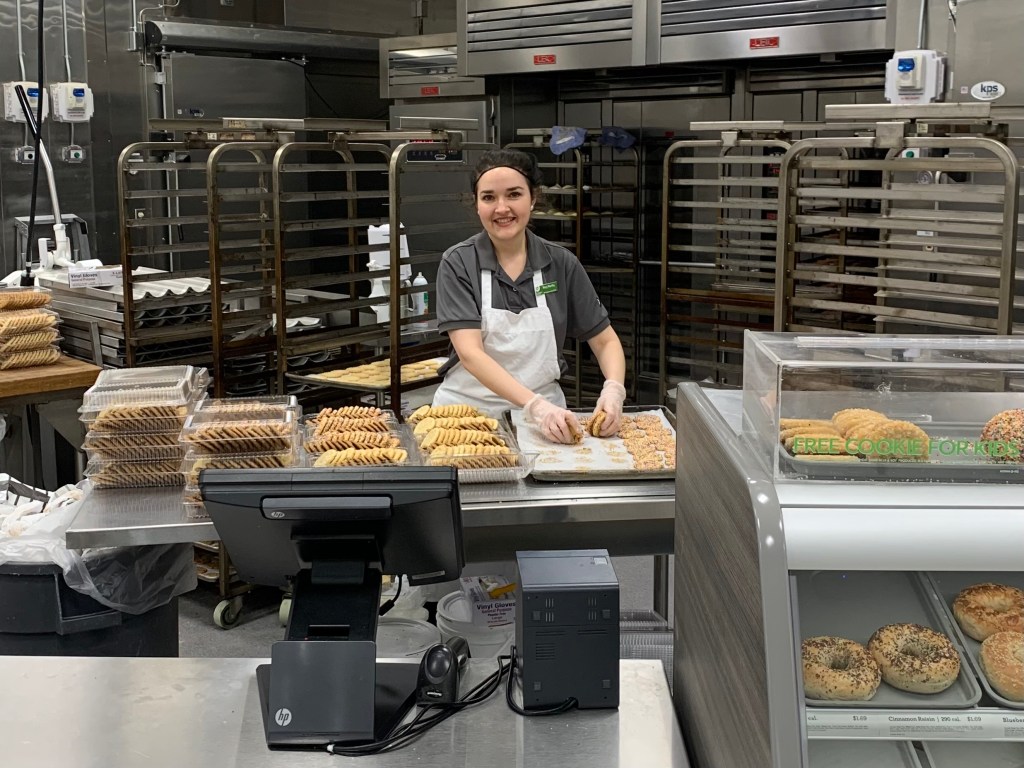
The inspiration behind my recycled look came readily. As a retail associate at Publix Super Markets, I regularly delight in my customers saving through the “BOGOs” (Buy One, Get One) and the featured sale items in the weekly ad circulars. Comically, I often celebrate my savviest shoppers by pronouncing them as BOGO “queens” and “kings”, sending them off with a flaunted fold of receipt paper.

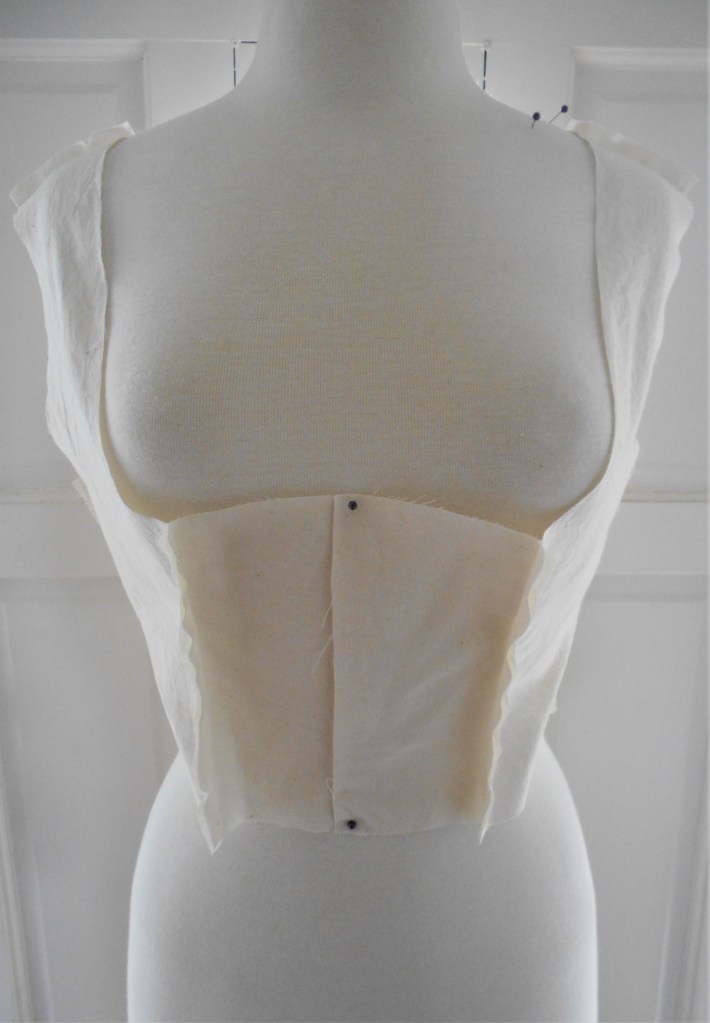
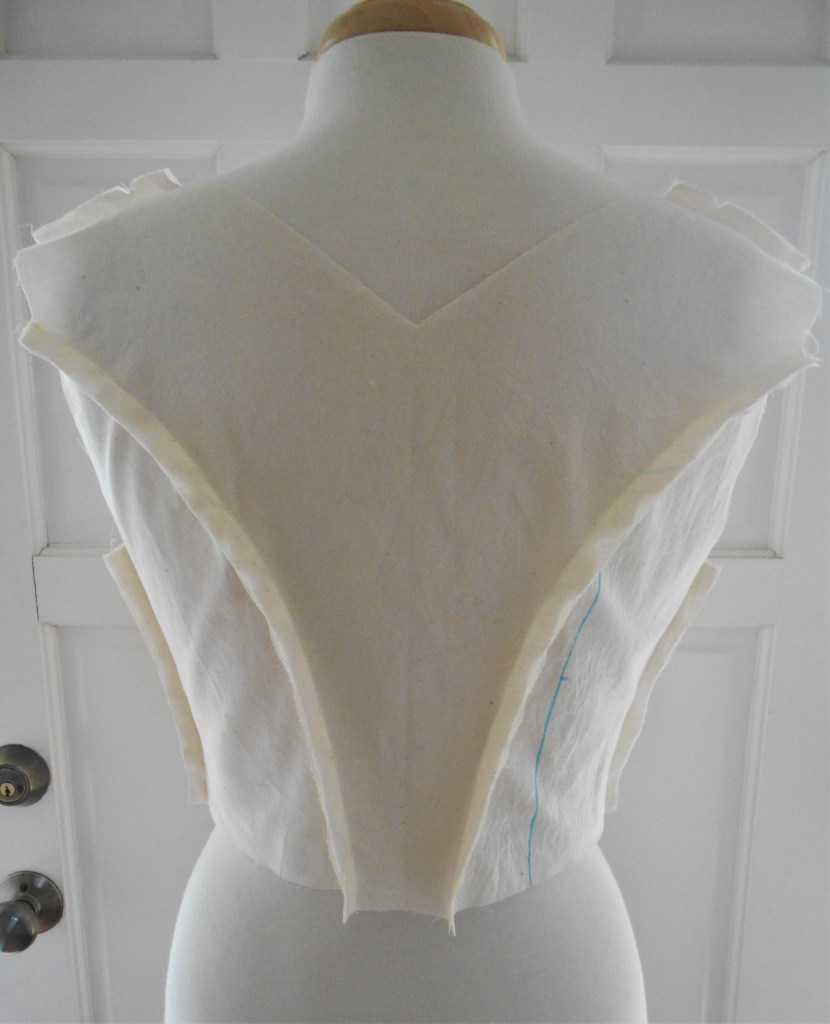
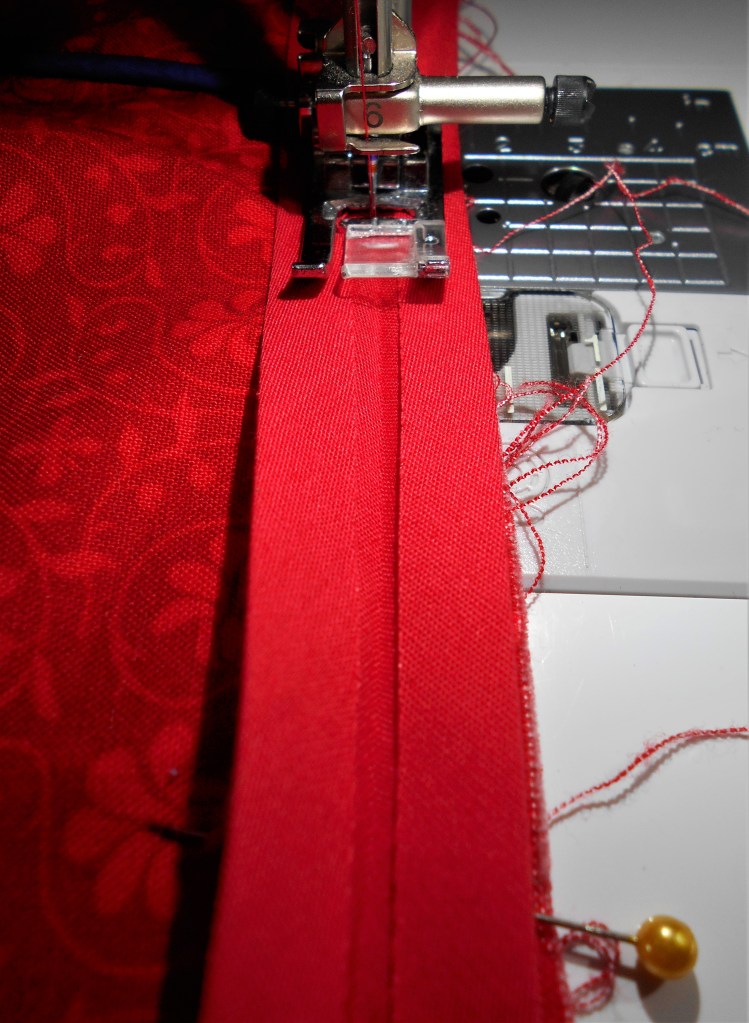
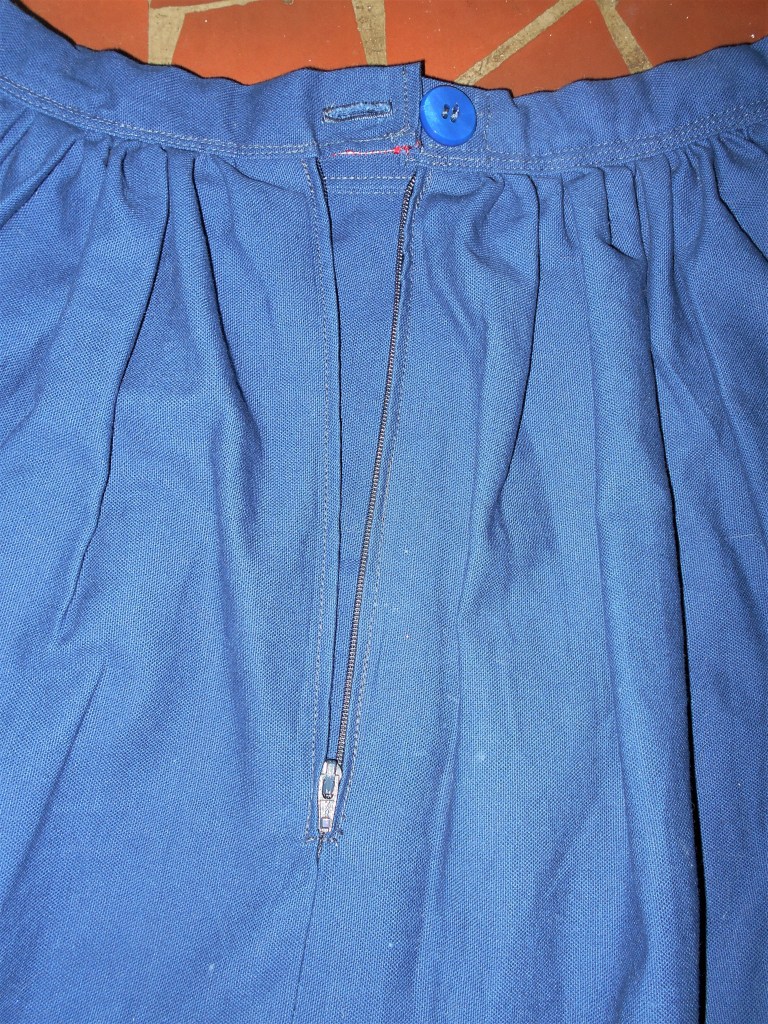
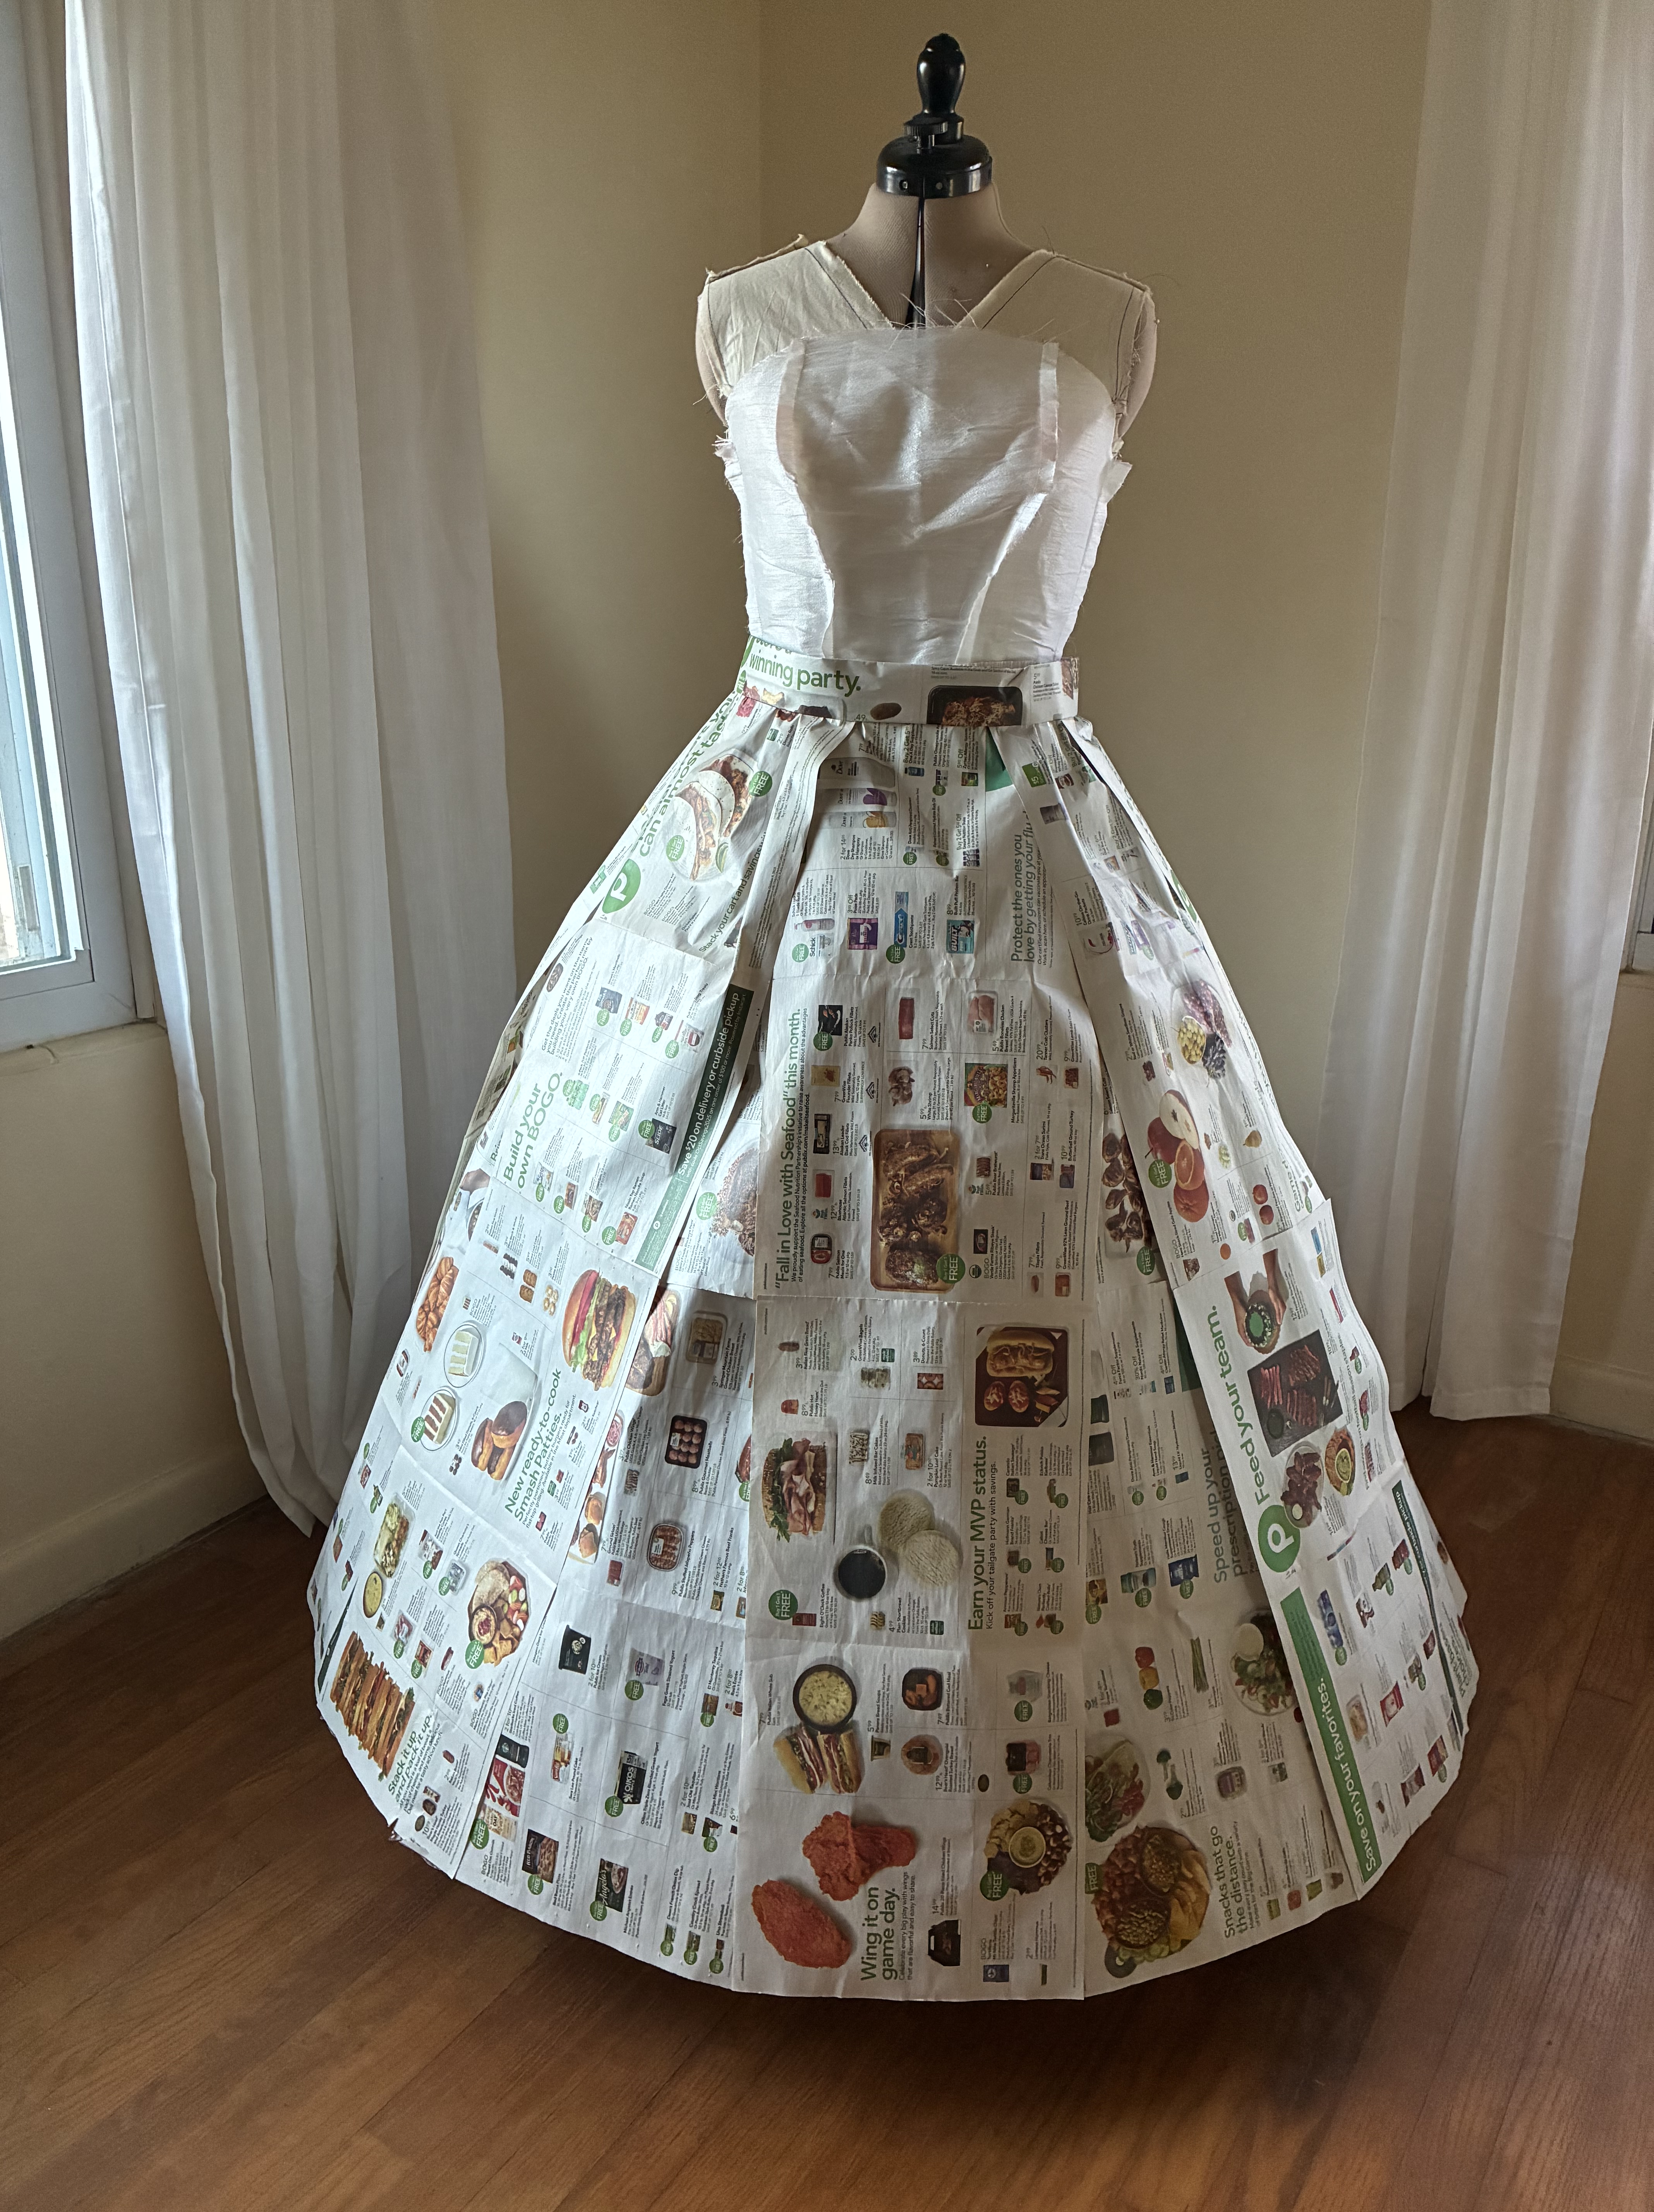
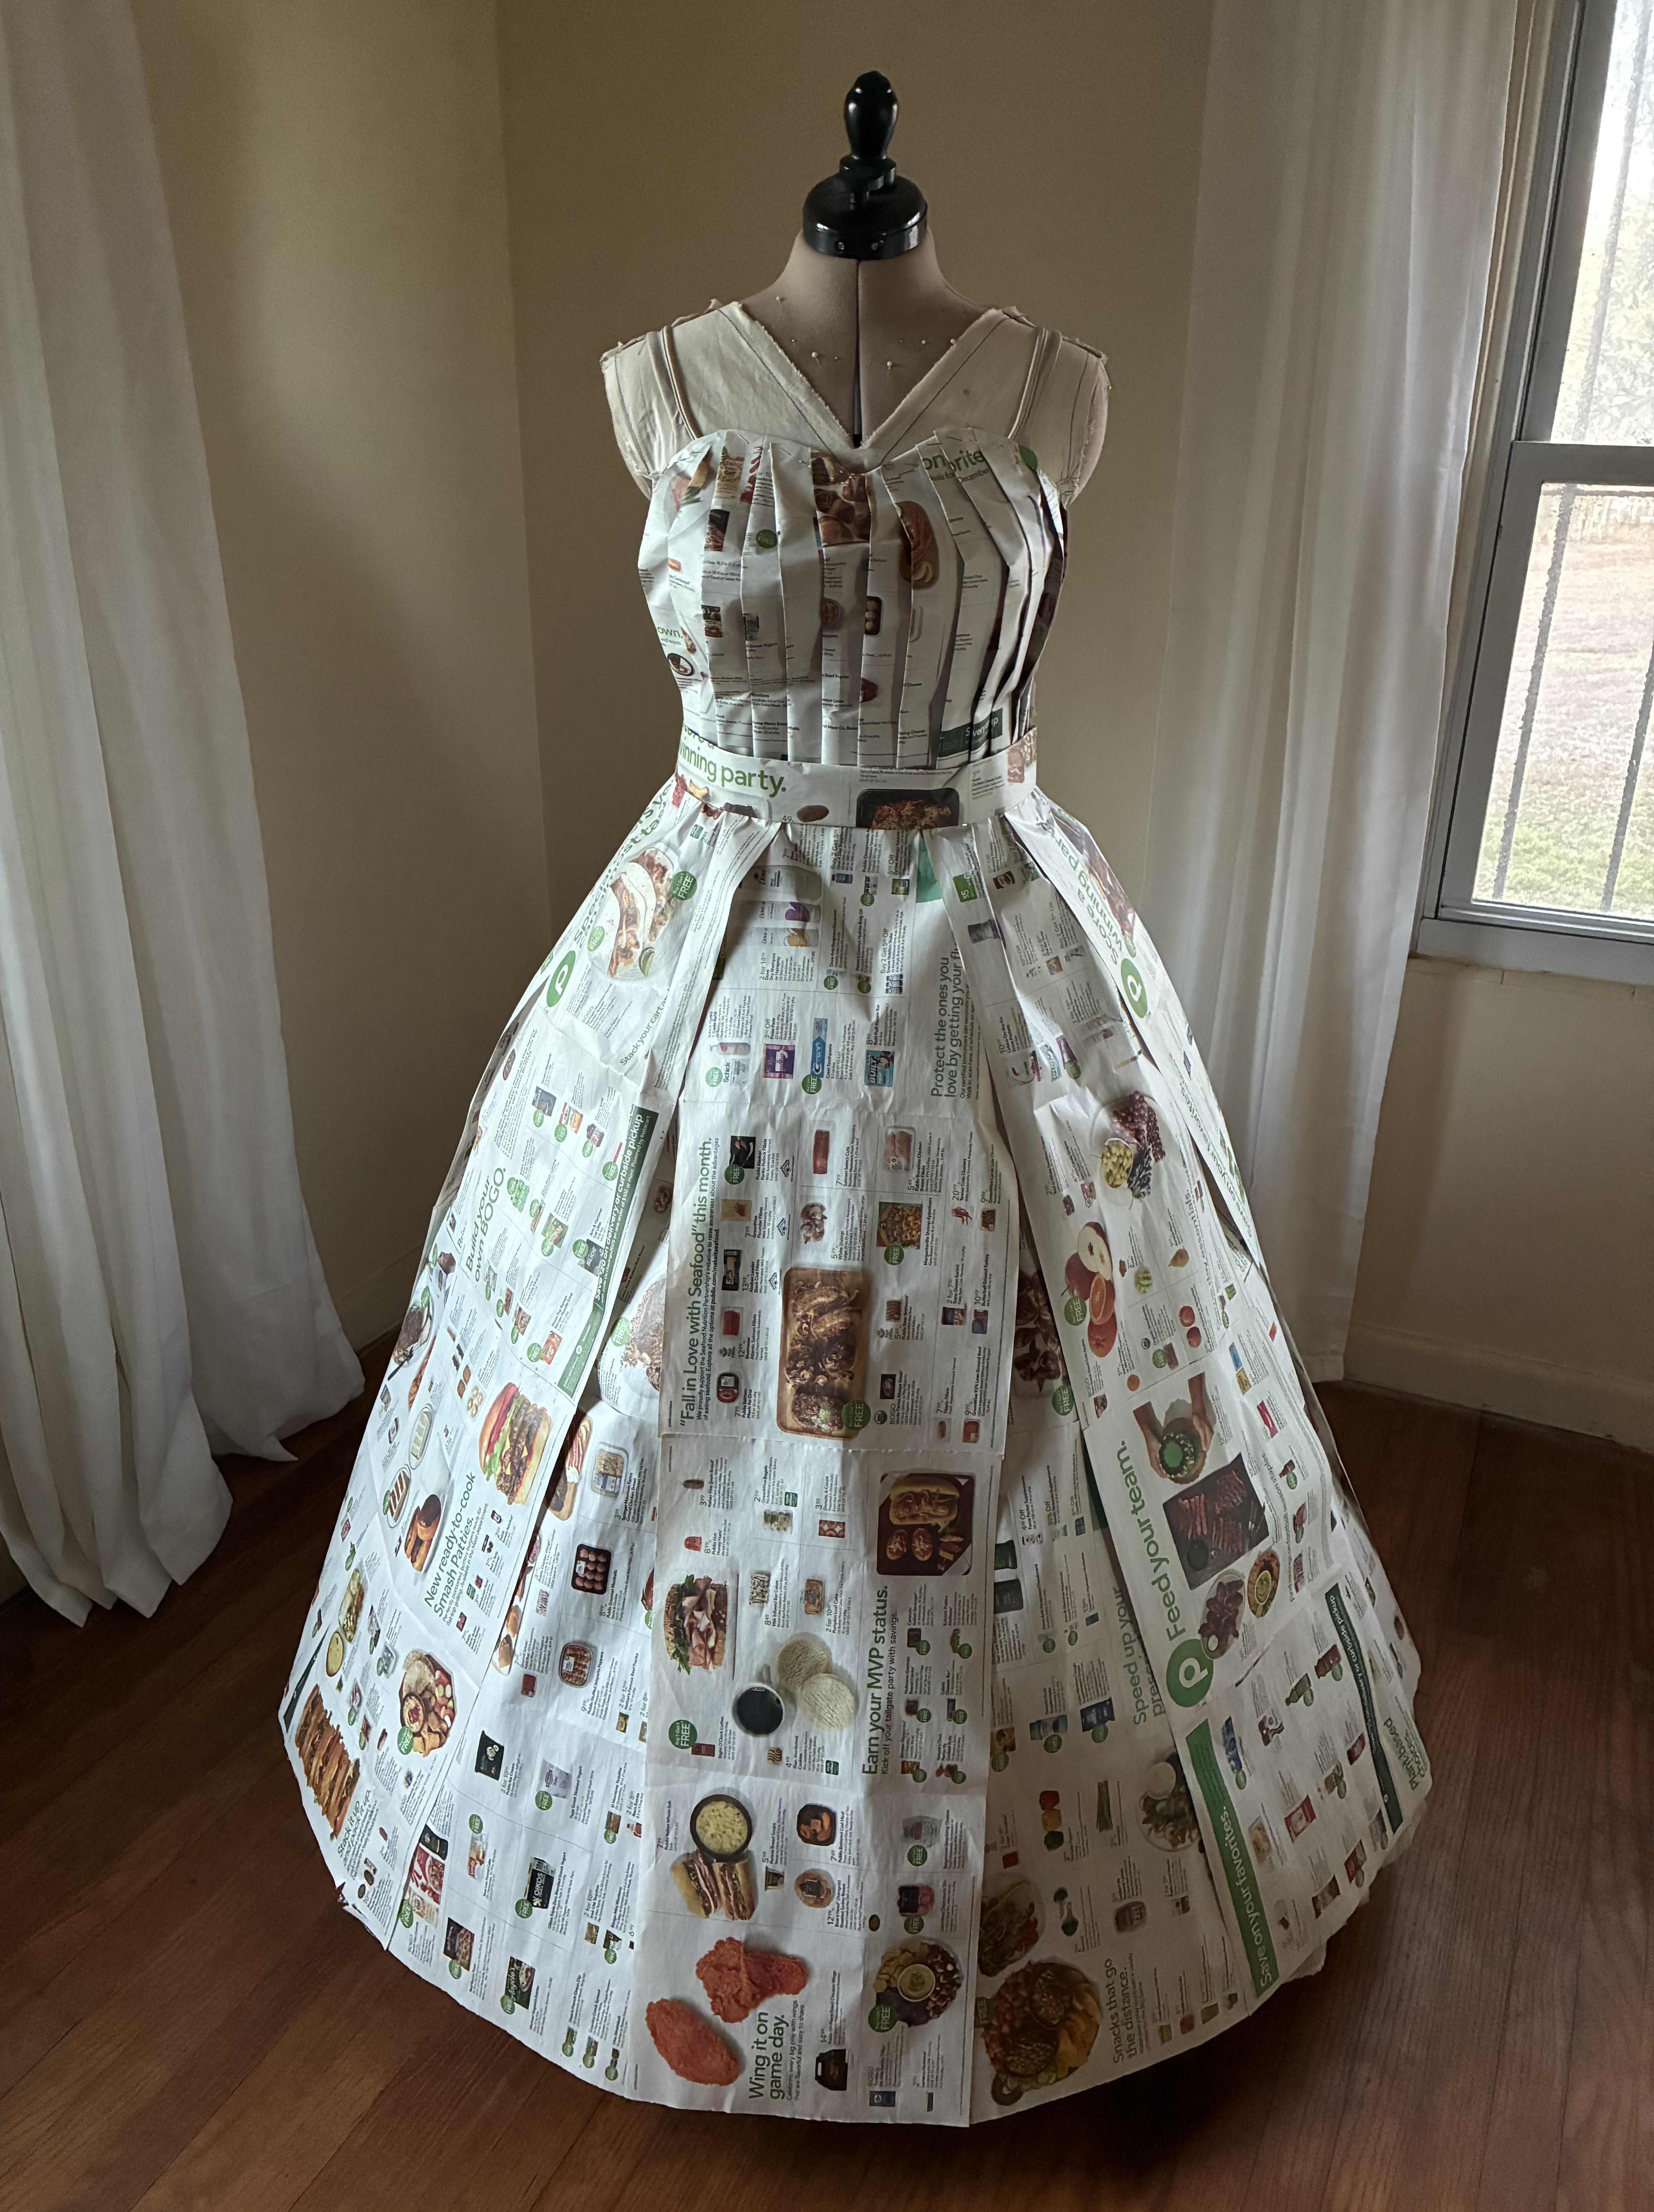
Unlike my “Old News” dress, I chose to use a structured base for the garment, which included a hoopskirt and a fabric bodice, supported with Rigilene boning and closed with a zipper.

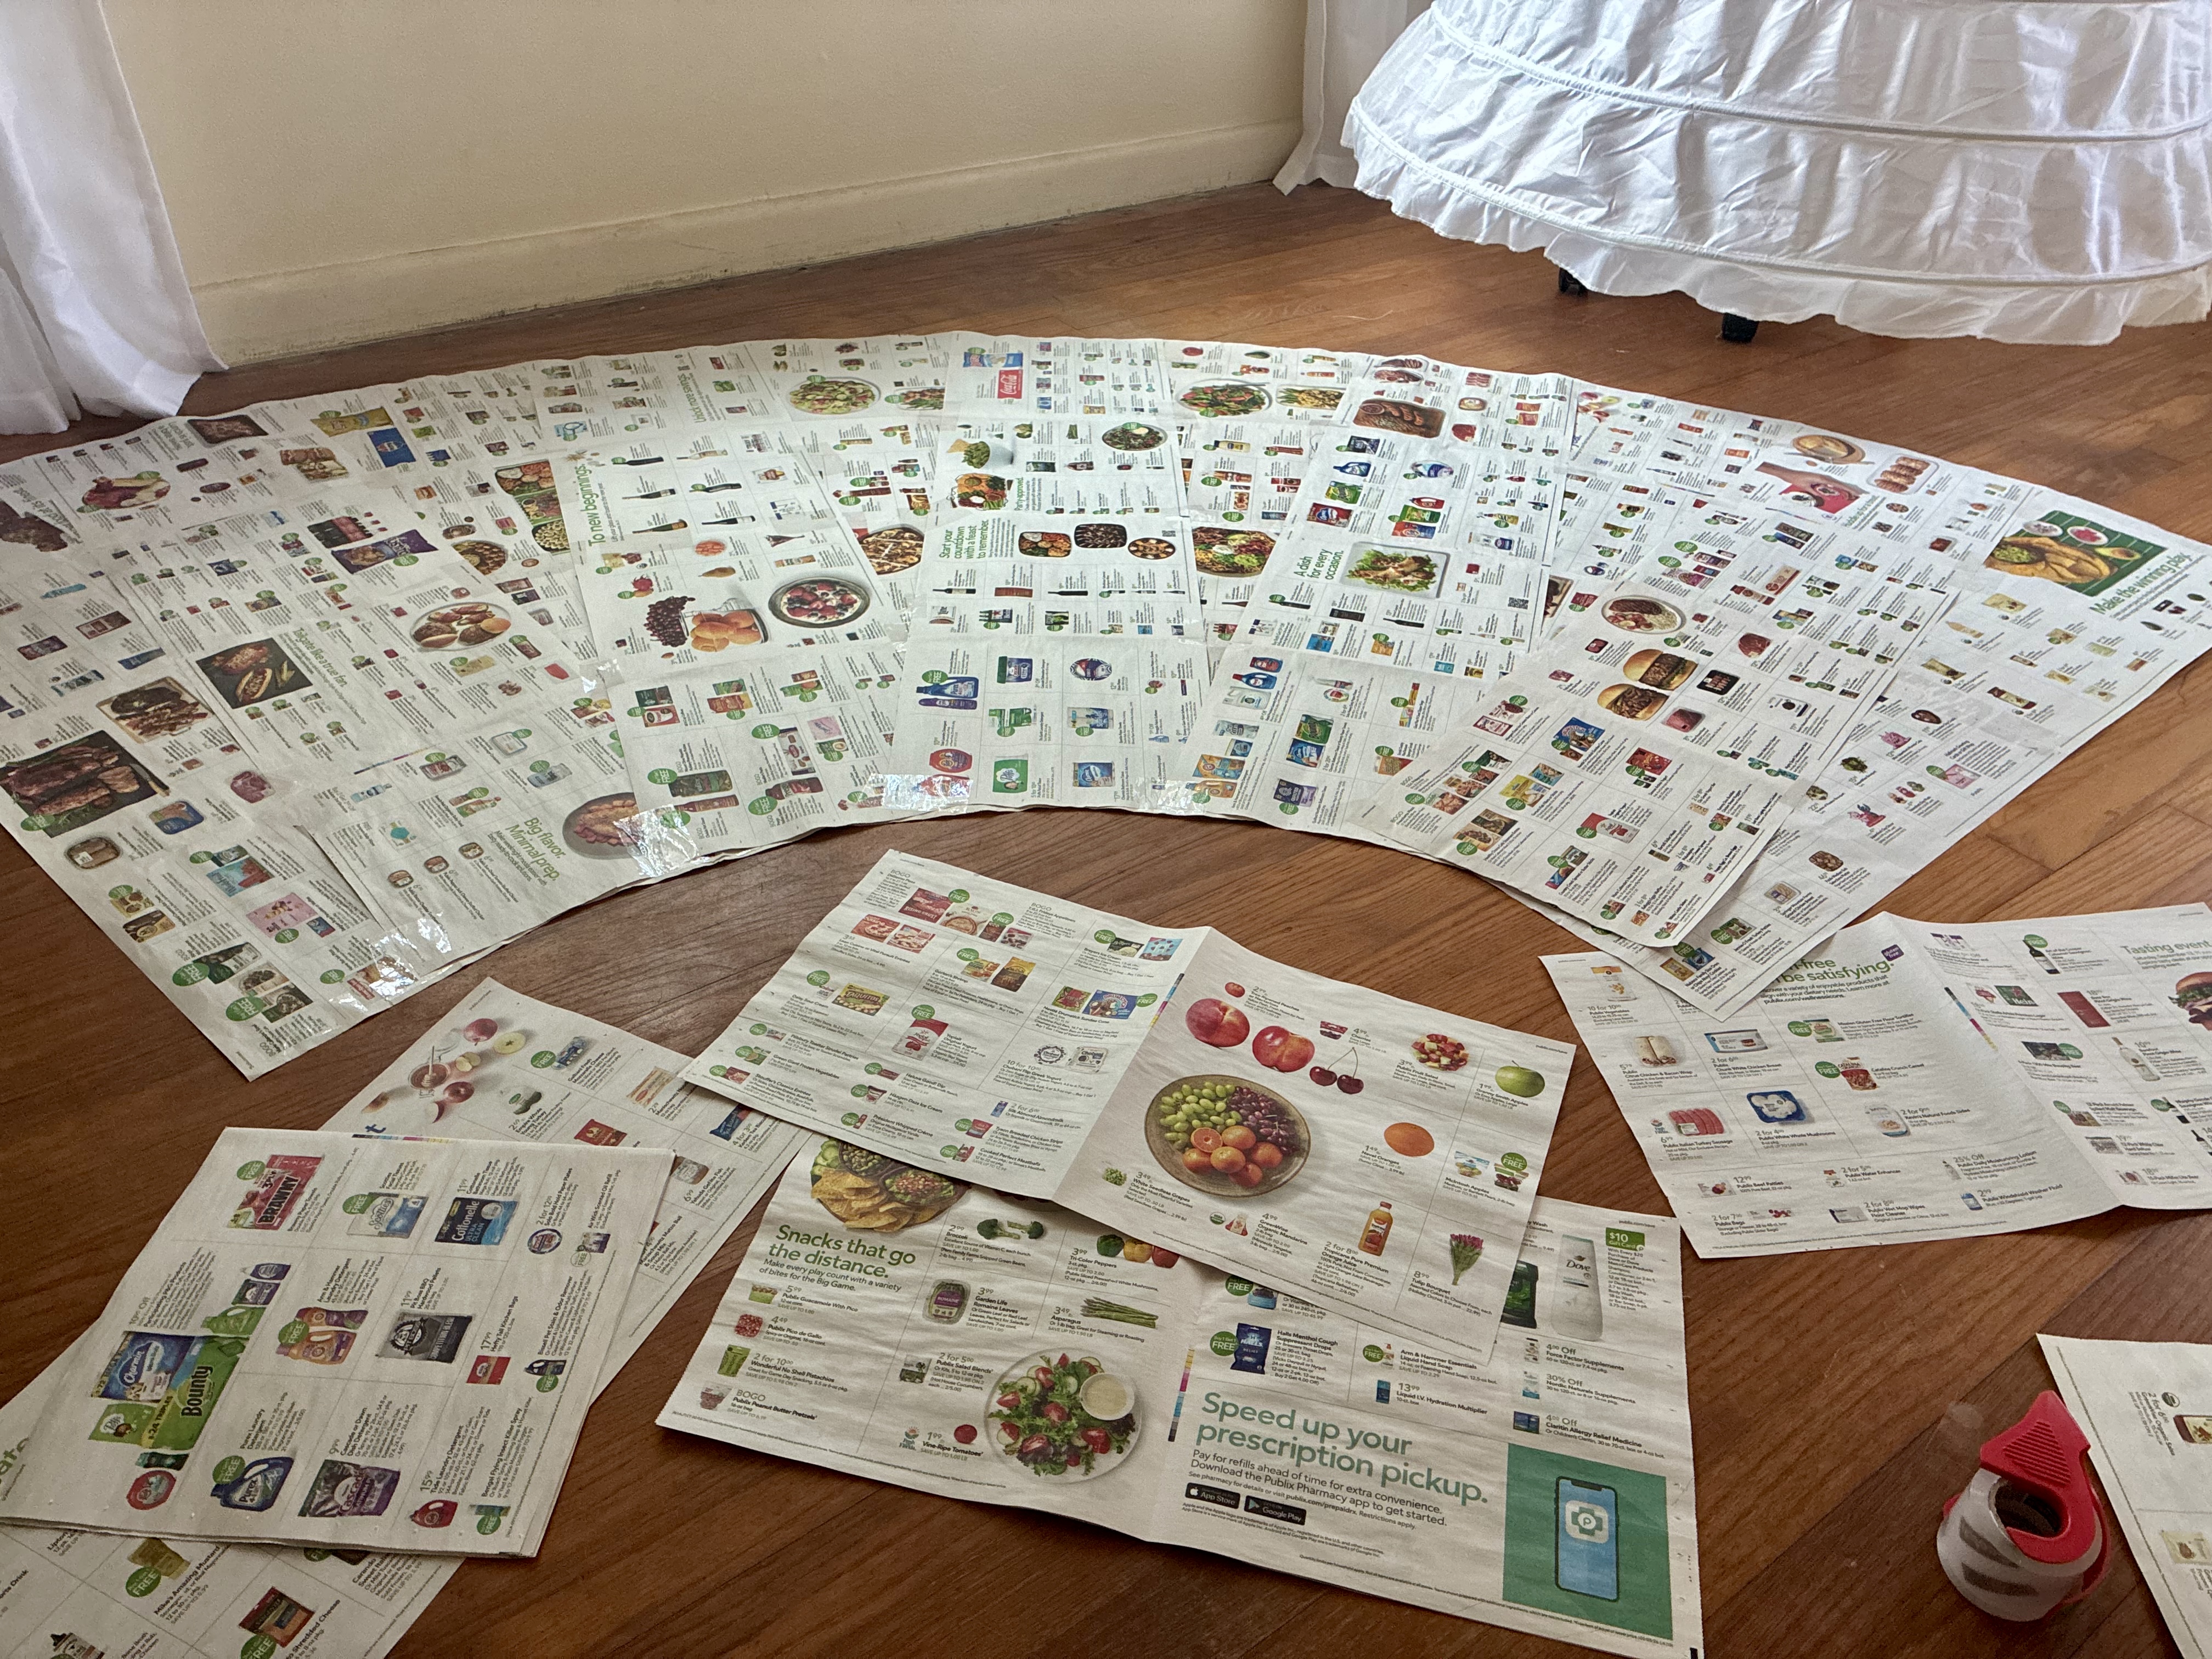
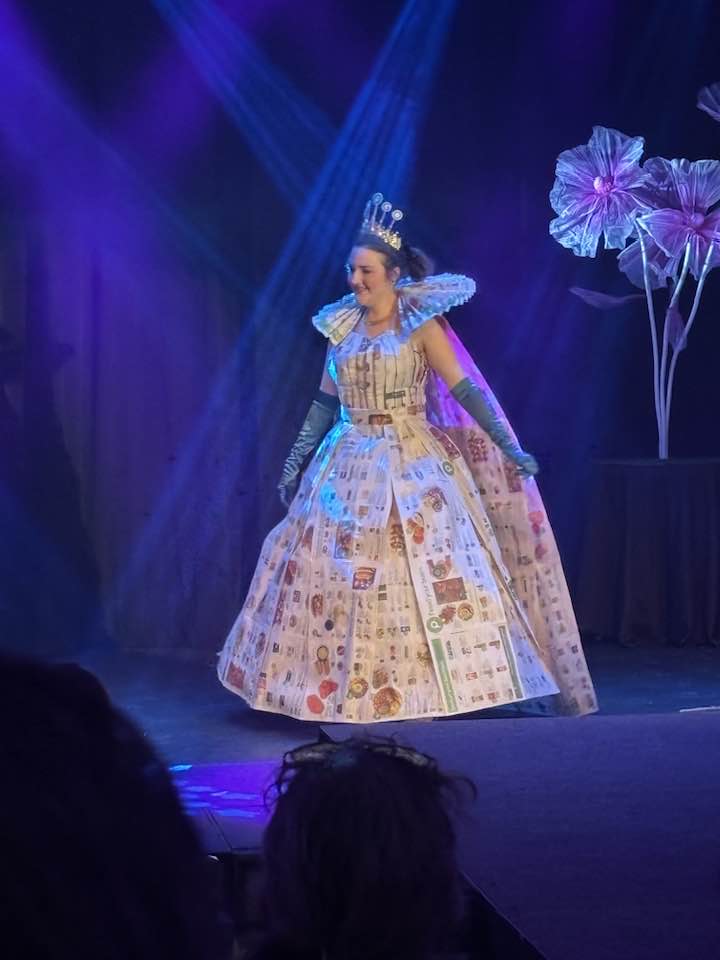
As I was forming the skirt, I didn’t know how it would be designed, so I experimented by making long strips out of the ads, which were taped together. Pleasantly surprised, I was encouraged by the overall shape of the ads when laid out on the floor in a fan of food and products. A circle skirt was being created right before my eyes.

Pleated along the waistline of the mannequin, the skirt was attached to a corresponding paper waistband with staples and tape. That was easy !

Onto the bodice… When I made “Old News” in 2013, I pleated sheets of newspaper in order for the top to expand when I wore it. This worked well. Applying the same principle, I molded the folded pages around the base bodice and pinned them into place.

Then, I trimmed and stapled the upper edge to the fabric bodice.

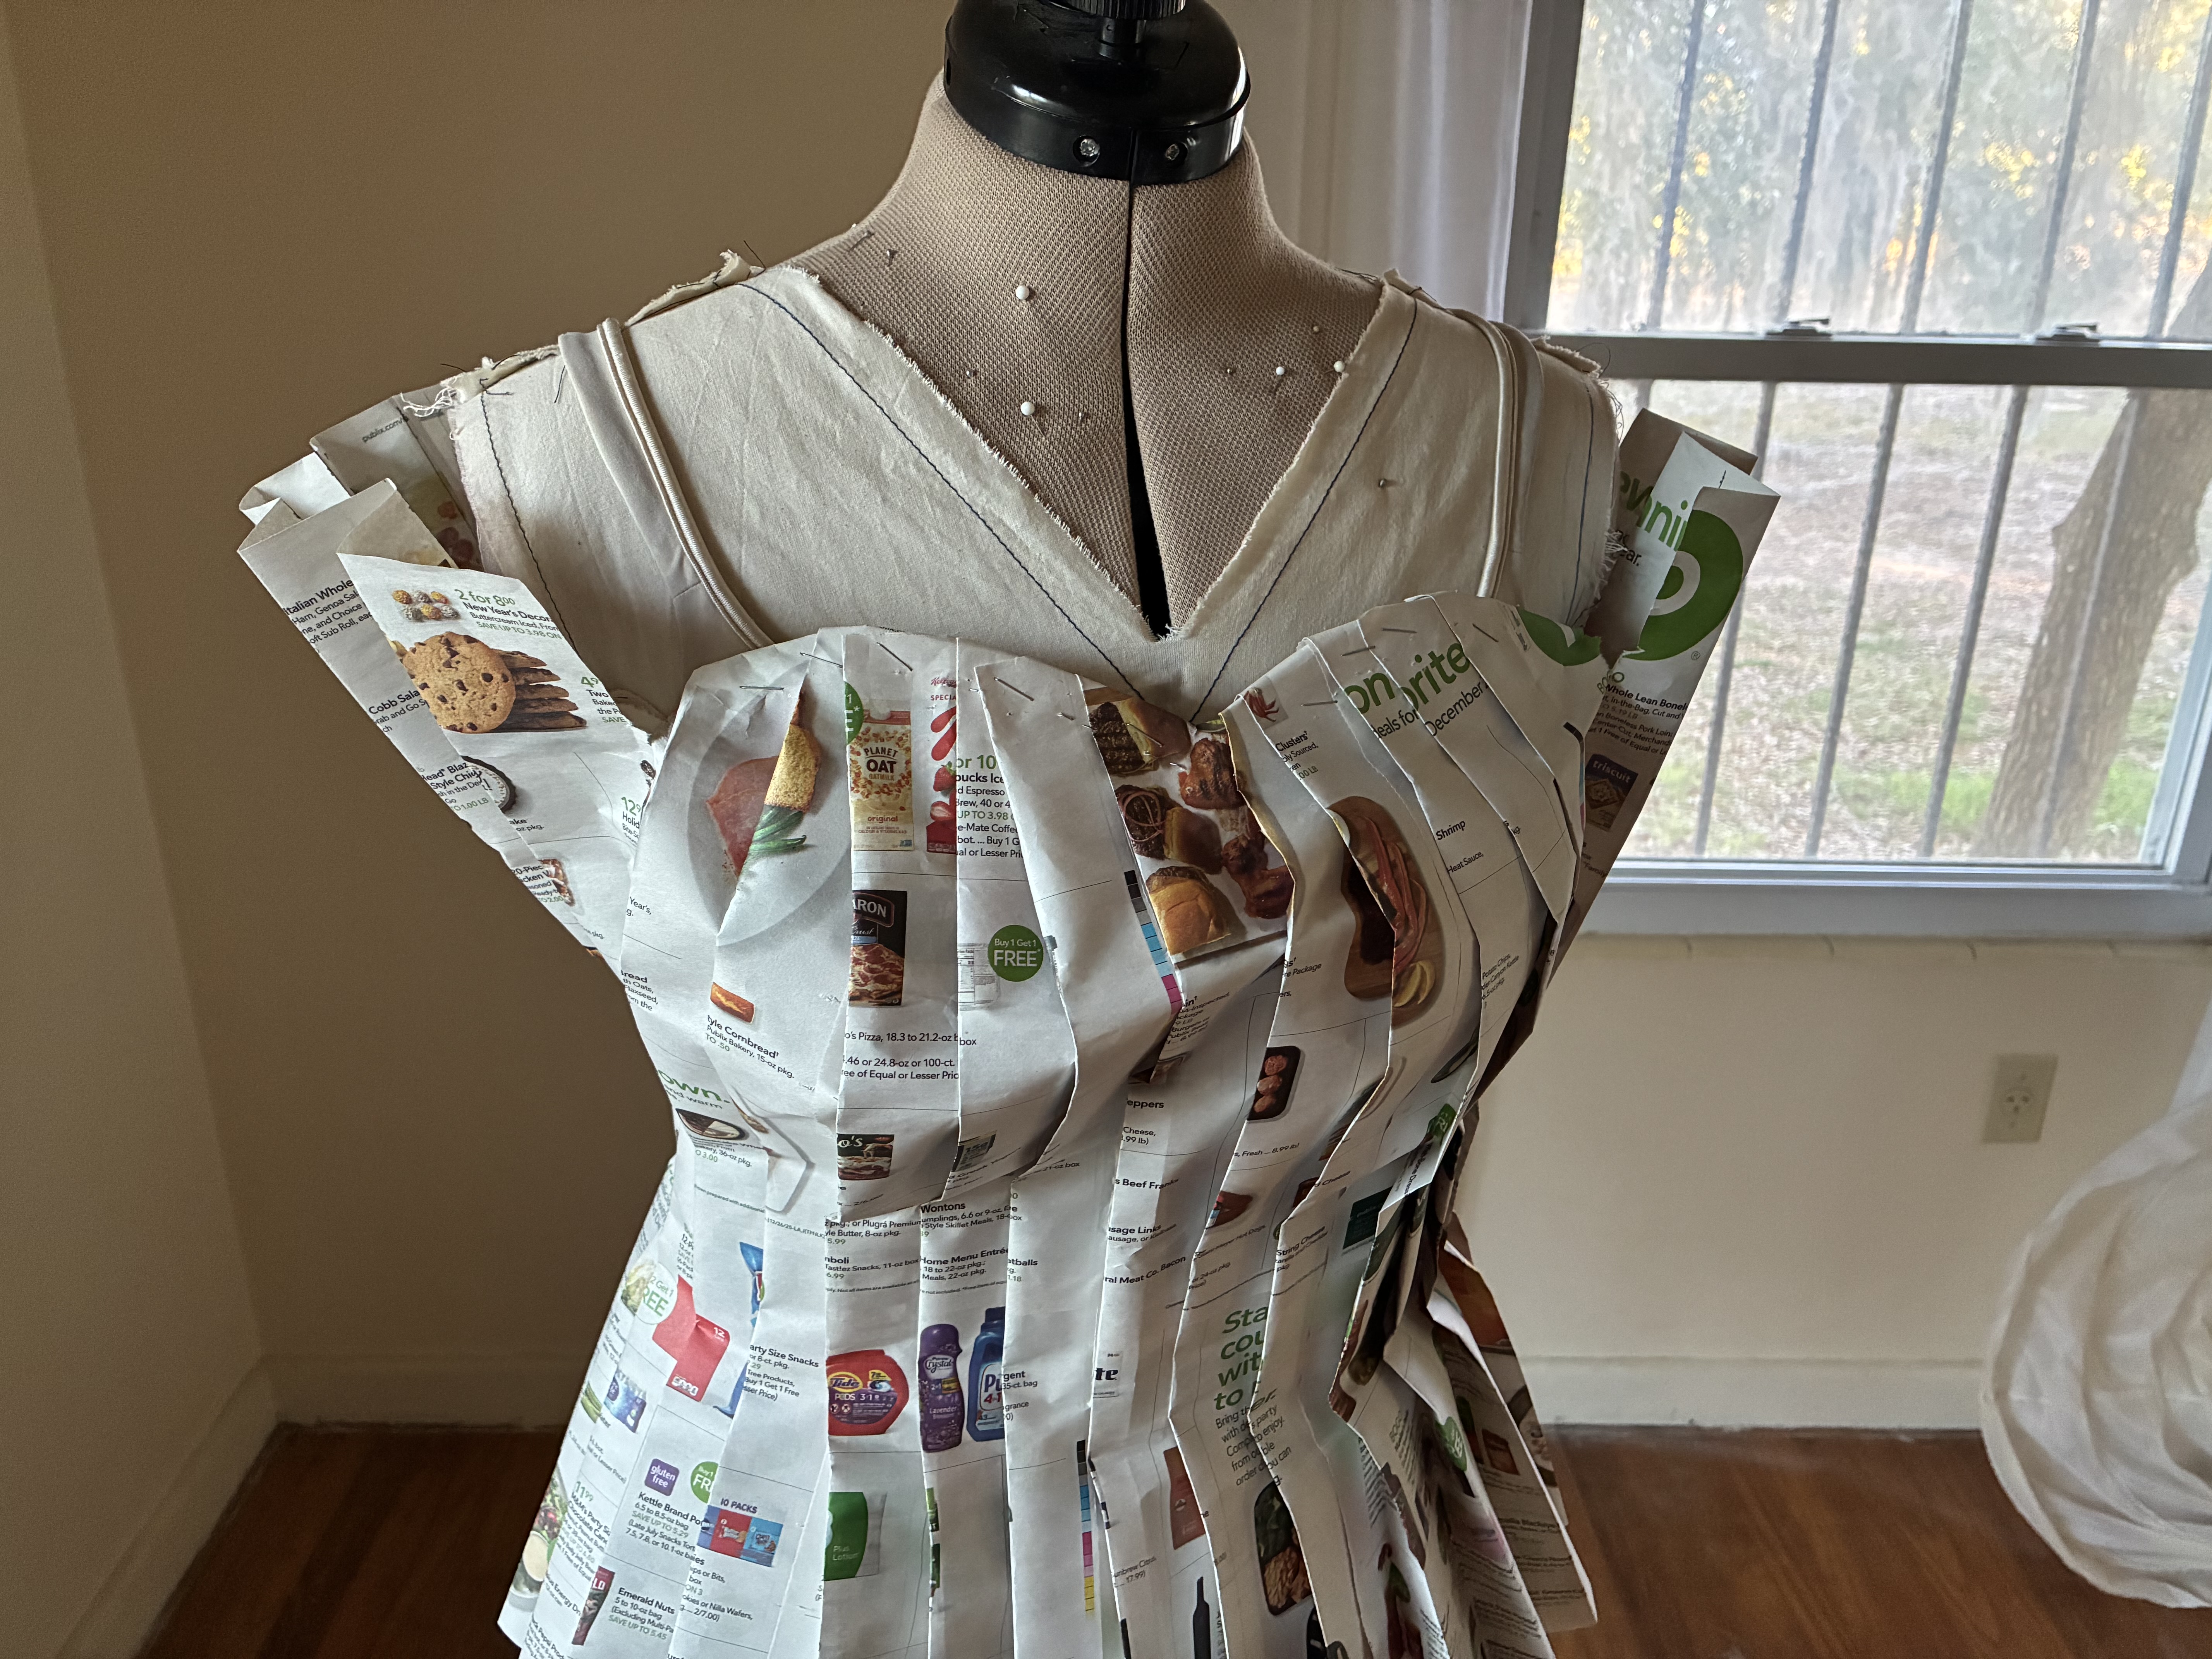
And, voilà ! I was amazed at how quickly the outfit was coming together.

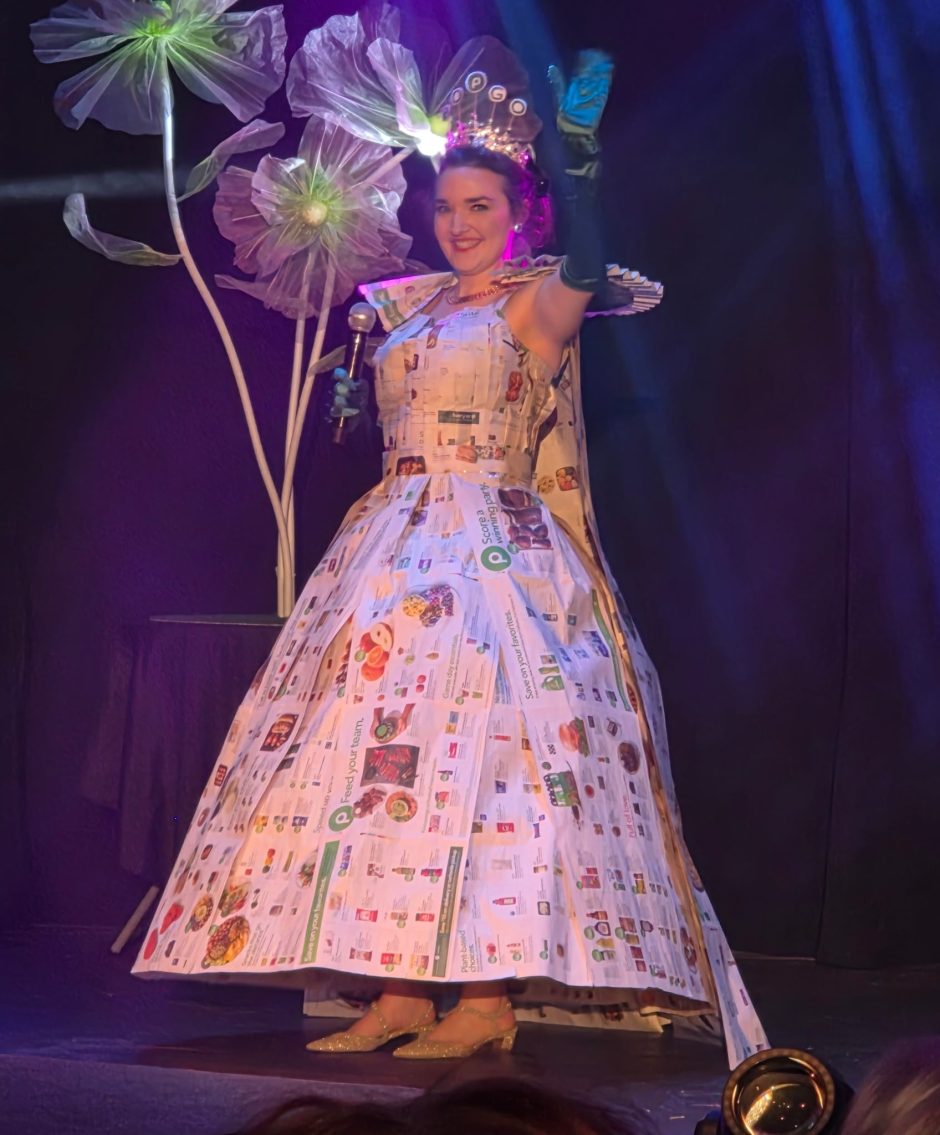
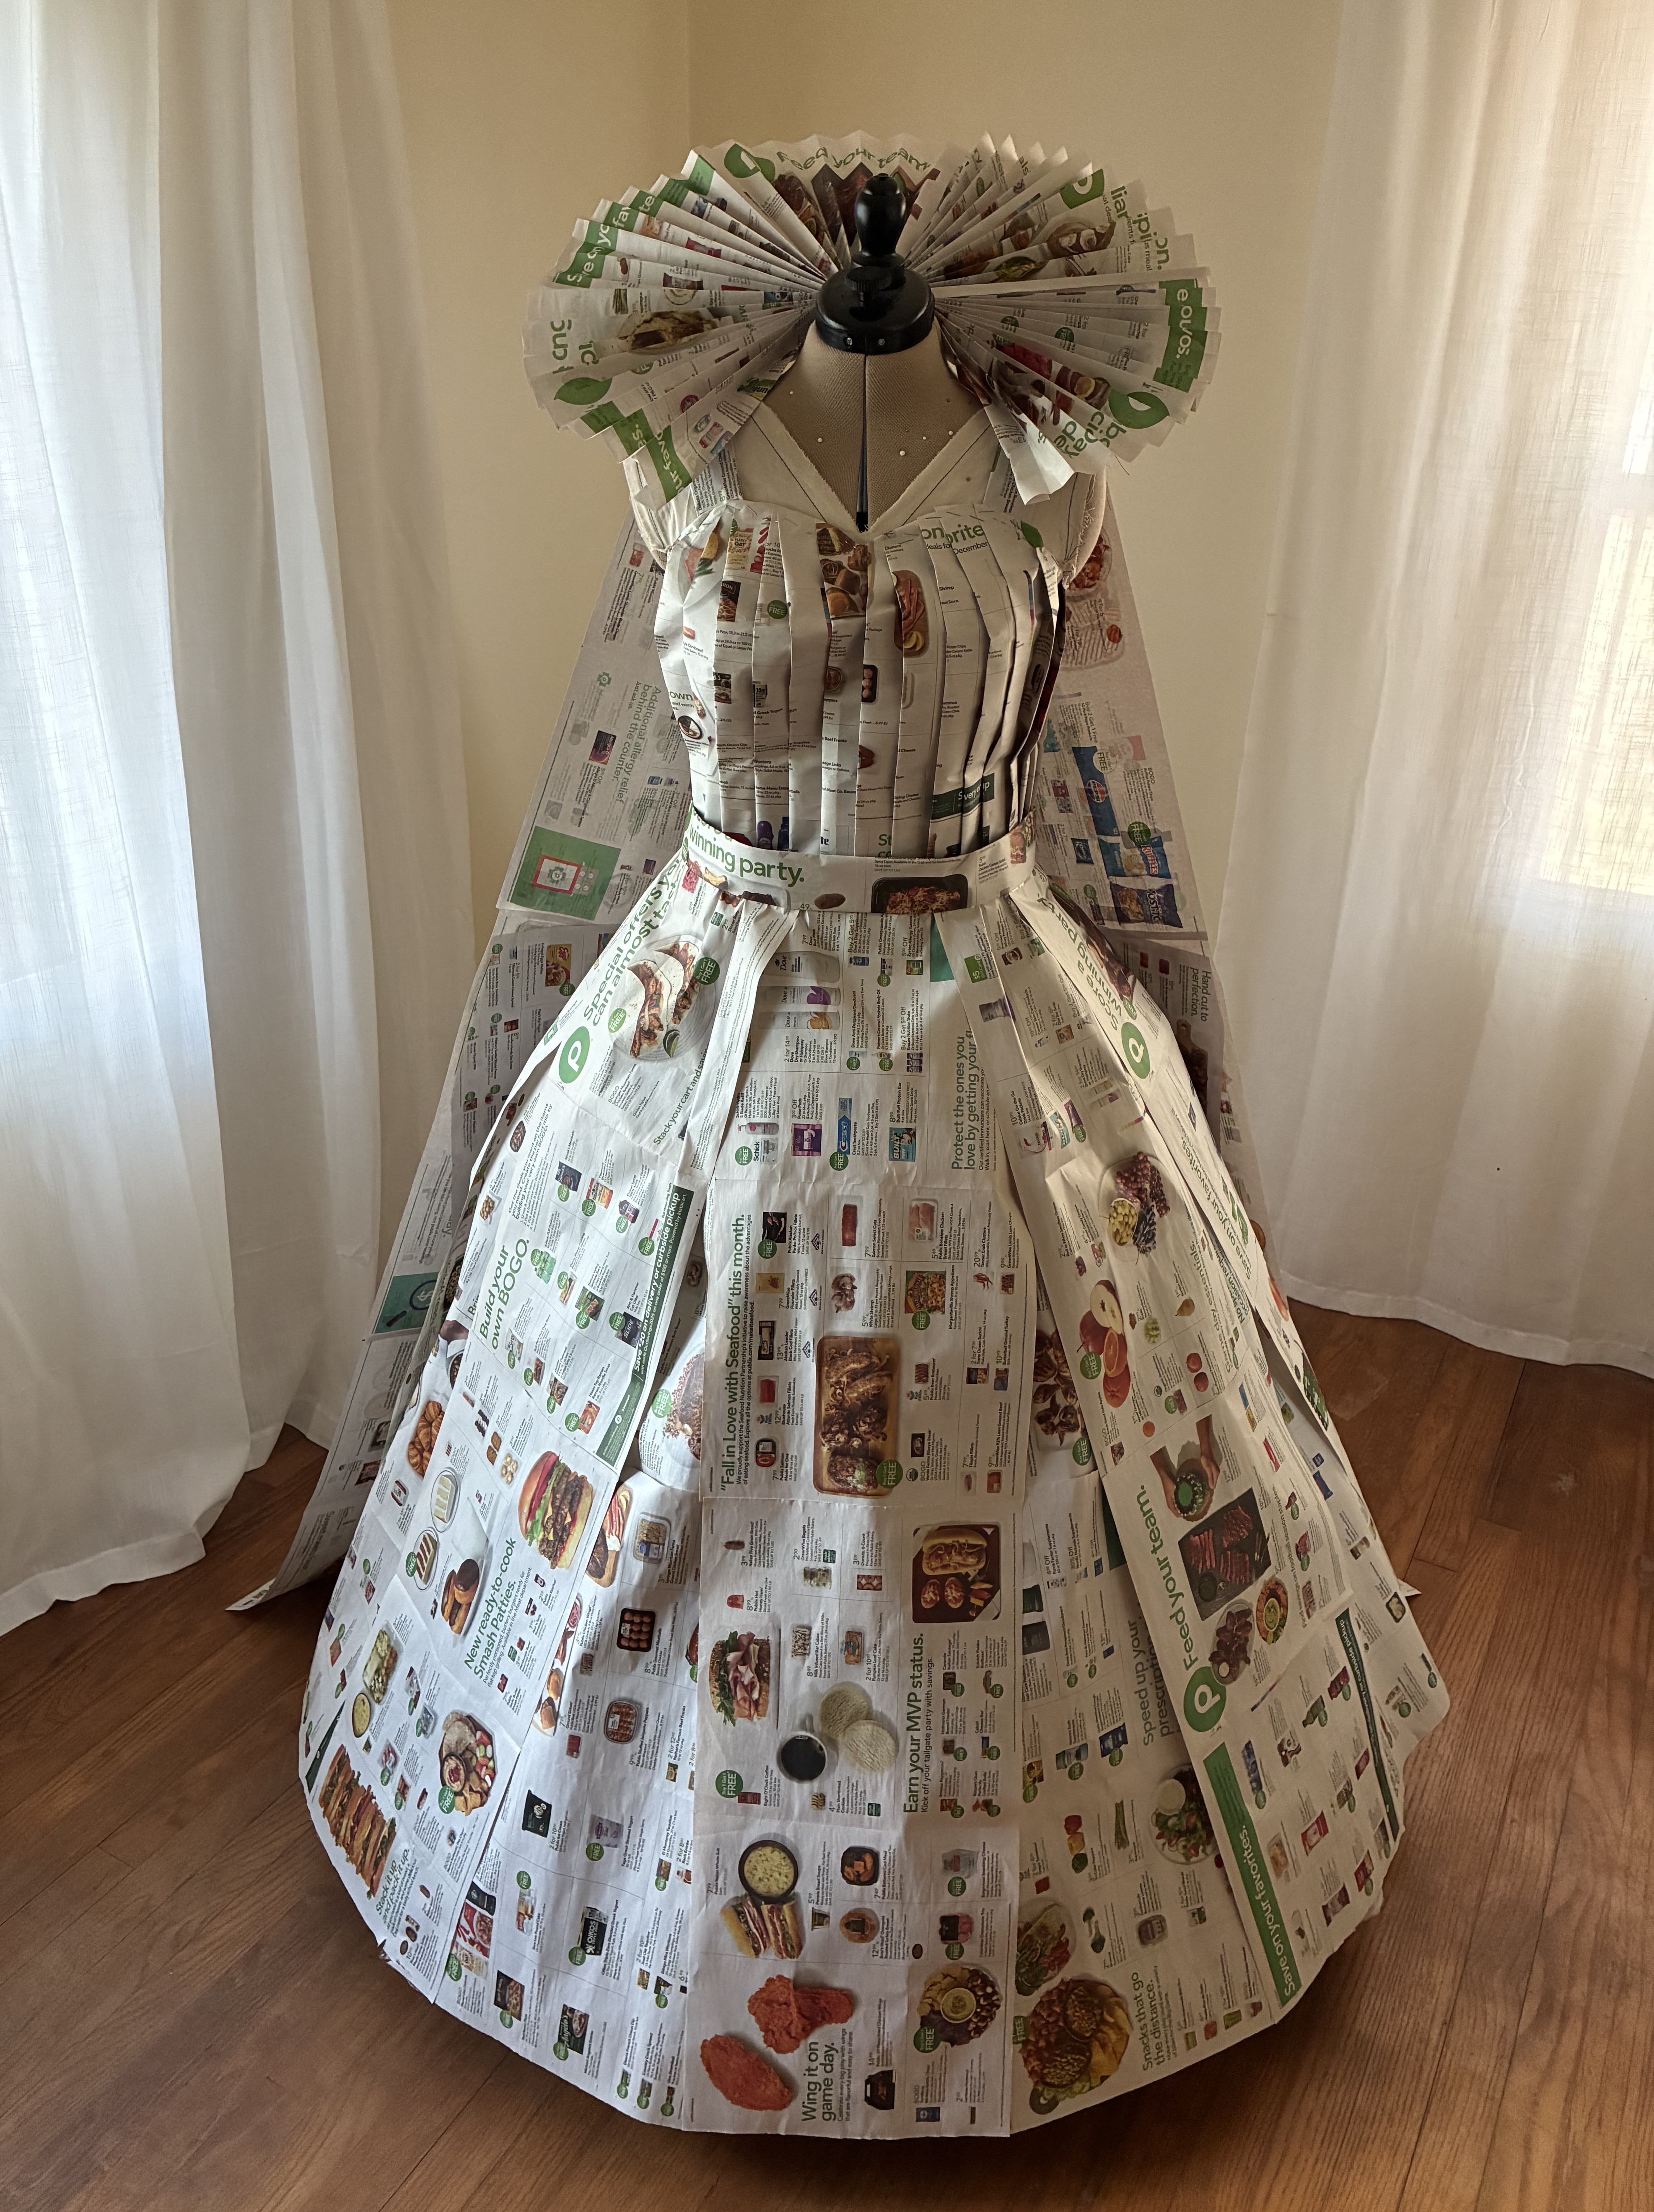
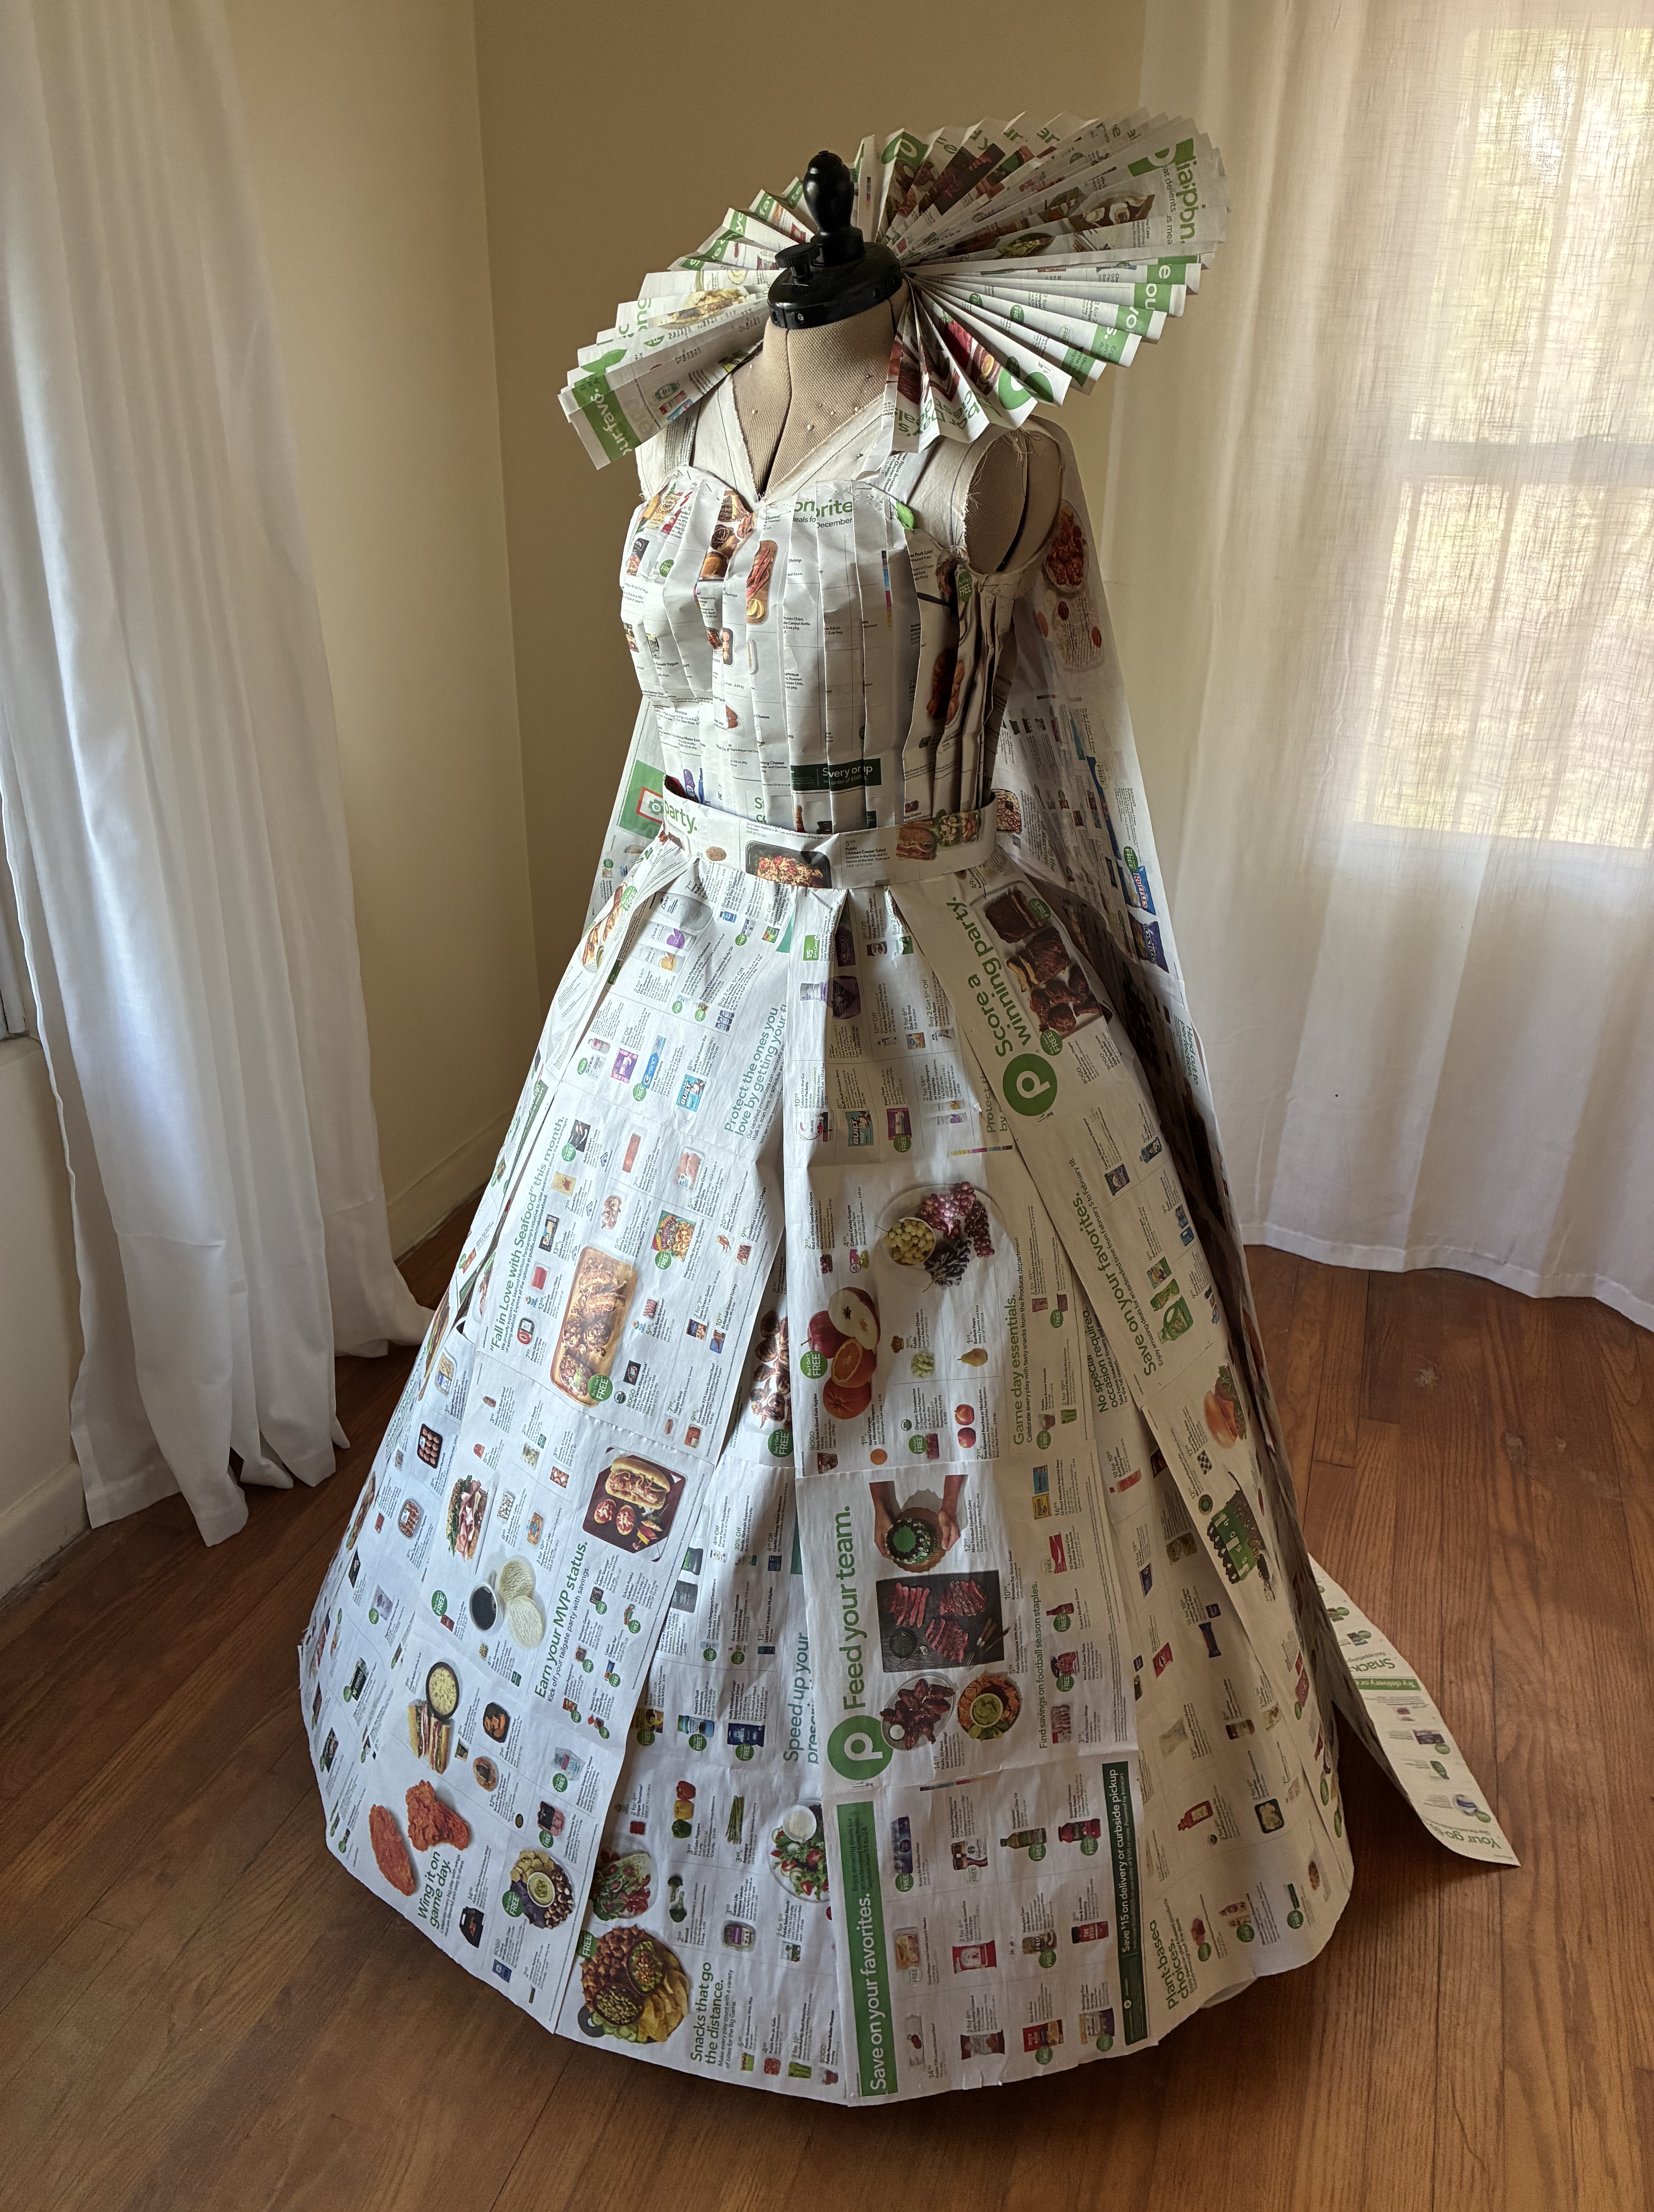
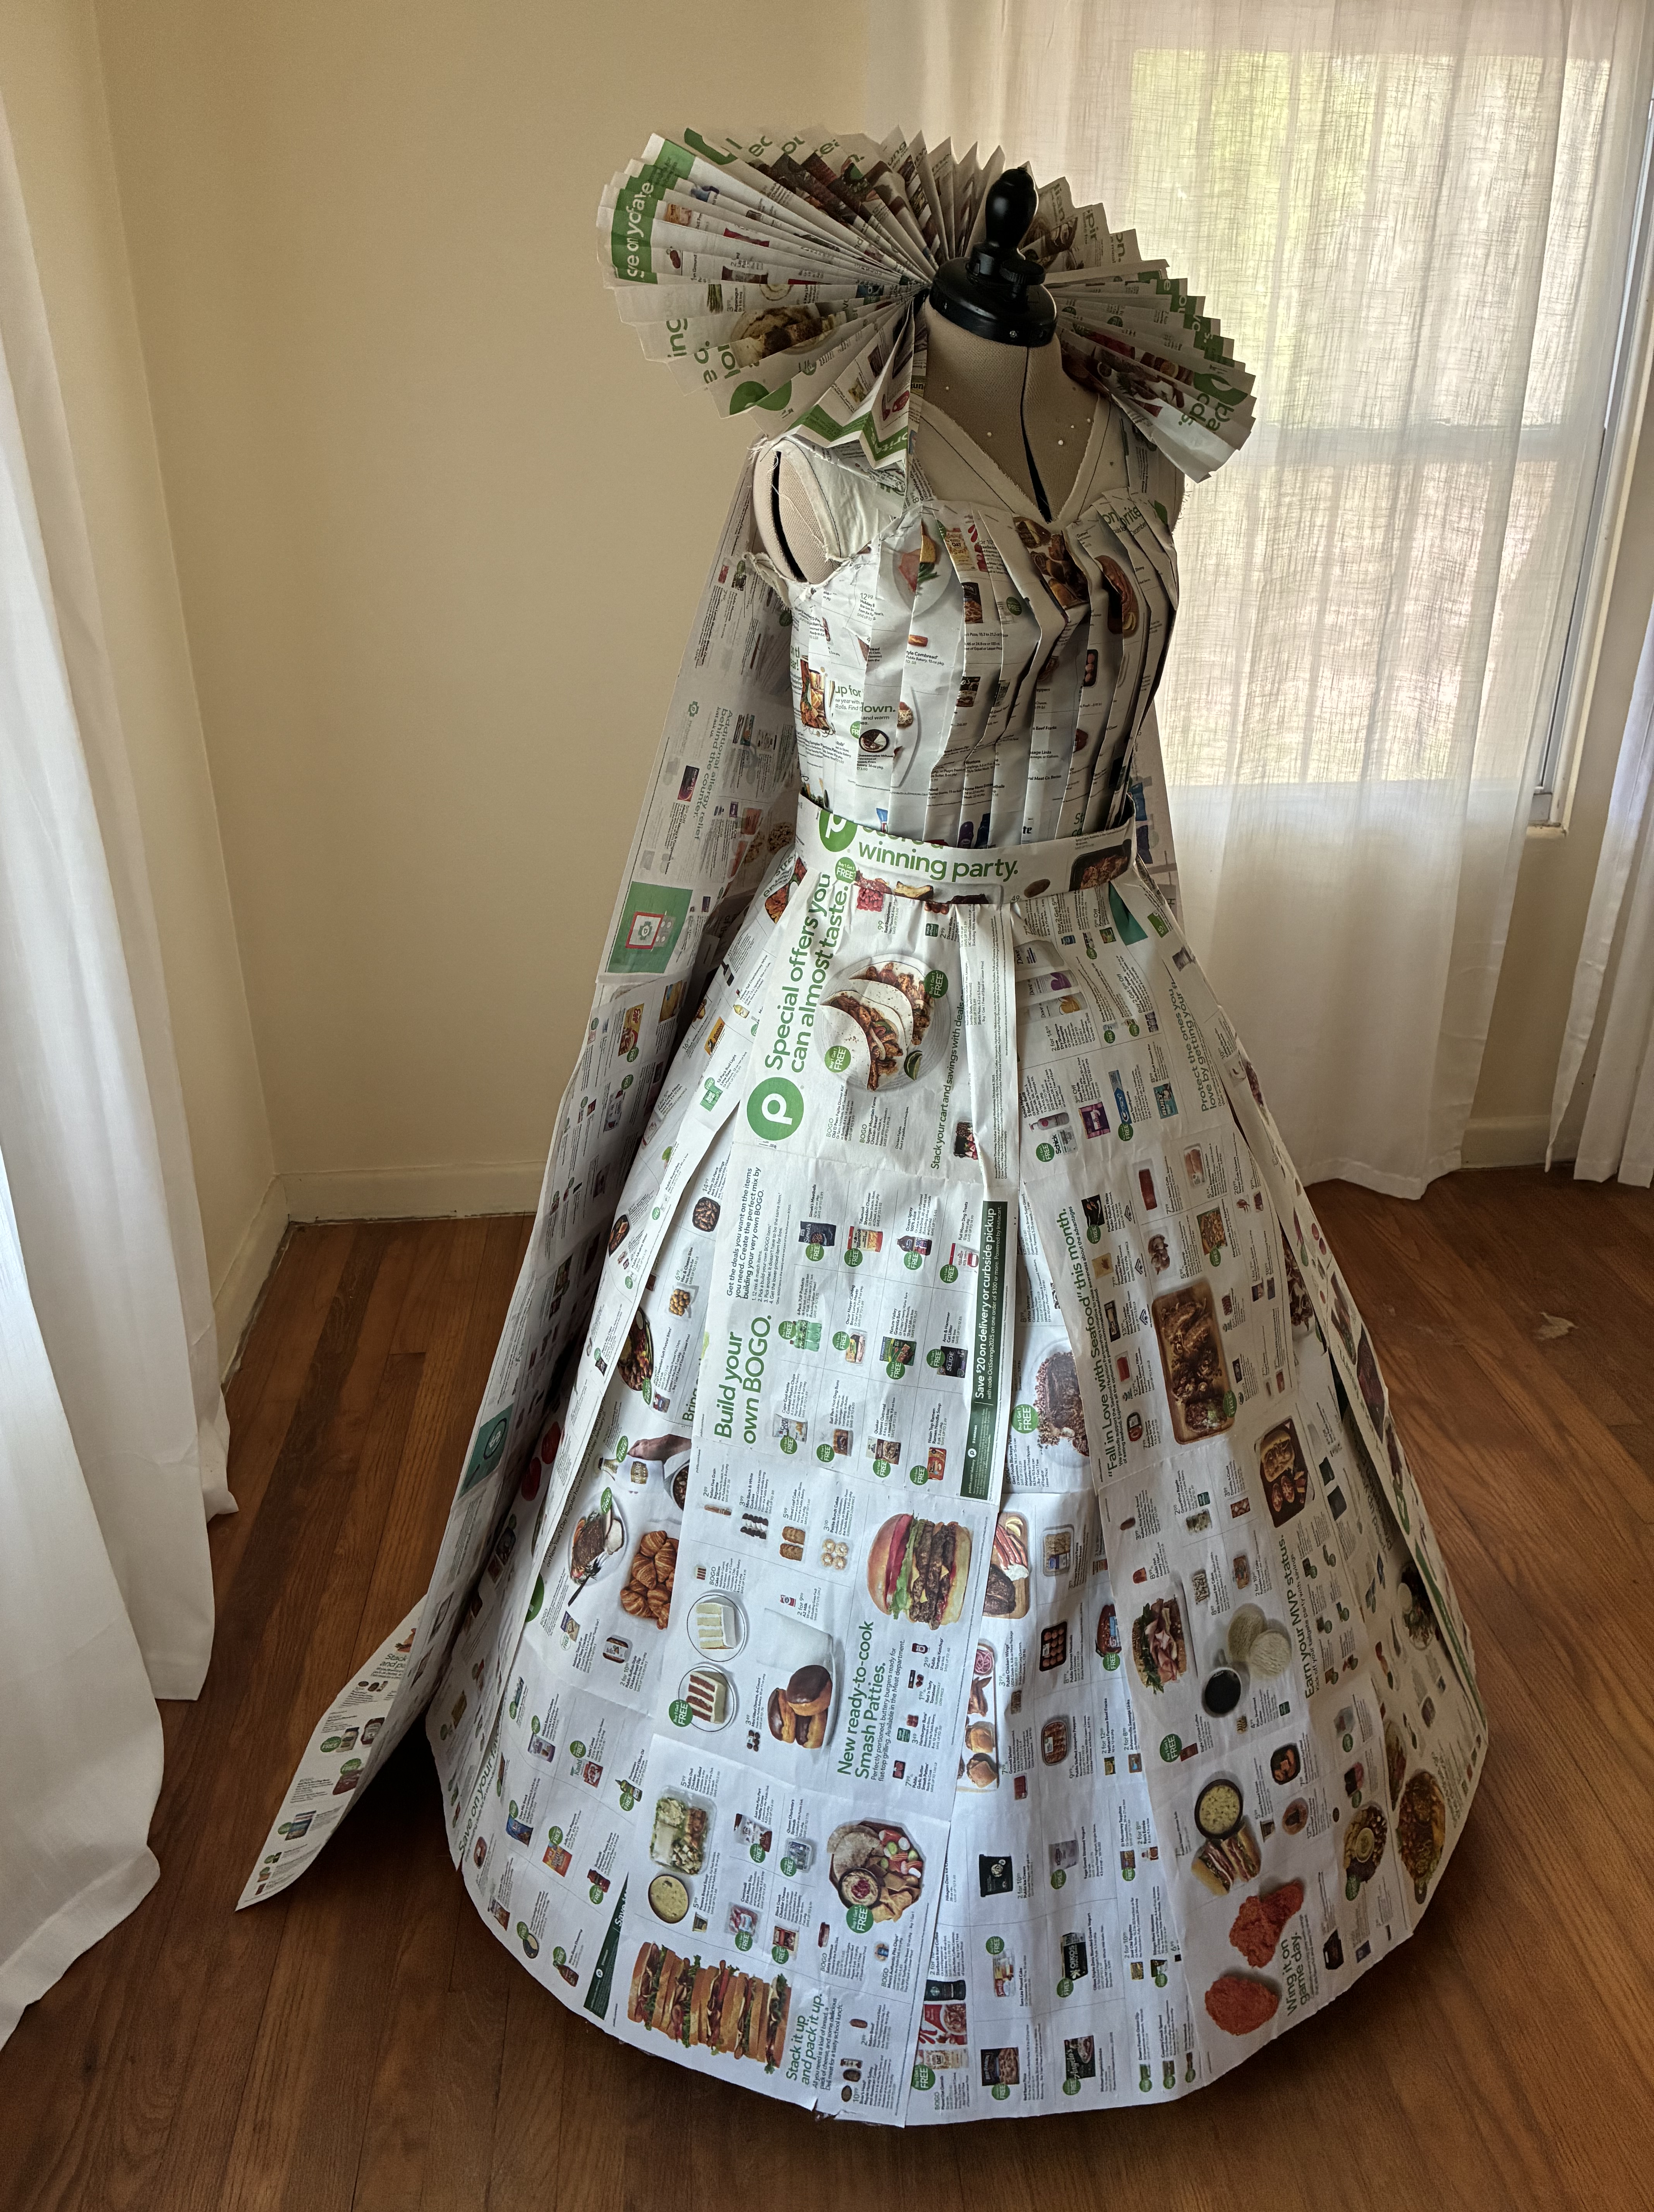
But it still needed more… Although I briefly experimented with making sleeves, I didn’t like the appearance of them and realized that they would be unpractical for modeling on the runway. I needed to cover my shoulders to give the outfit a more regal impression and decided on some wide straps─ made out of paper, of course. It was a challenge to position the straps in just the right place since I was creating this project alone, but I managed with some contortionist maneuvering in the bathroom.

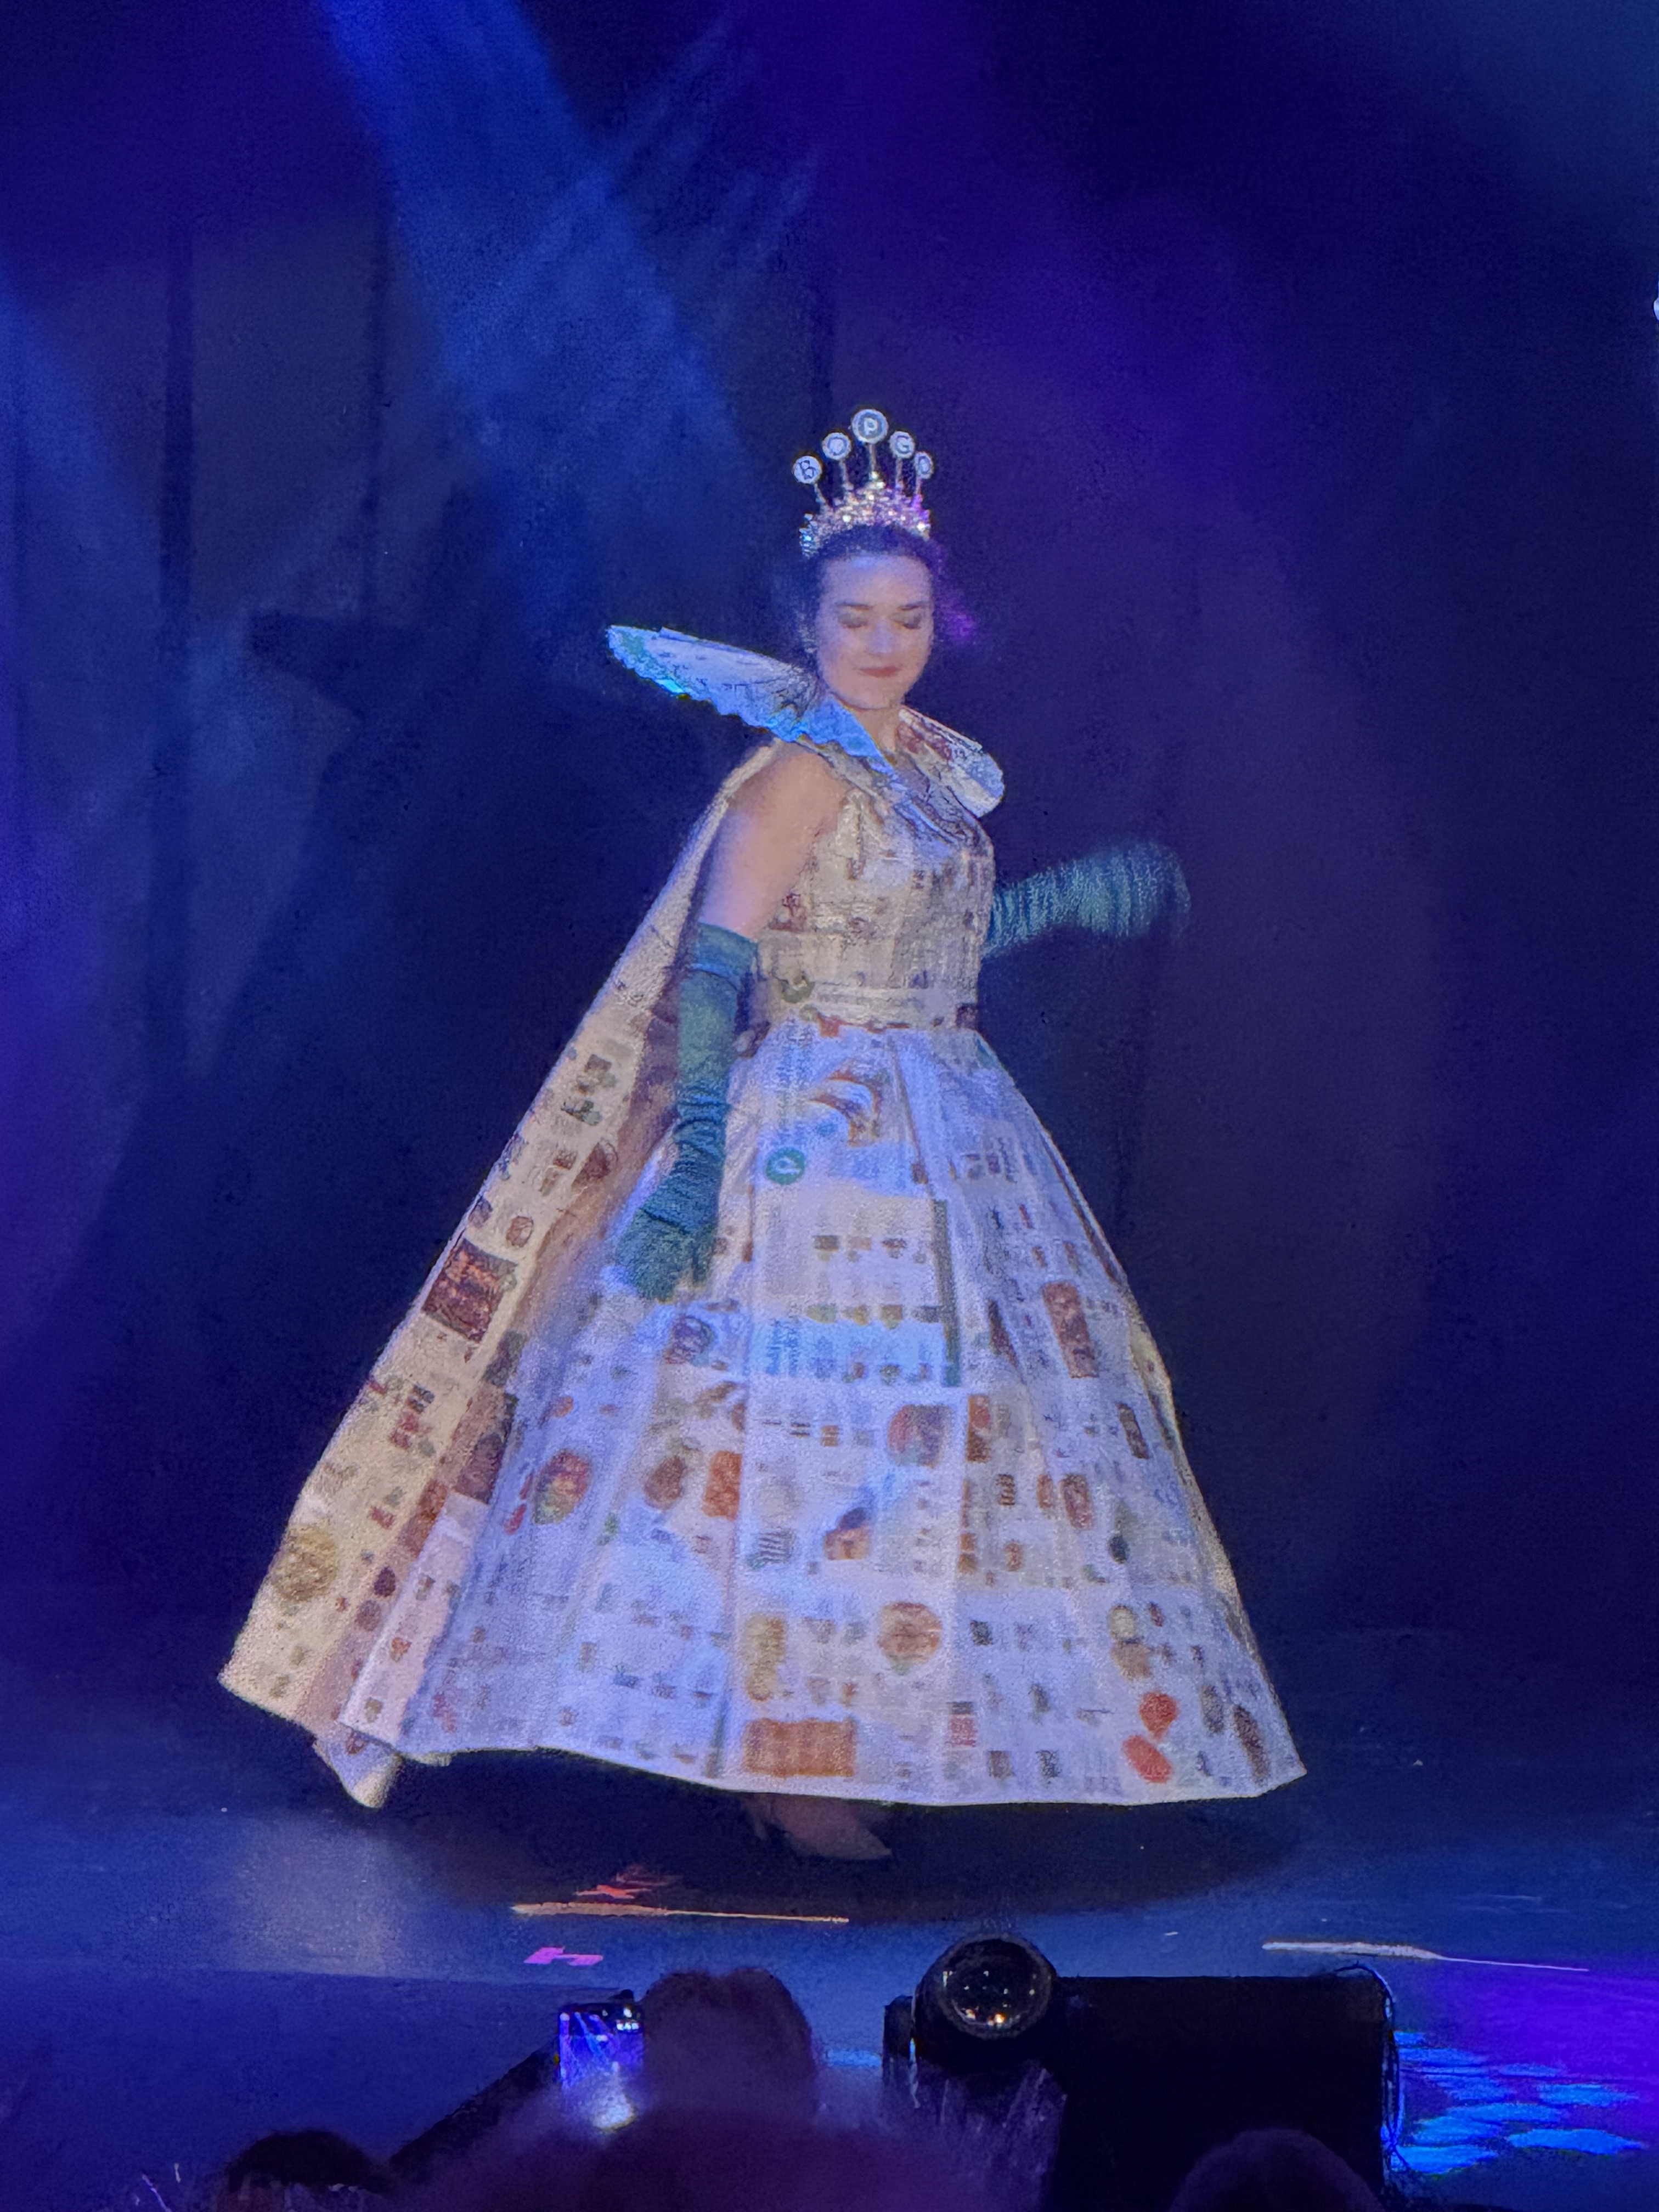
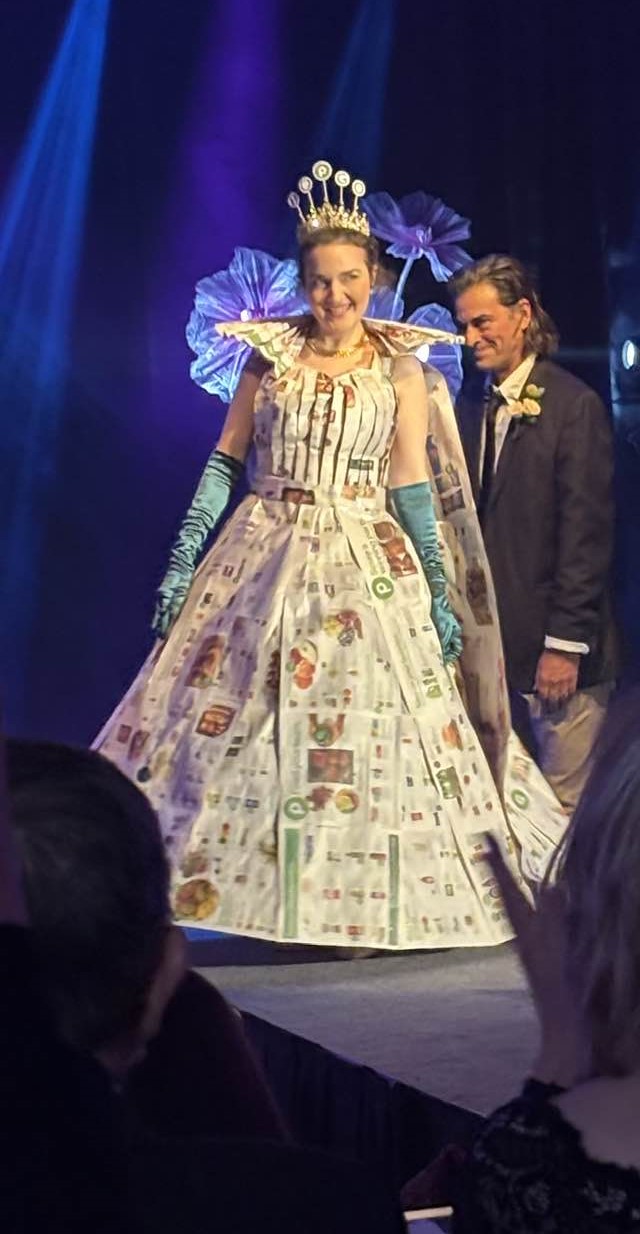
The grocery manager at my store supplied me with a large sheet of unbent cardboard from our water pallet deliveries so that I could make a grand Elizabethan ruff. More ads, crimped into a circular accordion pleat, adorned the outer face. Lastly (and on a whim !), I fashioned a cape that attached to the shoulder straps with Velcro. I couldn’t believe that I was finished !

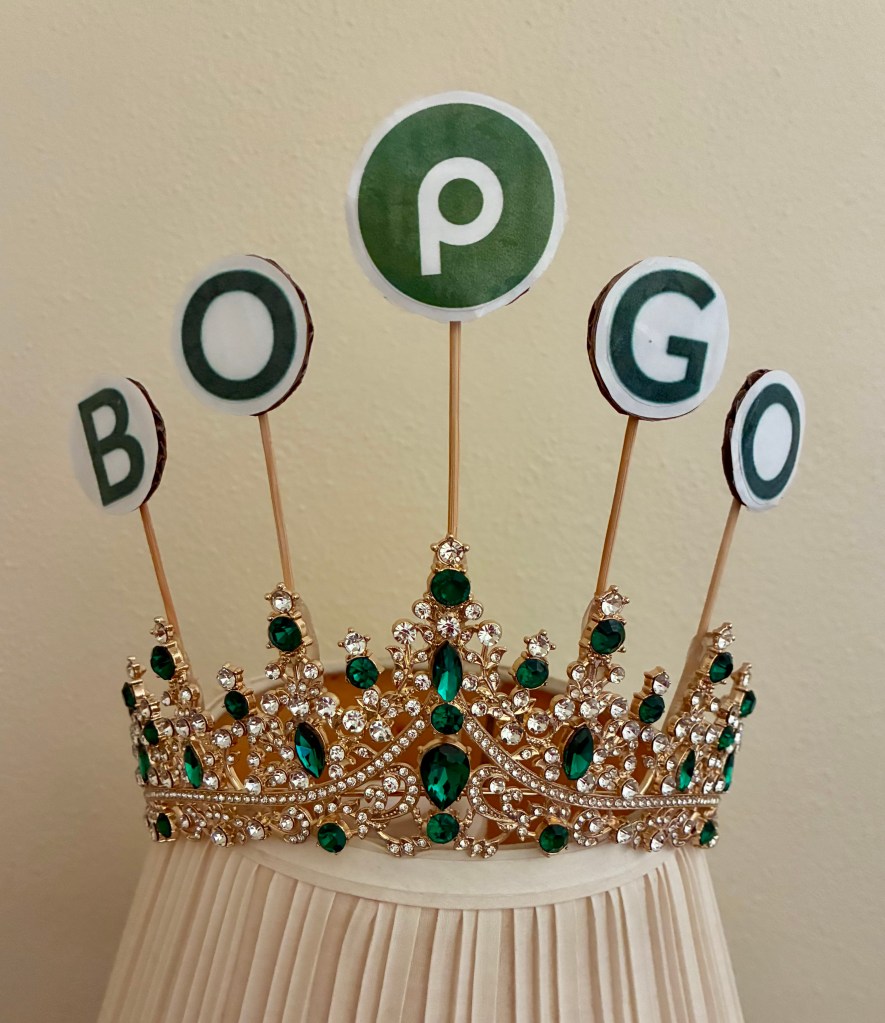
But what’s a queen without a crown ?! I added some themed cardboard letters to a glitzy Amazon tiara, all in Publix green.

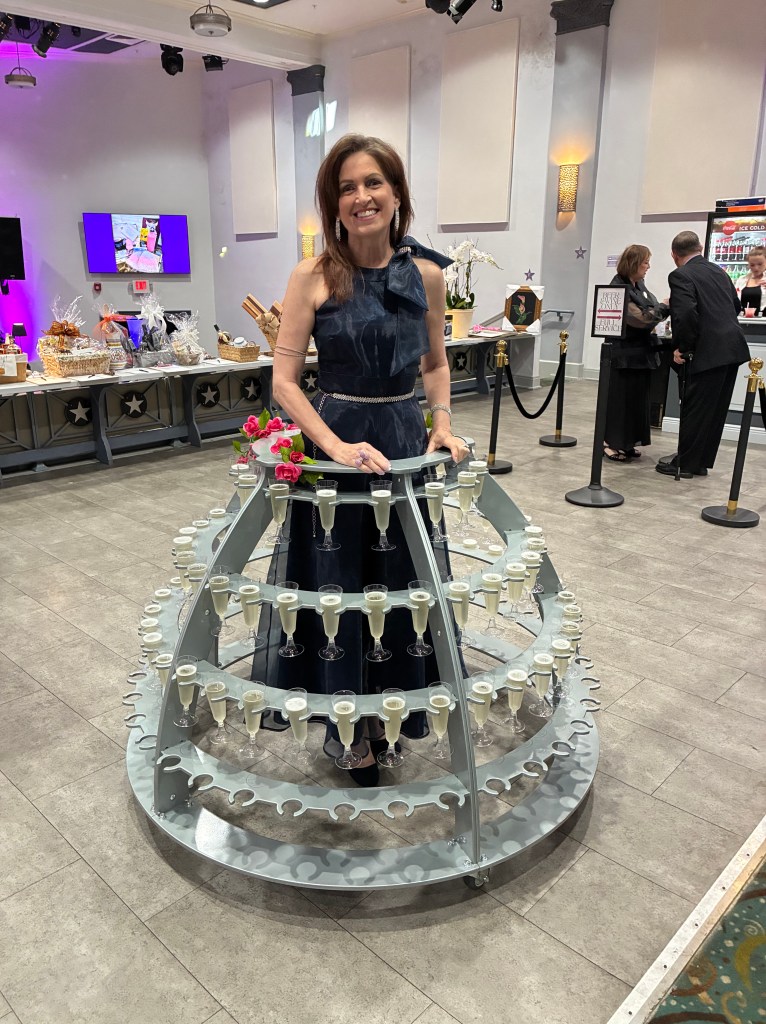
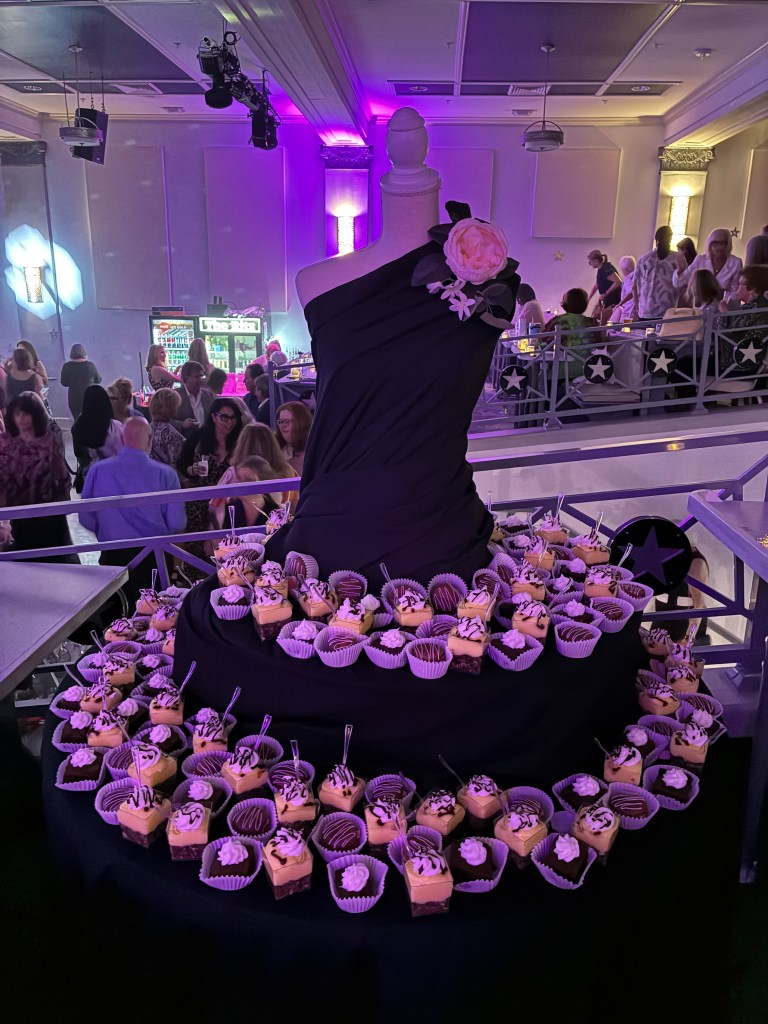
The event was a raving success with fun, designer themed hors d’oeurves and desserts.

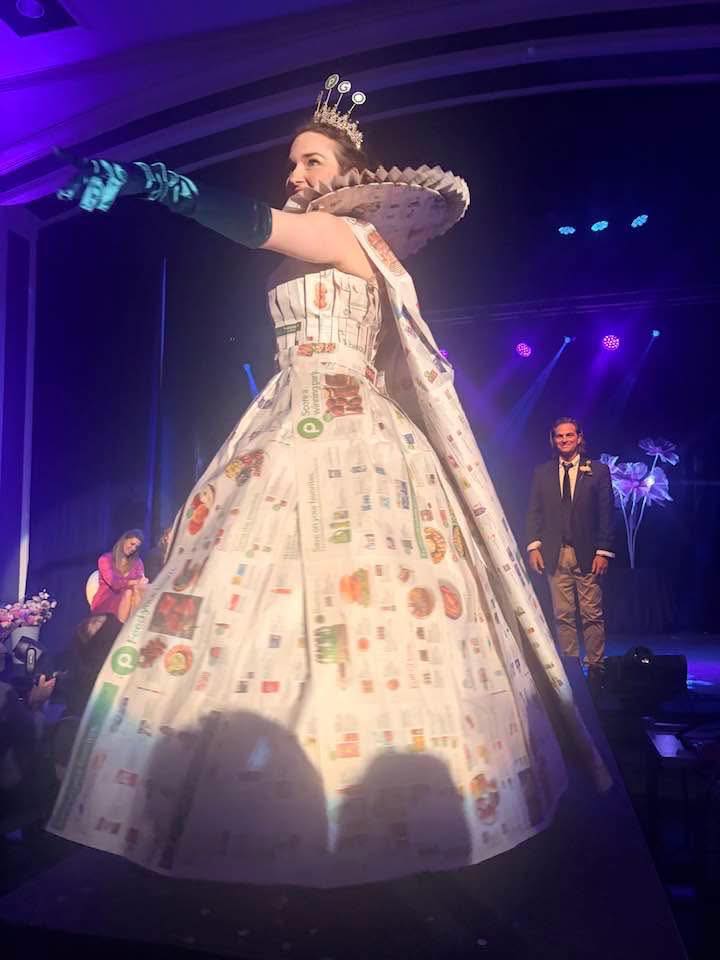
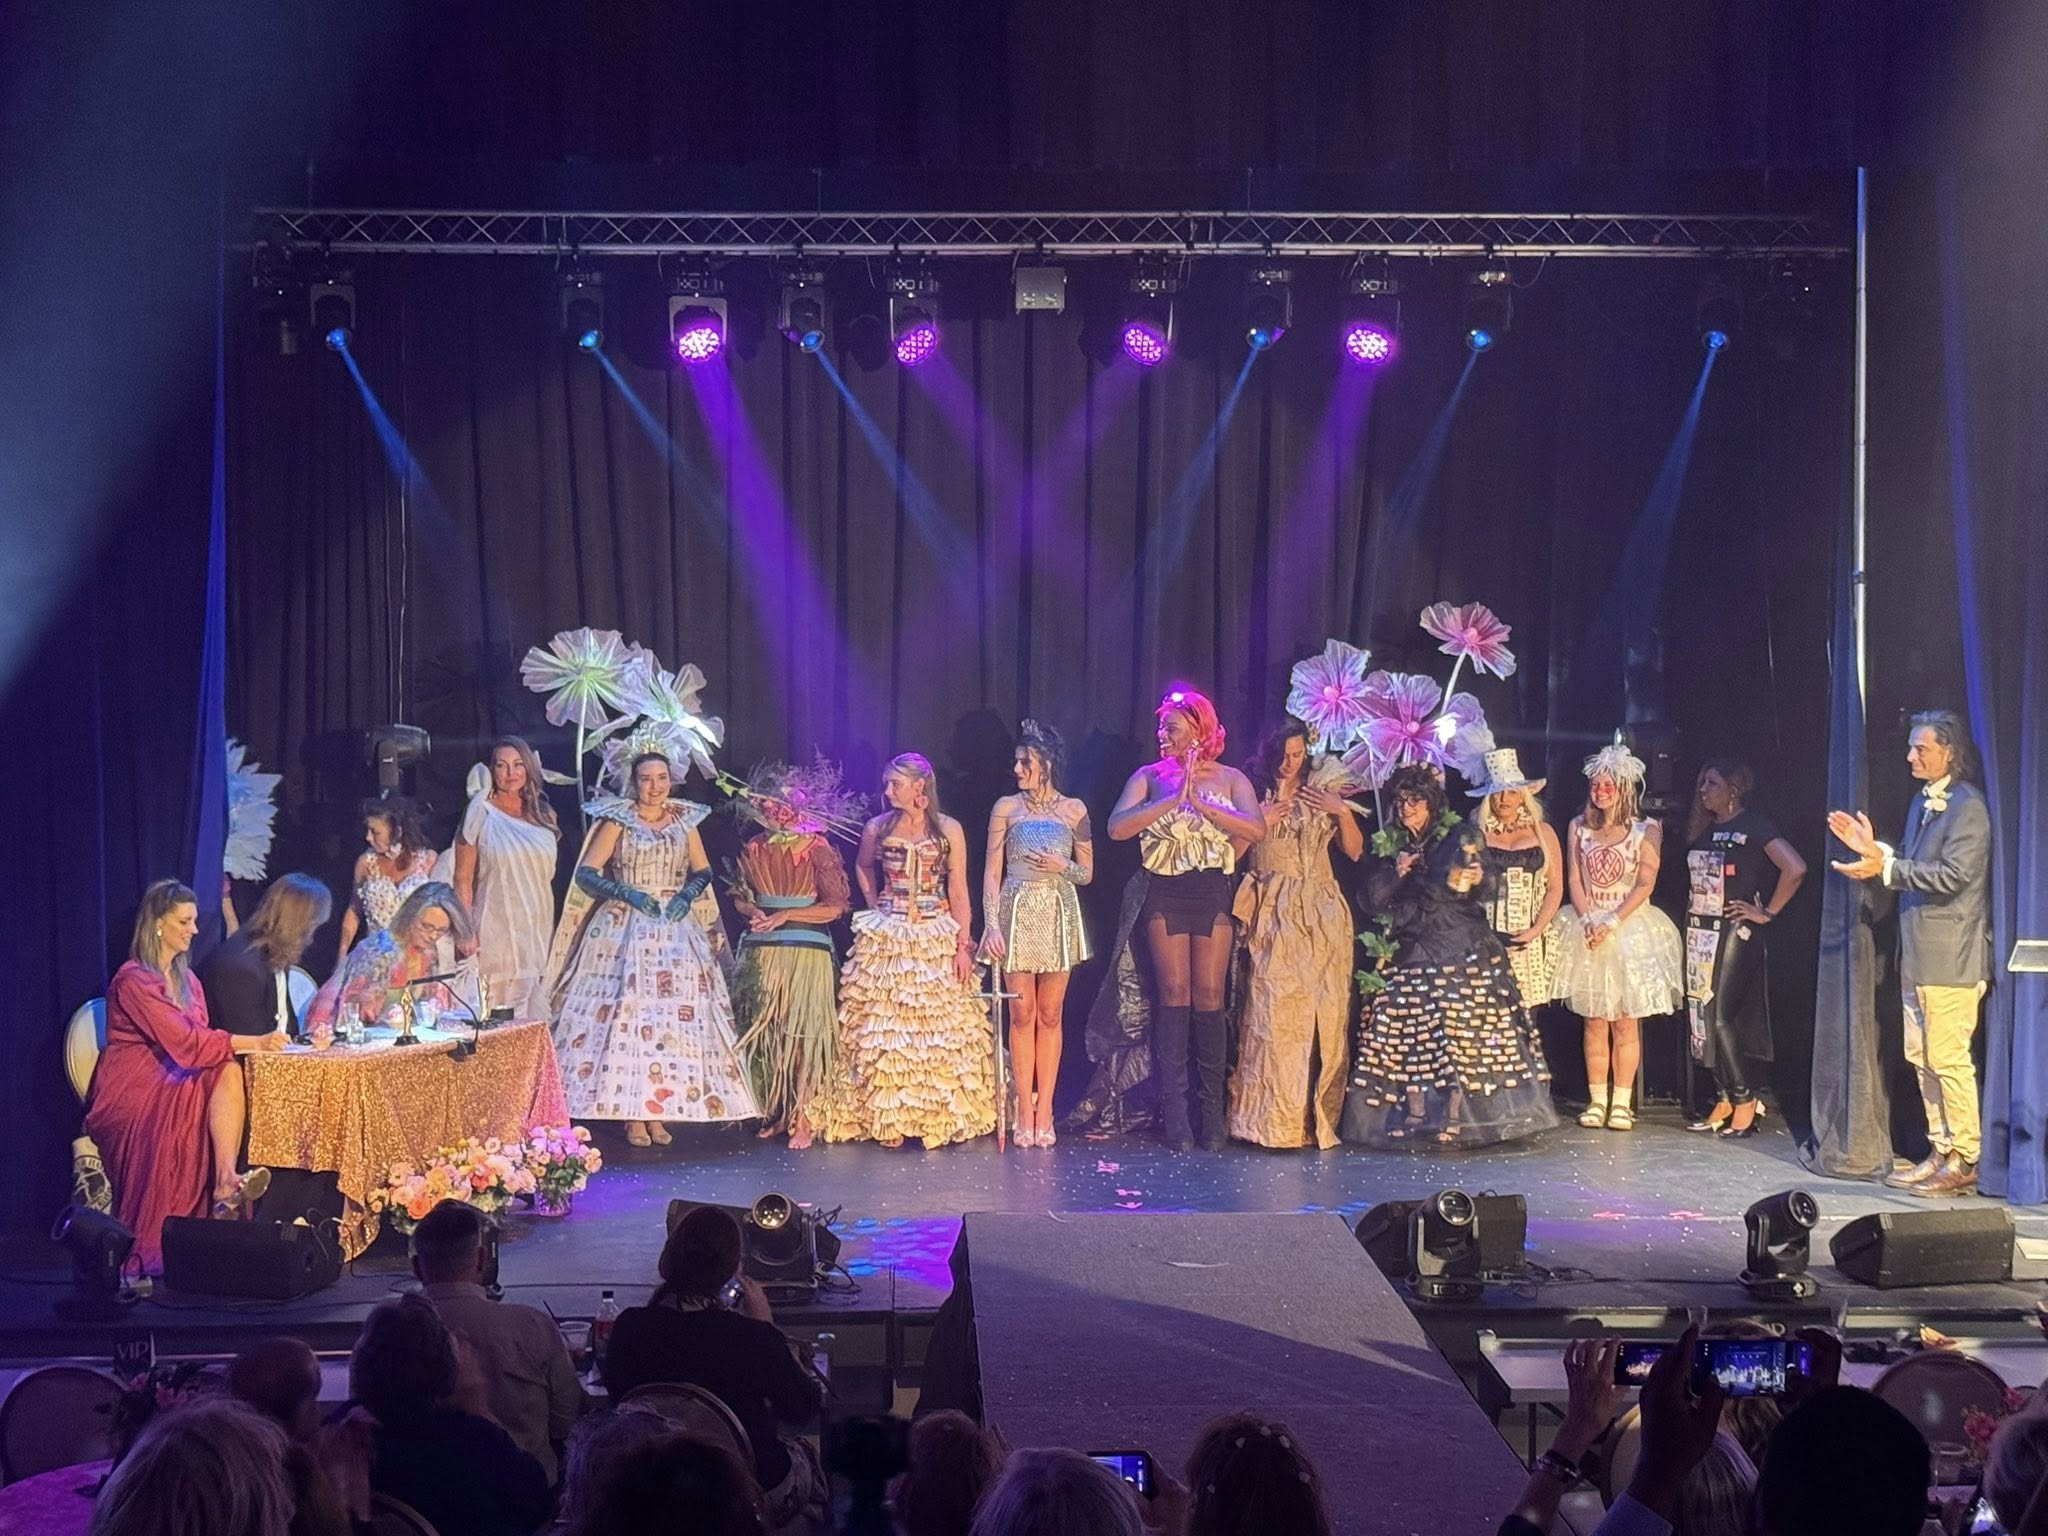
Crowded backstage, all thirteen of the models strutted their stuff on the runway, one by one, including me. Each designer’s creation was spectacular. What stunned me the most about my recycled paper dress was how fluidly it moved on stage. After all, it was my first time wearing the outfit in an open space where I could walk and turn freely !

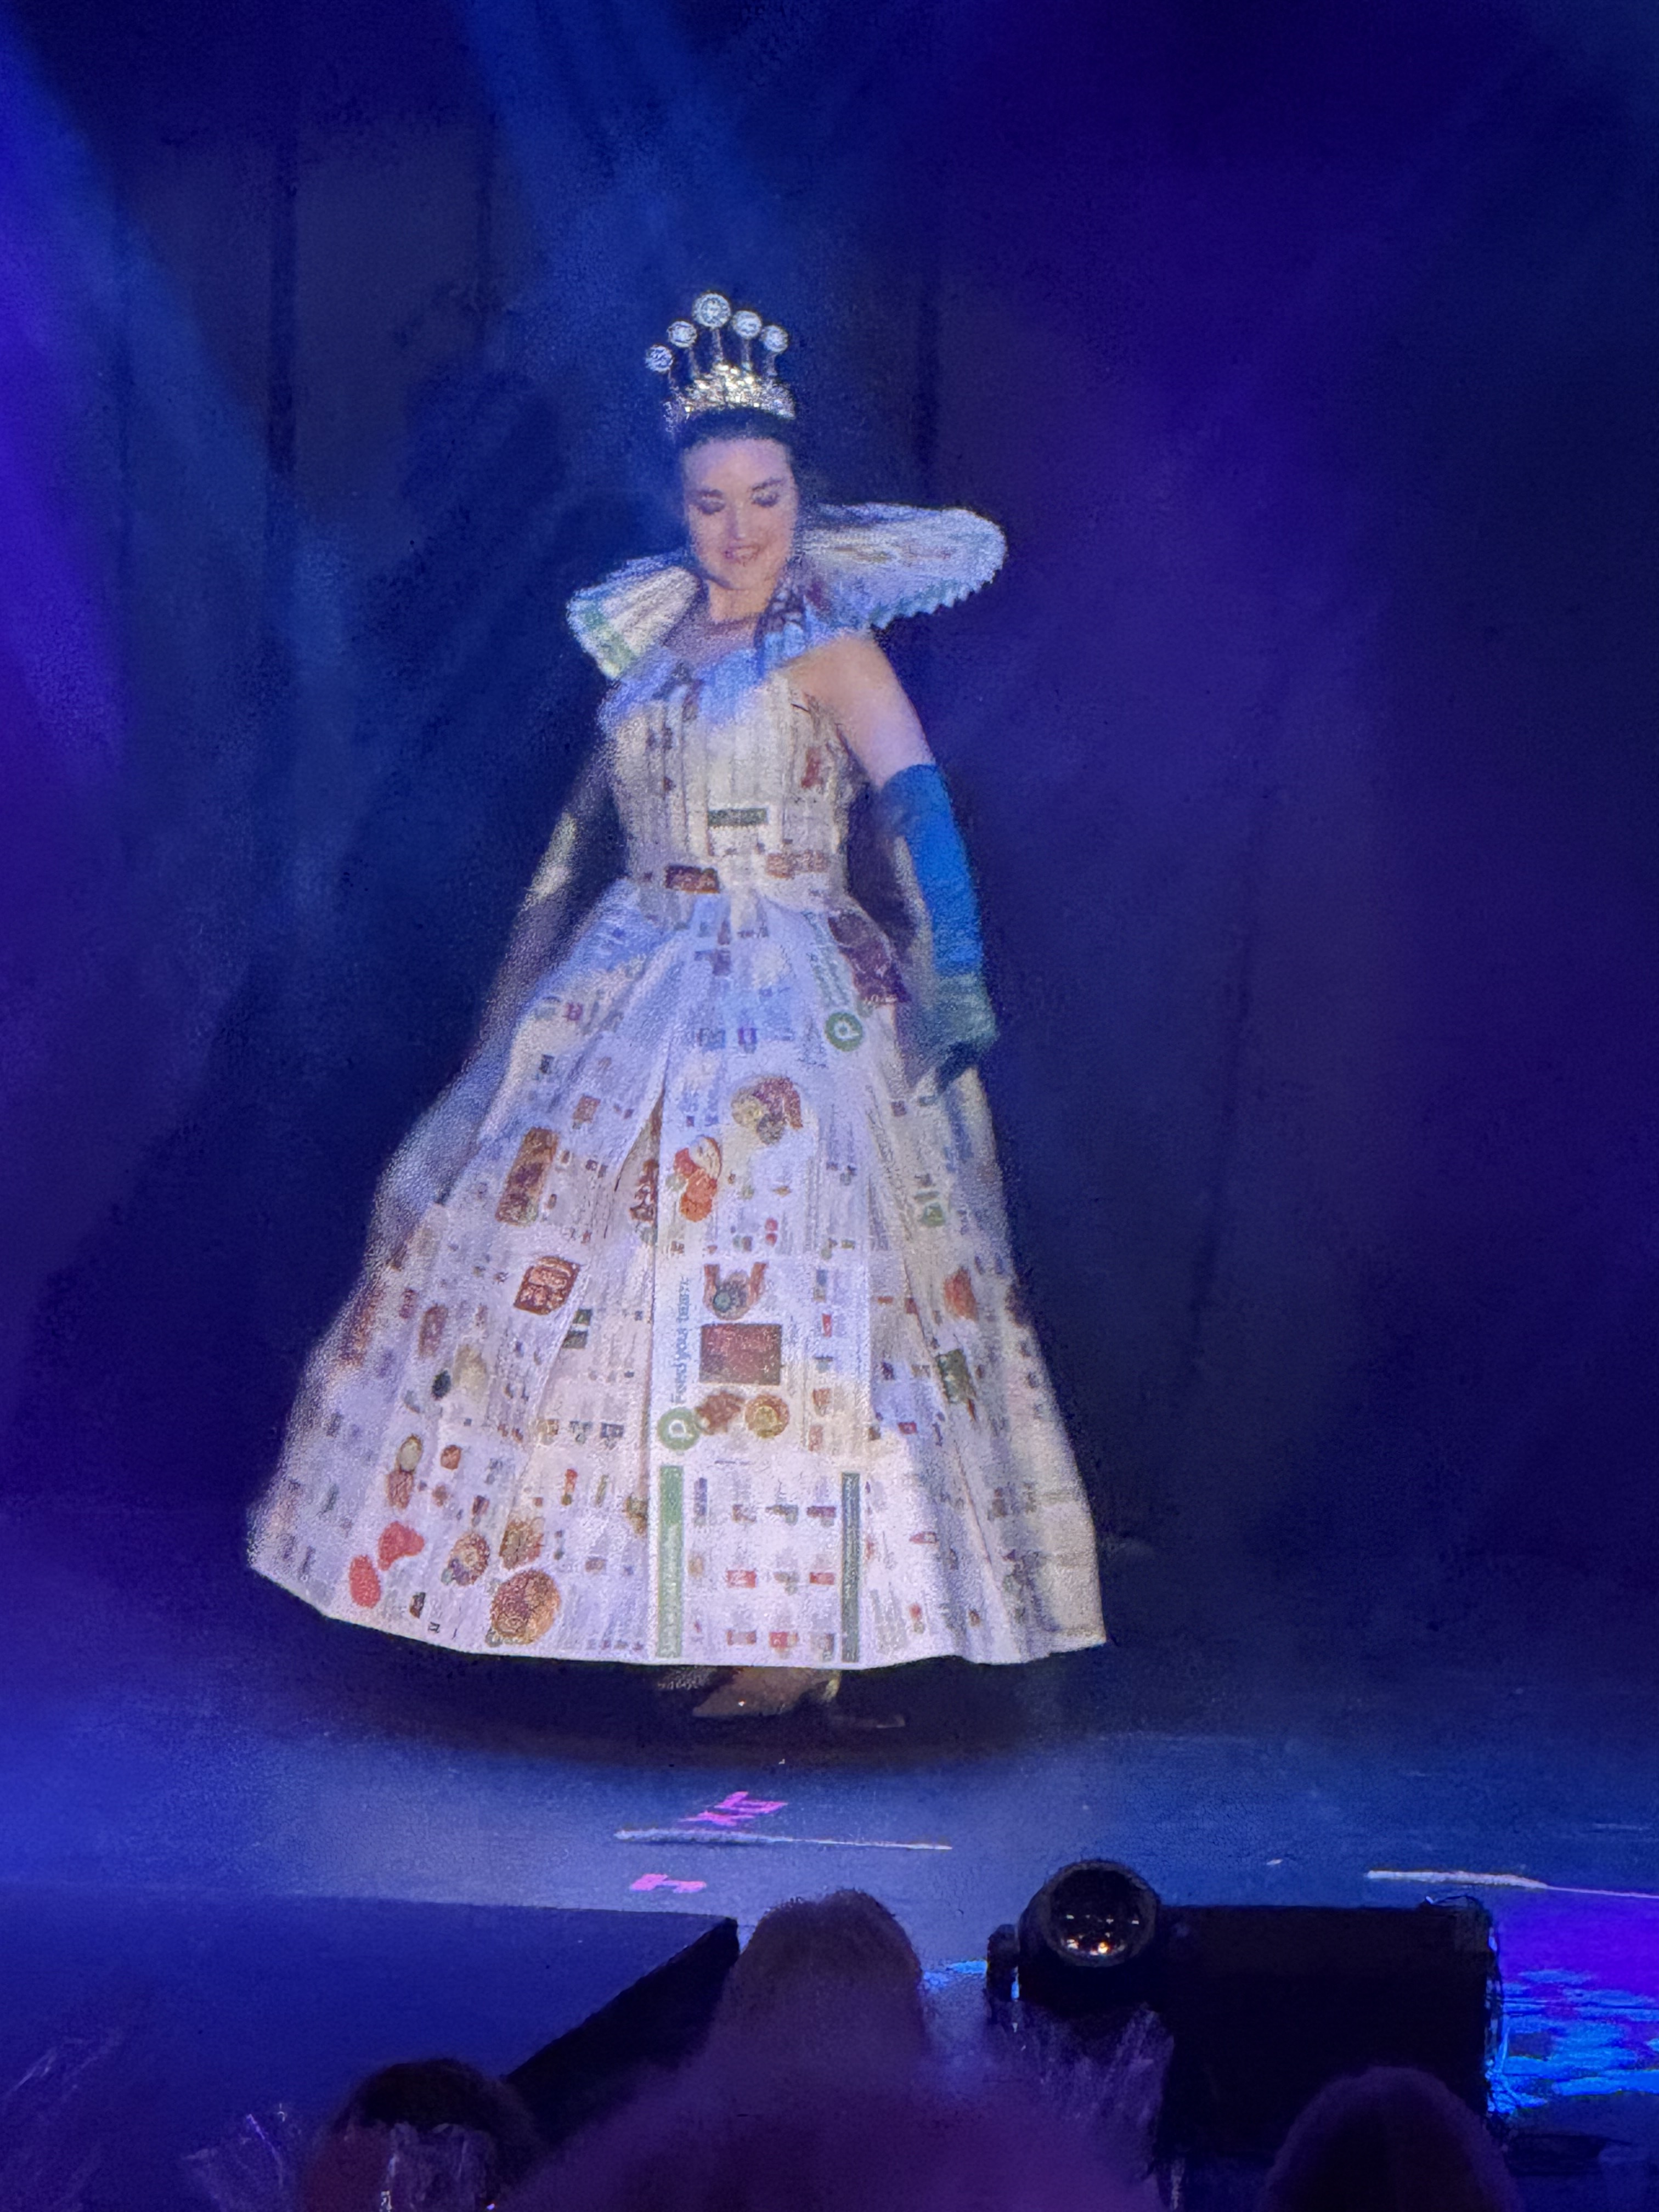
I think it’s safe to say that I had too much fun on the runway…

Thank you to my friend, Kim, for capturing the walk on video.

Although I didn’t win any prizes, I was grateful to even be included in such a talented group of artists. Everyone exceeded expectations, all for a worthy cause.

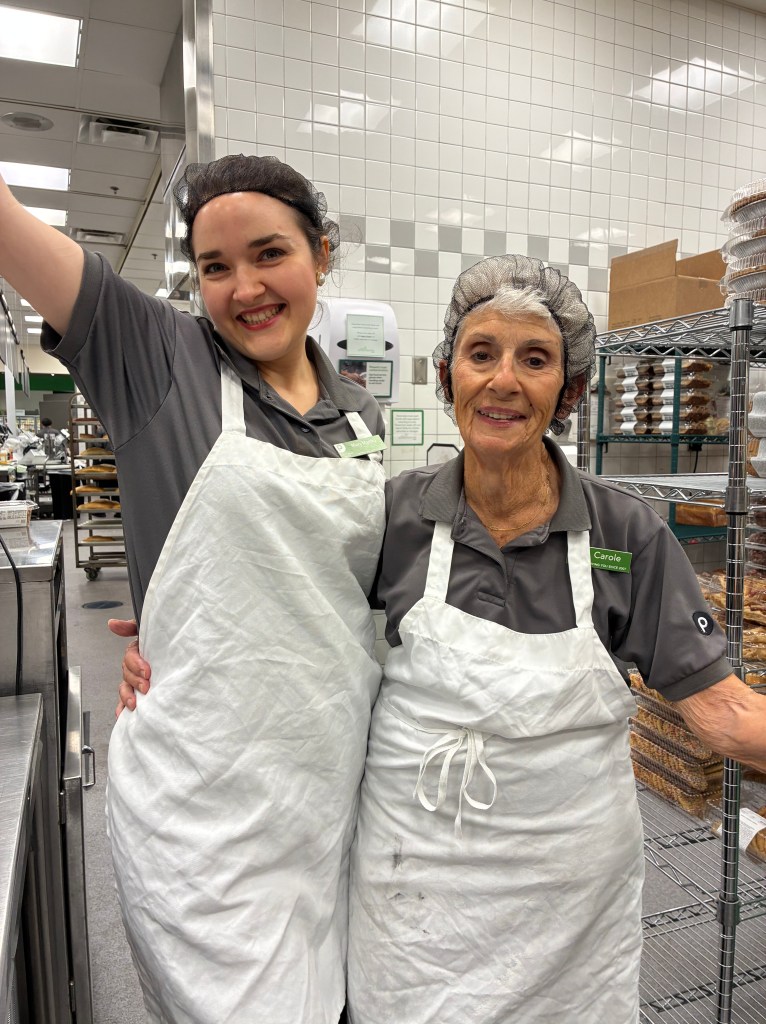
To all my BOGO Queens and Kings at the store, this outfit was dedicated to YOU ! Without your support, I wouldn’t have had the inspiration to create my design. Serving you is my greatest pleasure.

Toi, Toi, Toi,

Mary Martha

From Dirndl to Bunad: How a German sewing pattern became Norway’s traditional dress

Similar in shape and style, the German dirndl and the Norwegian bunad could be long lost cousins ! Vests with front closures, long skirts with embellishments and embroidery, and bright national colors teem with patriotic esprit de corps. With a new, modern production of Wagner’s Die Fliegende Holländer scheduled for the 2019-2020 Live in HD season, I cast off the thought of trying to guess the heretofore unseen (and most likely abstruse) costumes for François Girard’s reimagining and veered toward the more traditional: a Norwegian bunad for the opera’s Scandinavian setting.

However, when Die Fliegende Holländer was cancelled the day before its cinematic broadcast in March, the nearly finished bunad was left thrown over the back of a chair where it sat in silence for months. That is, until the concert for Lise Davidsen popped up and suddenly the bunad became relevant again. Here’s how I made it…

The Pattern

I started by using a German dirndl pattern, which was given to me by a friend several months prior. When Gisele offered me any of the patterns in her garage sale stash, I looked over the Burda pattern thinking it was fashionable, but not something I could use for the foreseeable future. How clueless I was…

Burda 8396

Noticing how similar the bunad and dirndl were, I began plotting how I was going to alter the original pattern; namely, removing the front zipper and transforming the front into a corset of sorts. A mock-up was made.

After determining the new design of the front, the muslin markings were transferred onto the tissue paper pattern piece.

According to the mock-up, the rest of the pattern appeared to be in good shape and now it was time to cut the real fabric.

The Fabric

I knew I wanted a bright red vest with a deep blue skirt and white blouse like many of the photos I found online…

Finding the perfect fabric was simple: a sample ordered online proved to be a brilliant scarlet with a subtle tonal floral pattern. Even better, the cotton fabric was Scandinavian in its origin. I do love to match my materials with their geographical creative counterparts !

The pieces were pinned onto the twice folded fabric (for the face AND lining) and cut out.

Sewing

Because adding decoration and details were important, I decided to pipe the seams of the bodice to set off the shaping of the vest. A regular zipper foot works just as well as any fancy piping foot…

Sewing the piping

Two rows of Rigilene boning were sewn onto the front vertical edges of the lining to support the lacing area. On the face side, the seams and piping allowances were pressed opened. All the corners were snipped to prevent bulk.

Now that both the face and the lining were complete, it was time to sew them together along the neckline edge. Bias binding was used to finish the armholes and the bottom of the vest.

Sewing the bias binding

Voilà ! The vest was almost finished. Holes were punched, grommets were installed, and then the garment was set aside.

The Skirt

The master Burda pattern came with a skirt design, but this, too, had to be adapted. There was a front zipper to be joined in connection with the bodice and this I removed by placing the pattern on the fold of the fabric. Speaking of, I bought the skirt fabric, a navy canvas-type material, from Walmart ! The pattern was laid out on the canvas…

…and a waistband was cut.

Waistband marked on folded fabric

I sewed the skirt based on the instructions, which included front pleats and a gathered back. The single side pocket (why only one ?) was omitted. A regular zipper was installed. Folding the waistband in half, it was attached to the top edge of the skirt over the pleats and gathers. A buttonhole was made at the back and a bright blue button was sewn onto the other side of the back band.

Back zipper closure and button

Something that I found skewed about the pattern was the overall hem length. It was looooooooong ! Too long. Fortunately, the folded hem provided an excellent starting place for the decorative stitching I wanted to implement along the bottom edge. Did I ever think I was going to use more than 3 of the 100 stitches on my BabyLock sewing machine ? Heavens, no ! But I have ─ look how pretty the motifs look when sewn in bright scarlet !

That’s it ! The vest and skirt were finished and now it was time to put it all together. There was one thing missing and that was the classic white blouse that is worn beneath the vest.

Hmmm…

Searching through my mother’s closet, I found a suitable blouse in sleeve length… but it had an expansive scalloped collar satin stitched in crimson. No need to worry─ I just turned the collar right side in and the blouse was just perfect !

Together with a gold brooch and lapis jewelry, the outfit was a close resemblance to the traditional Norwegian bunad.

Toi, Toi, Toi,

Mary Martha

To read about my virtual escape to Norway wearing my bunad, check out my post on the concert for Lise Davidsen !

https://costumeclosetcouture.com/2020/09/07/met-stars-live-in-concert-lise-davidsen/